Create a PHYTO for export
Part I
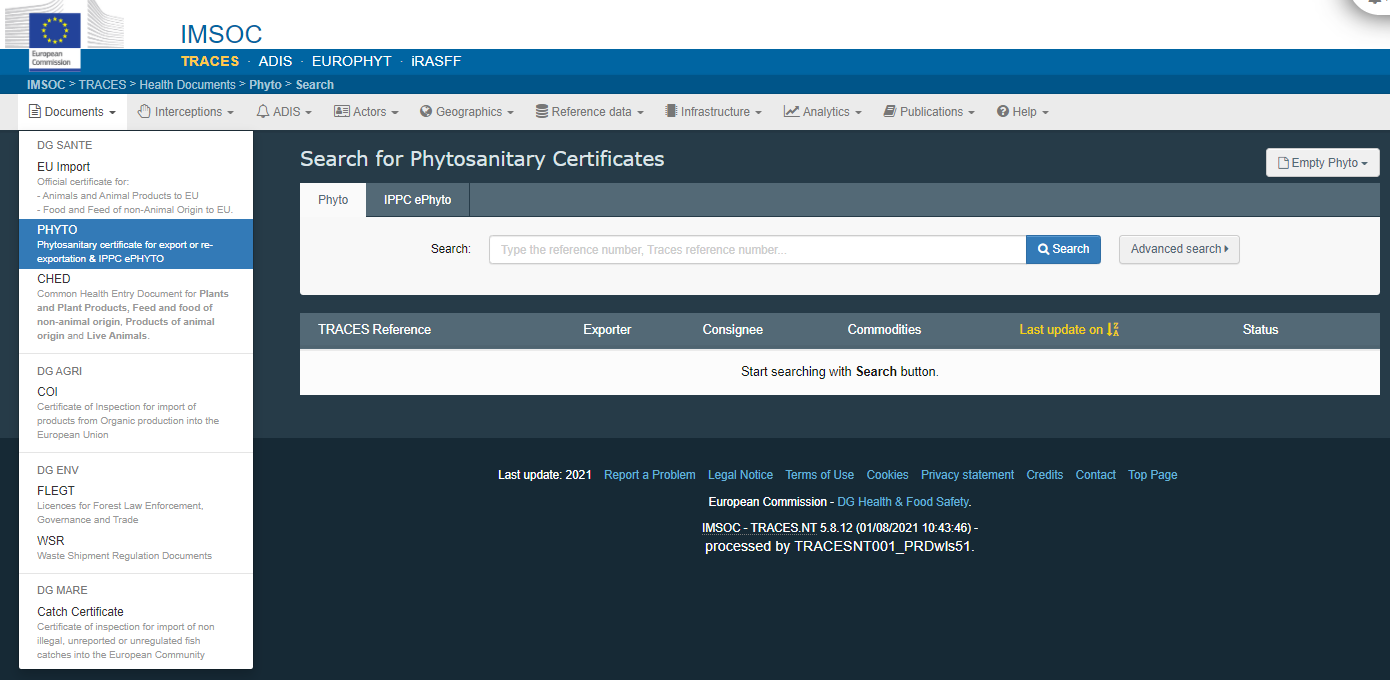
To create a PHYTO for export in TNT, from the Menu Documents, click on PHYTO:
Click on “+ Create” and select “+ new certificate”:

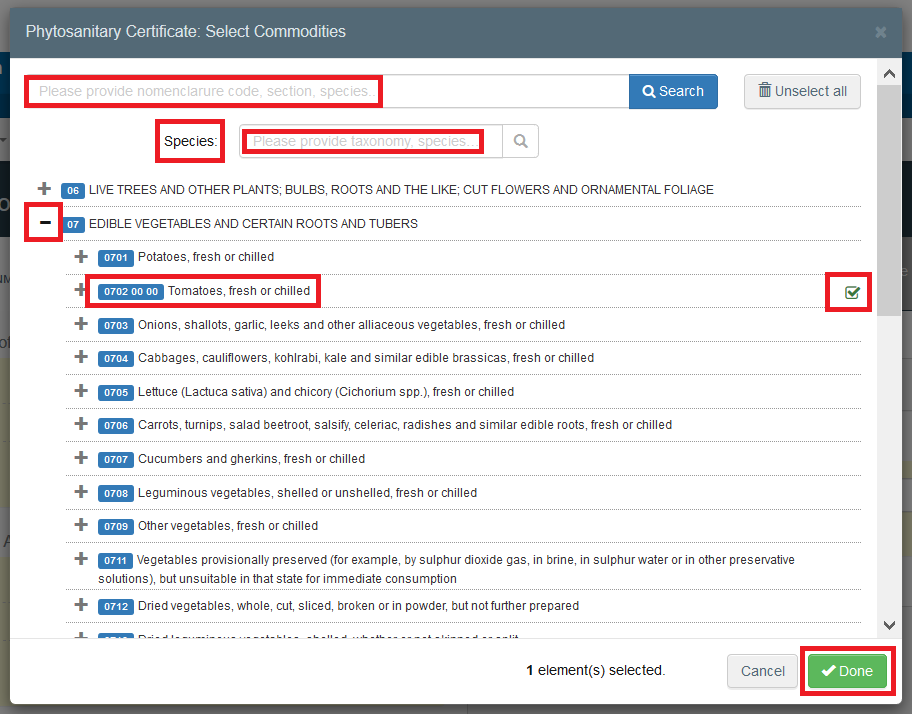
In the pop-up window, select the commodity/ies. You can either type the name of the product in the search bar, or the botanical name, or simply expand the CN code/s and select the product ticking the small box on the right. Once the selection is completed, click on “Done”.
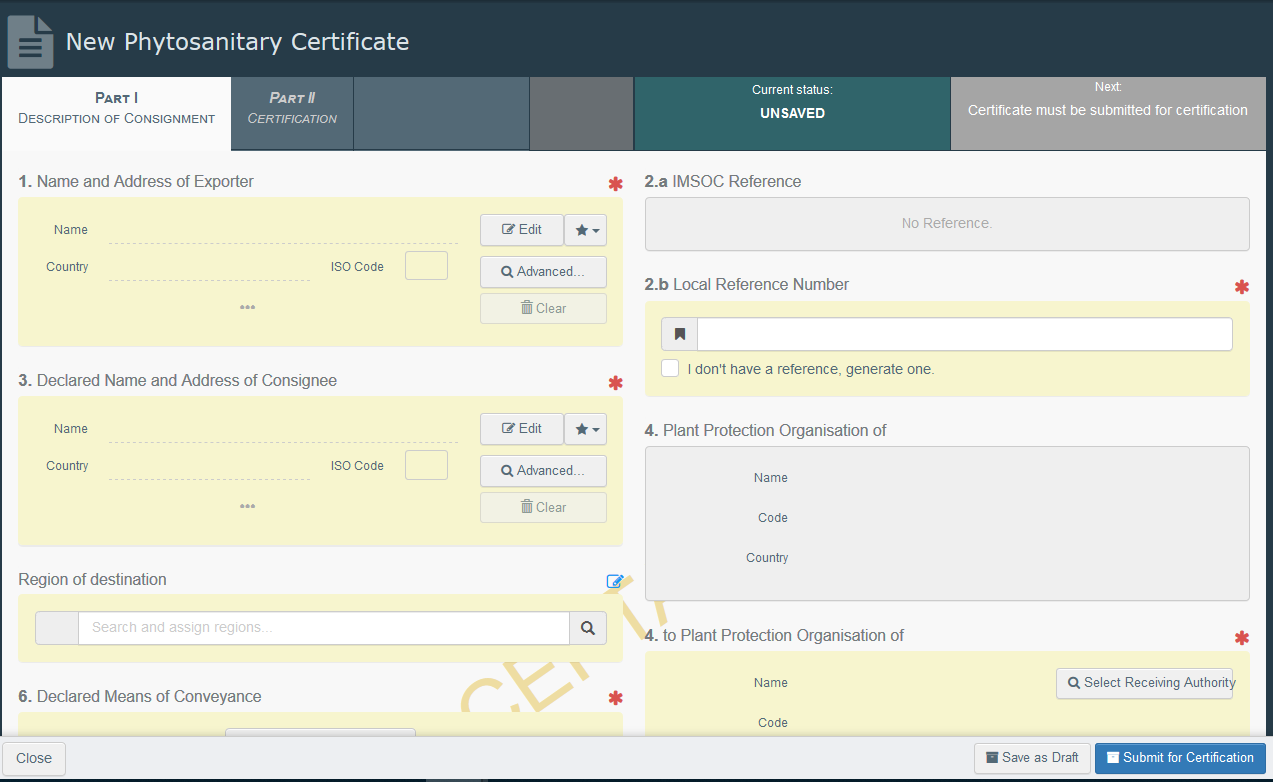
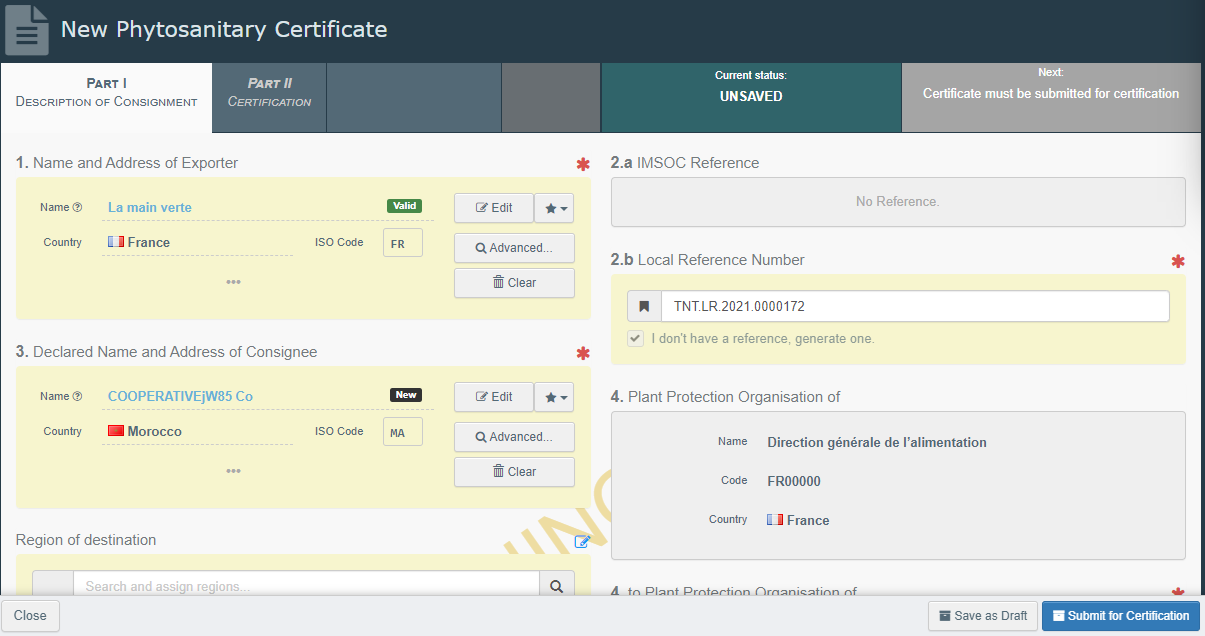
You will then be redirected to the certificate screen:
How to fill in the document?
Note
All the boxes marked with a red star * are mandatory

Mandatory boxes *:
Box – 1 – Name and address of the exporter:
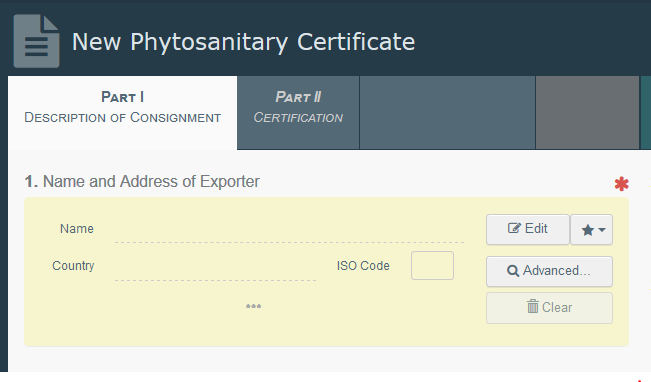
To fill in this Box, you have the option to either:
Start typing the name or address of the consignor/exporter and select a company from the drop-down list that pops out;
Select a company from the “Favourite operators” list by clicking on the grey star;
Run an “advanced search” using the corresponding filters to narrow the search.
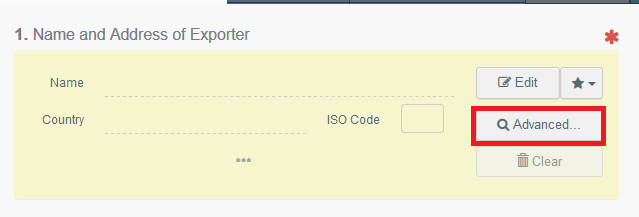
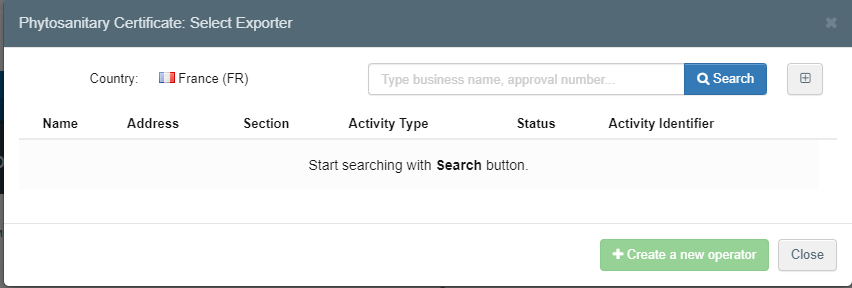
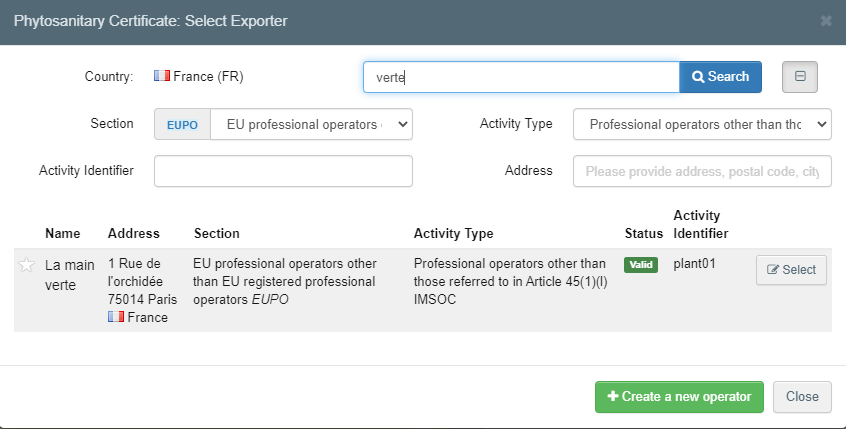
Once you find the operator, click on “Select”, and the “Name”, “Country” and “ISO Code” of the company are automatically filled inside the box.

If the operator is not registered in the system, you have the option of creating a new operator. To do so, click on “Advanced search”. Search for the operator you need, and if you do not find it, the green option “+create new operator” becomes available.
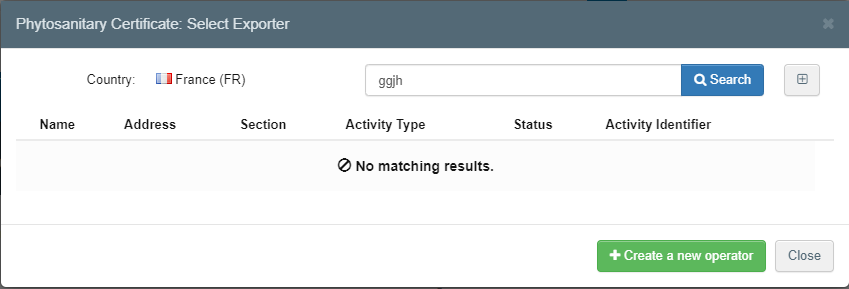
It is also possible to click on “Edit” and modify the content of the Box or to clear it completely and select another consignor/exporter by clicking on the “Clear” button.

Box – 2.b - Local reference number:

This is a free text box. You can type a reference number assigned to the certificate by your company, or at national level, if any. If you do not have any, tick the box “I don’t have a reference, generate one”. This option will generate automatically a unique Local reference number for the certificate you are creating.

Box – 3 – Declared name and address of the consignee:
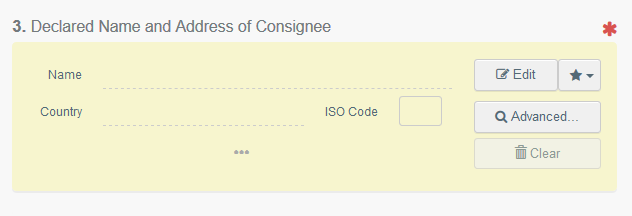
To complete this box, follow the procedure described for box – 1.
Box – 4 – Plant protection organisation of:

This is the NPPO that will take the decision on the consignment and will validate/reject the phytosanitary certificate you are creating.
It is automatically completed on the basis of the Country of the operator selected in box – 1.
Box – 4 – To plant protection organisation of:
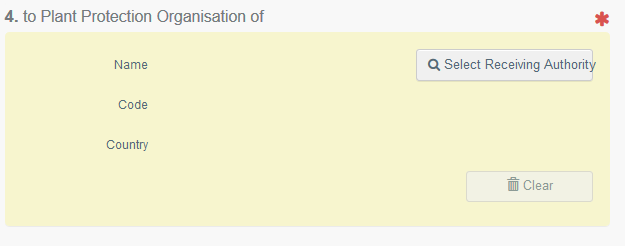
This is the NPPO of the Country where the consignment is going to be exported.
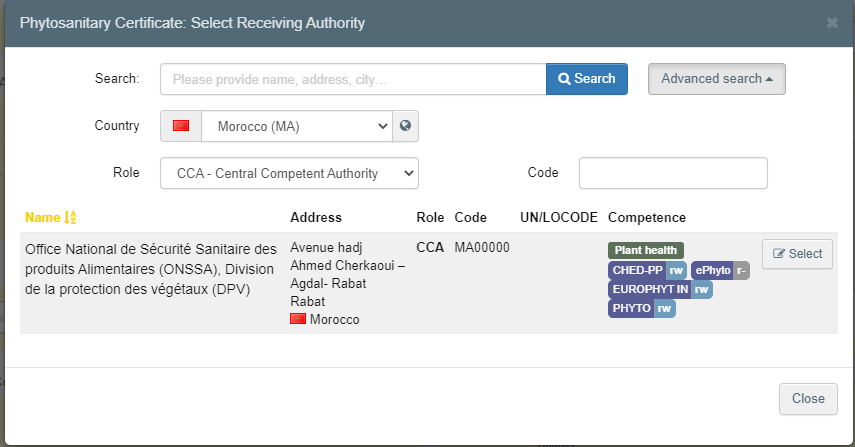
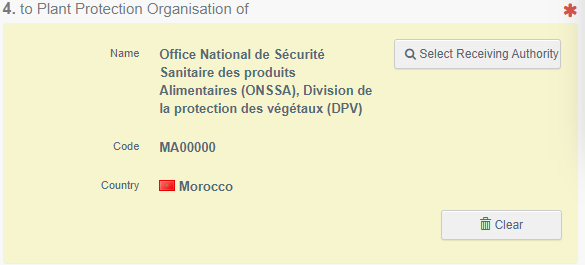
To complete the box, click on “Select receiving authority” and from the advanced search, select the Country and the role (CCA). Click on Select and the Box will be completed with the details of the NPPO.
Box – 6 – Declared means of conveyance:

To complete this box, click on “Add means of transport” and select the type of transport.

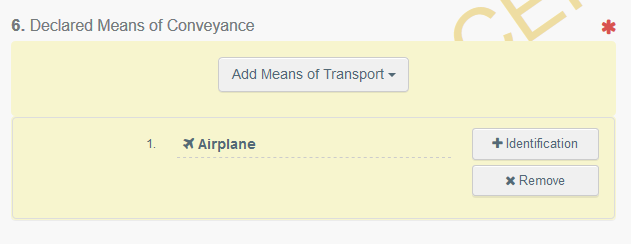
As an option, additional information about the transportation can be filled by clicking the “+Identification” option. Please note more “means of transport” can be added by repeating this process.
Box – 7 – Declared point of entry:
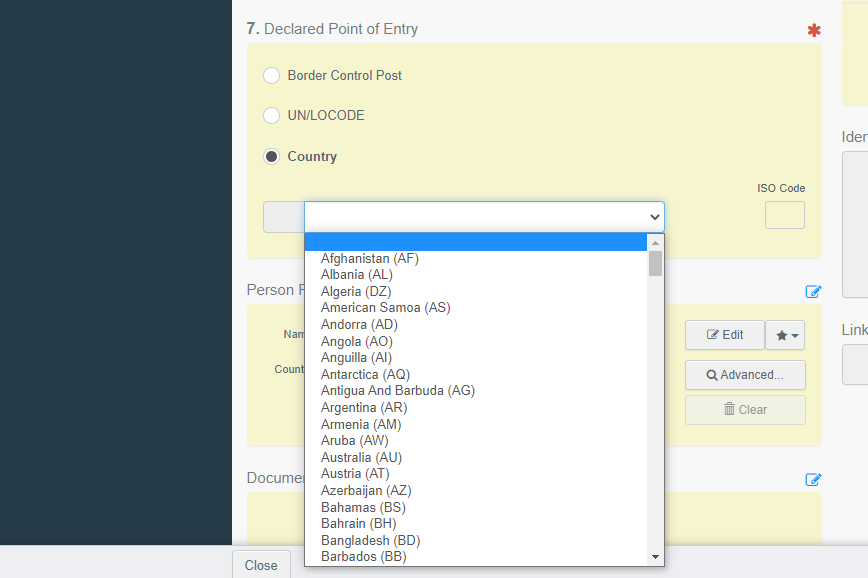
To complete this Box, choose the option country.
Note
The Border Control Post option is not valid for PHYTO for export documents
Box – 8 - Description of the commodity:
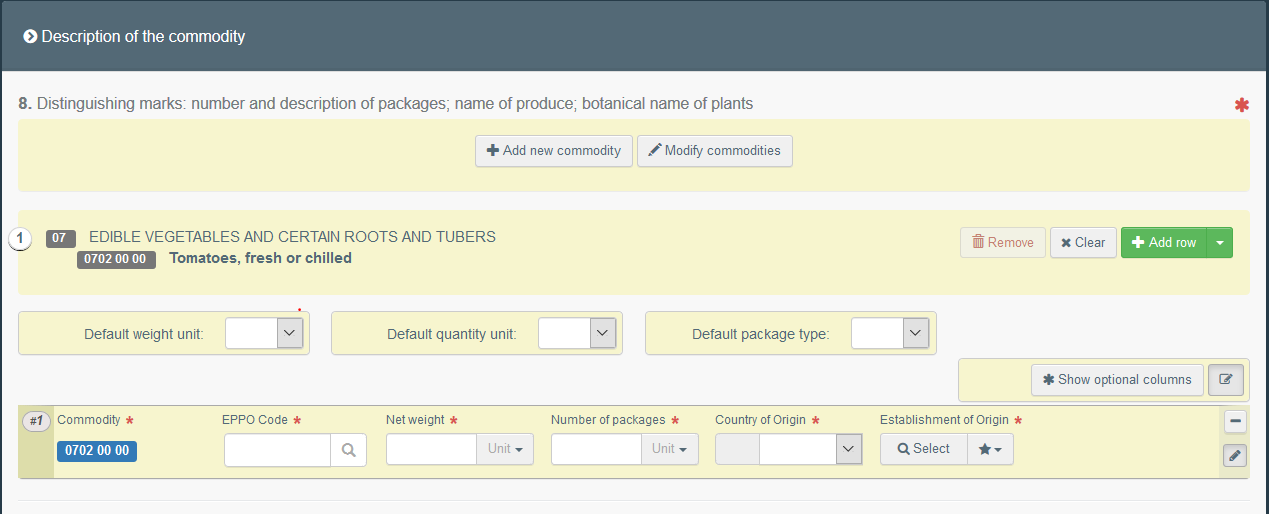
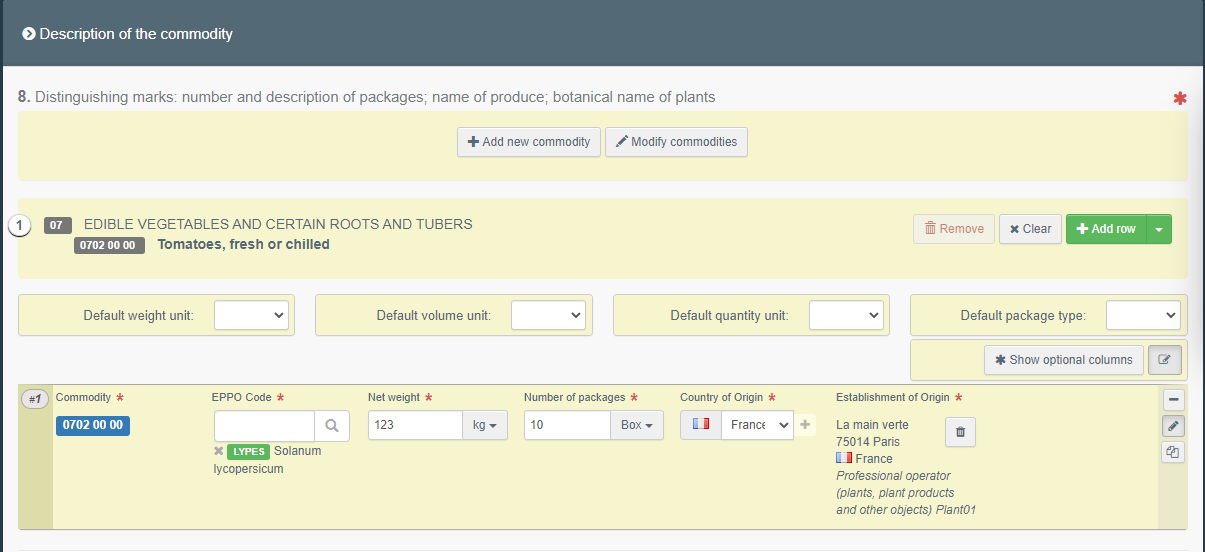
Fill in the mandatory information (EPPO code, Net weight, Number of packages, Country of origin and Establishment of origin):
Note
In the Net weight and Package count boxes, do not forget to specify the unit!

You have now completed all the mandatory boxes, and you can submit the phytosanitary certificate to the NPPO indicated in box – 4.
If you are not ready yet to submit the certificate to the authority, you can save it as draft. The certificate will be saved in the system and you will be able to access it in the future to complete it.
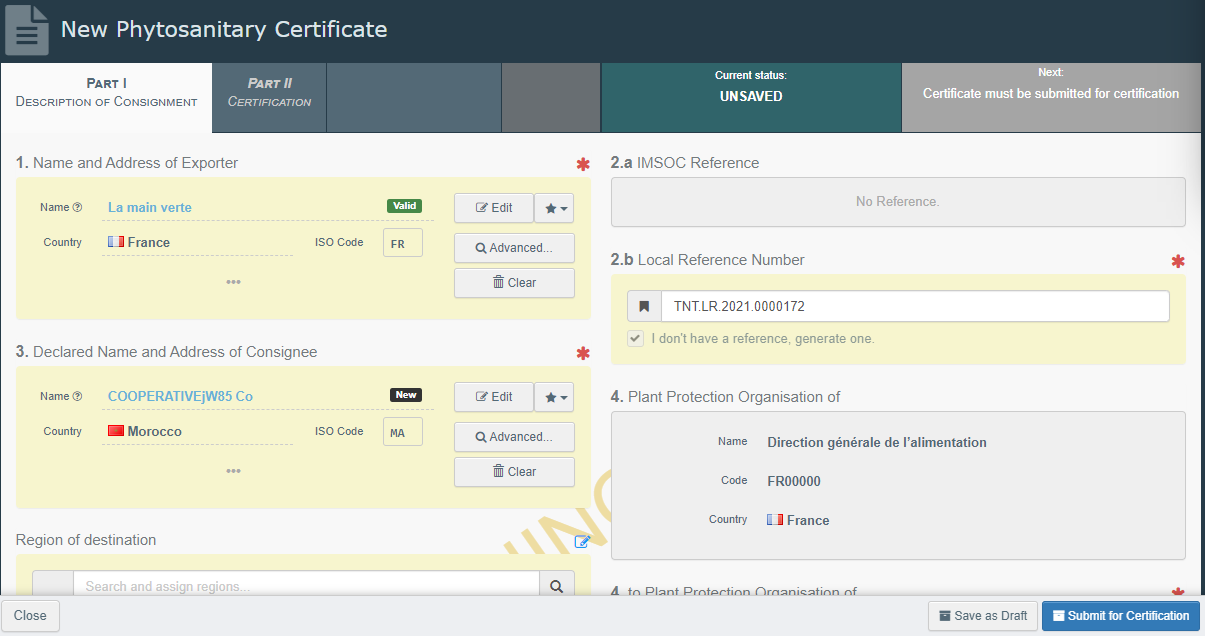
The draft will be visible to you, but not to the Authority.
If you are ready to submit the certificate, at the bottom right of the page, click on “Submit for certification”:
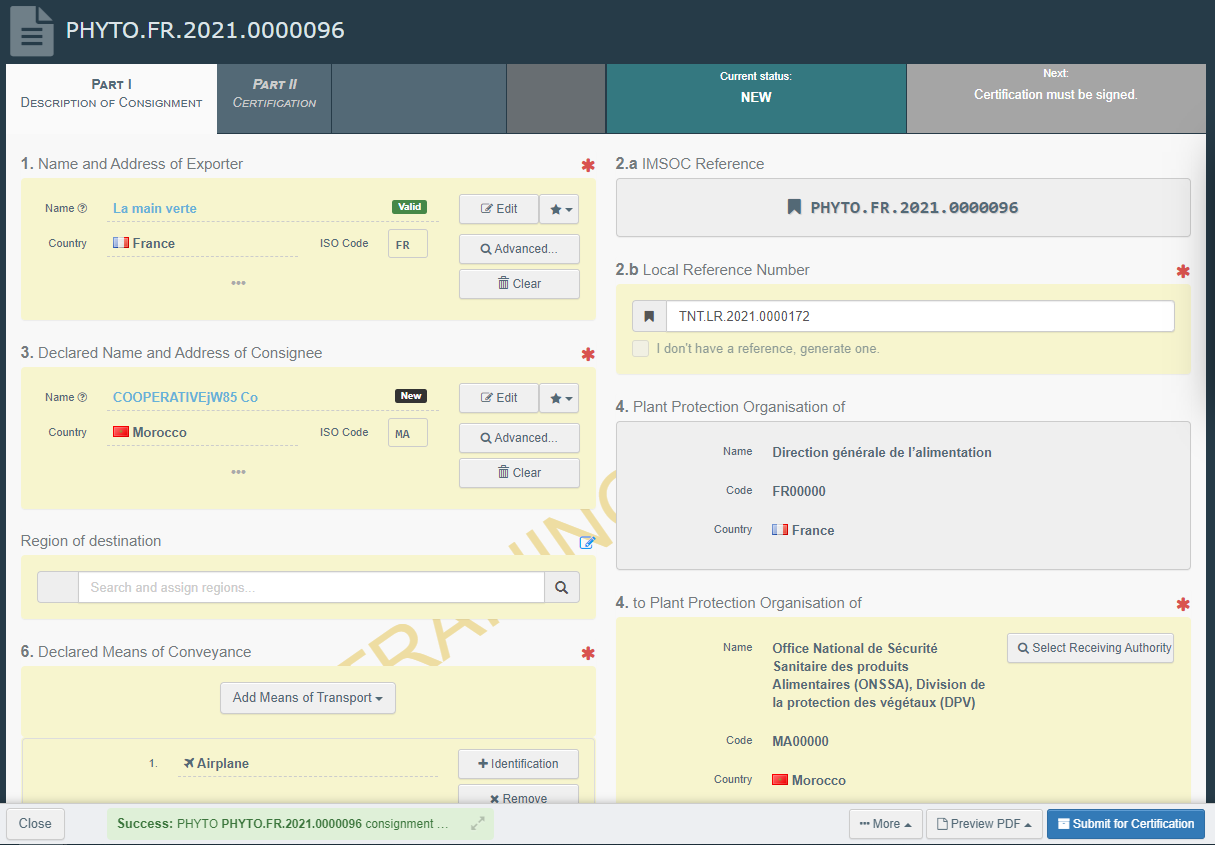
You will receive a green message of confirmation. The certificate will now have a unique IMSOC reference number automatically assigned by TRACES and it will be in status “New”. It will be visible to the Authority that will be in charge of certifying it.
You have successfully completed PART I of the PHYTO for export!
Note
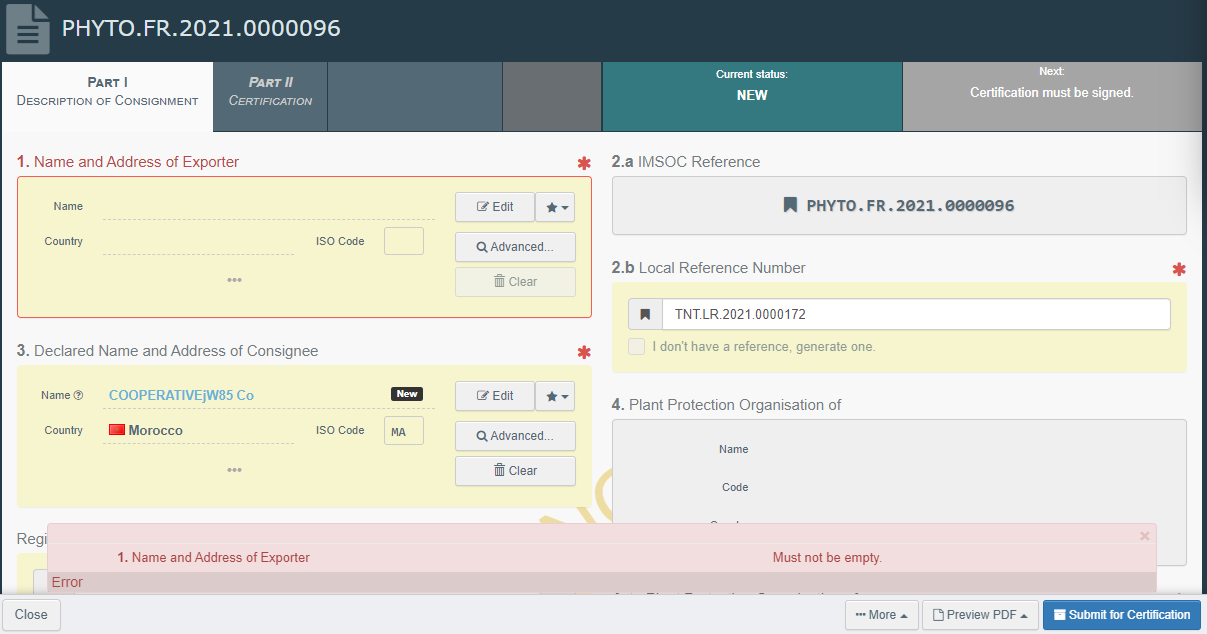
If some of the boxes have been completed incorrectly, an “Error” message will appear at the bottom of the page. If you click on the expand sign you will be able to read the message in detail. When you click on each of the messages, you will be redirected to the relevant box and field(s) that require modification.
Box Identification of the applicant will be automatically completed by the system after the submission of the certificate:

Optional boxes:
Box Person responsible for the consignment:
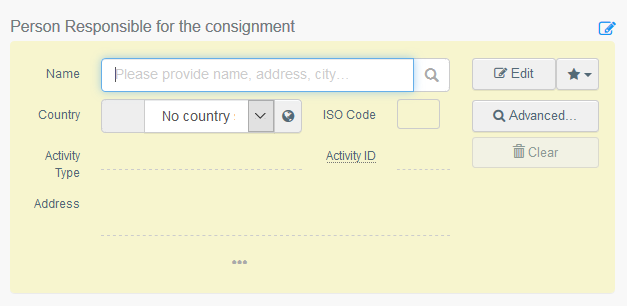
If you have this information, you can complete this box with the operator in charge of the goods at the border. To complete the box, follow the procedure described for box – 1.
Note
RFC operators are EU operators with a valid activity verified by their responsible authority
Box Documents:

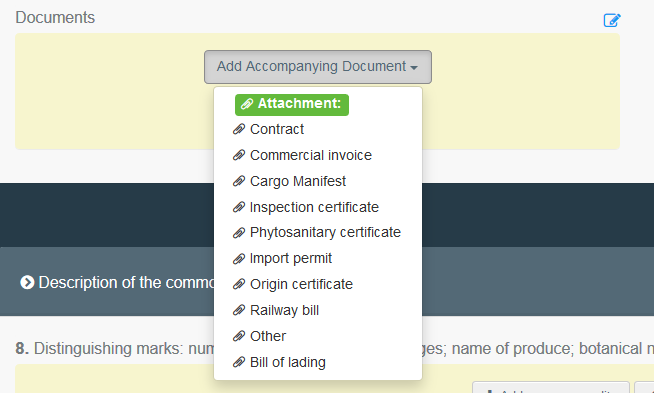
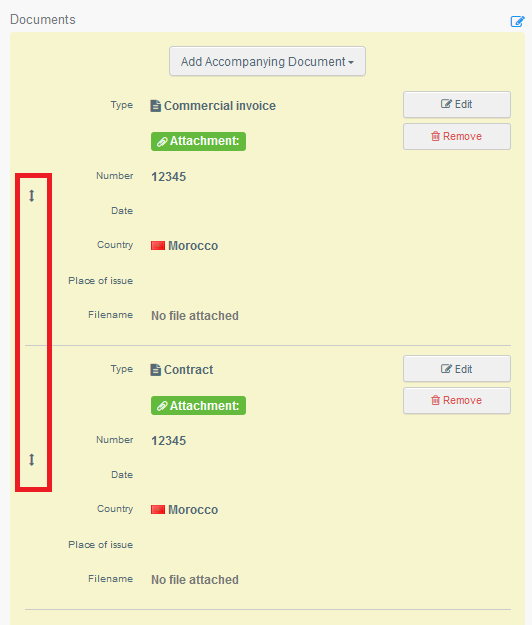
If any, you can insert here the details of any accompanying documents. Click on “Add Accompanying Document” and select the type of document to add from the drop down list. Insert the “Number” and “Country”, and then click on “✓ Apply”.
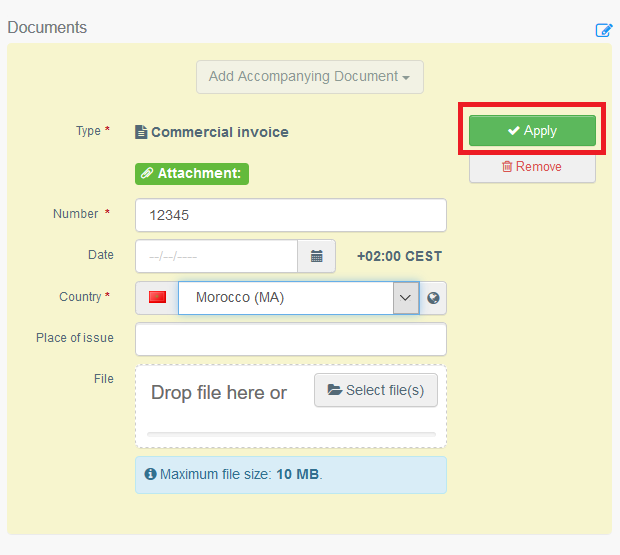
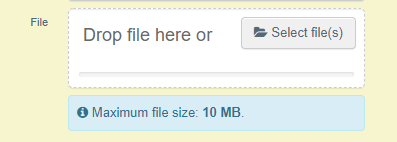
You also have the option to attach a file with a maximum size of 10MB.
Note
It is possible to add several accompanying documents and to order them by dragging and dropping the items with the double sense arrows on the left. Please note only the reference of the document in the first position will be printed in the final PDF.
Box Container No/ Seal No:

If you have this information, type the container and/or seal number in the free text field.
If there is an official seal, tick the option “Official seal”.
As Authority
To complete Part I, please follow the steps as described in the Operator's section .
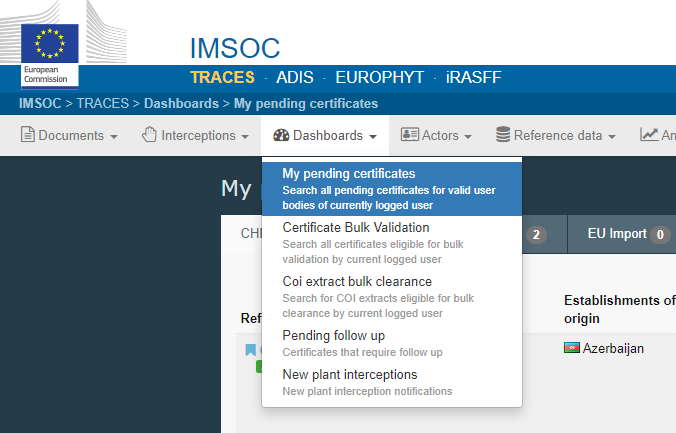
To find the Parts I submitted by the exporter, please go to “My pending certificates” in your Dashboards’ options.
Select the “Phytosanitary” tab to display the pending PHYTOs of your organization. They appear in a reverse chronological order from the oldest to the newest certificates.

Note
Note: as authority, at the bottom of the page you will not have the button “Save as draft” and “Submit for decision”. This step is not required for you.
You can “Sign as in progress” or go directly to the Validation/Rejection step.
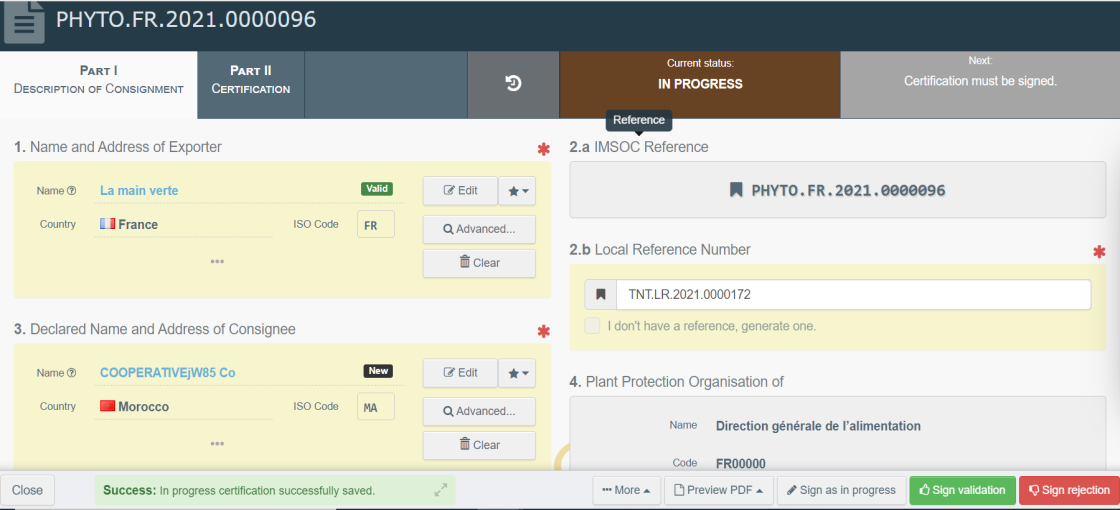
Sign as in progress will save the certificate in the system and you will be able to access it in the future to complete it. The certificate will be in status “In progress”, so that it will be automatically assigned by the system the IMSOC reference and will not be editable anymore by the operator.
Part II
Mandatory boxes *:
Once Part I is completed, go to Part II – Certification:

Read box – 10 and then go to box – 11 - Additional declaration.
Complete the free text box with the appropriate information.
After the completion of the Additional declaration Box, you can either Validate or Reject the certificate clicking on the buttons at the bottom of the page.
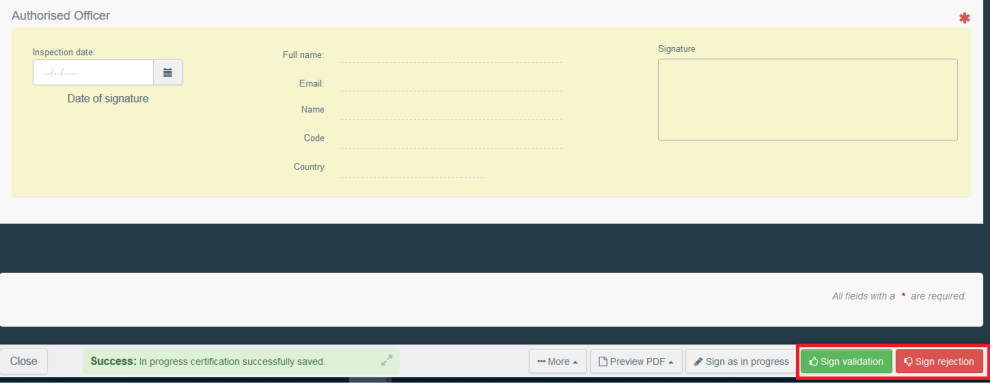
If you validate the certificate, it will be in status Valid and it will be visible to the receiving authorities mentioned in Part I.
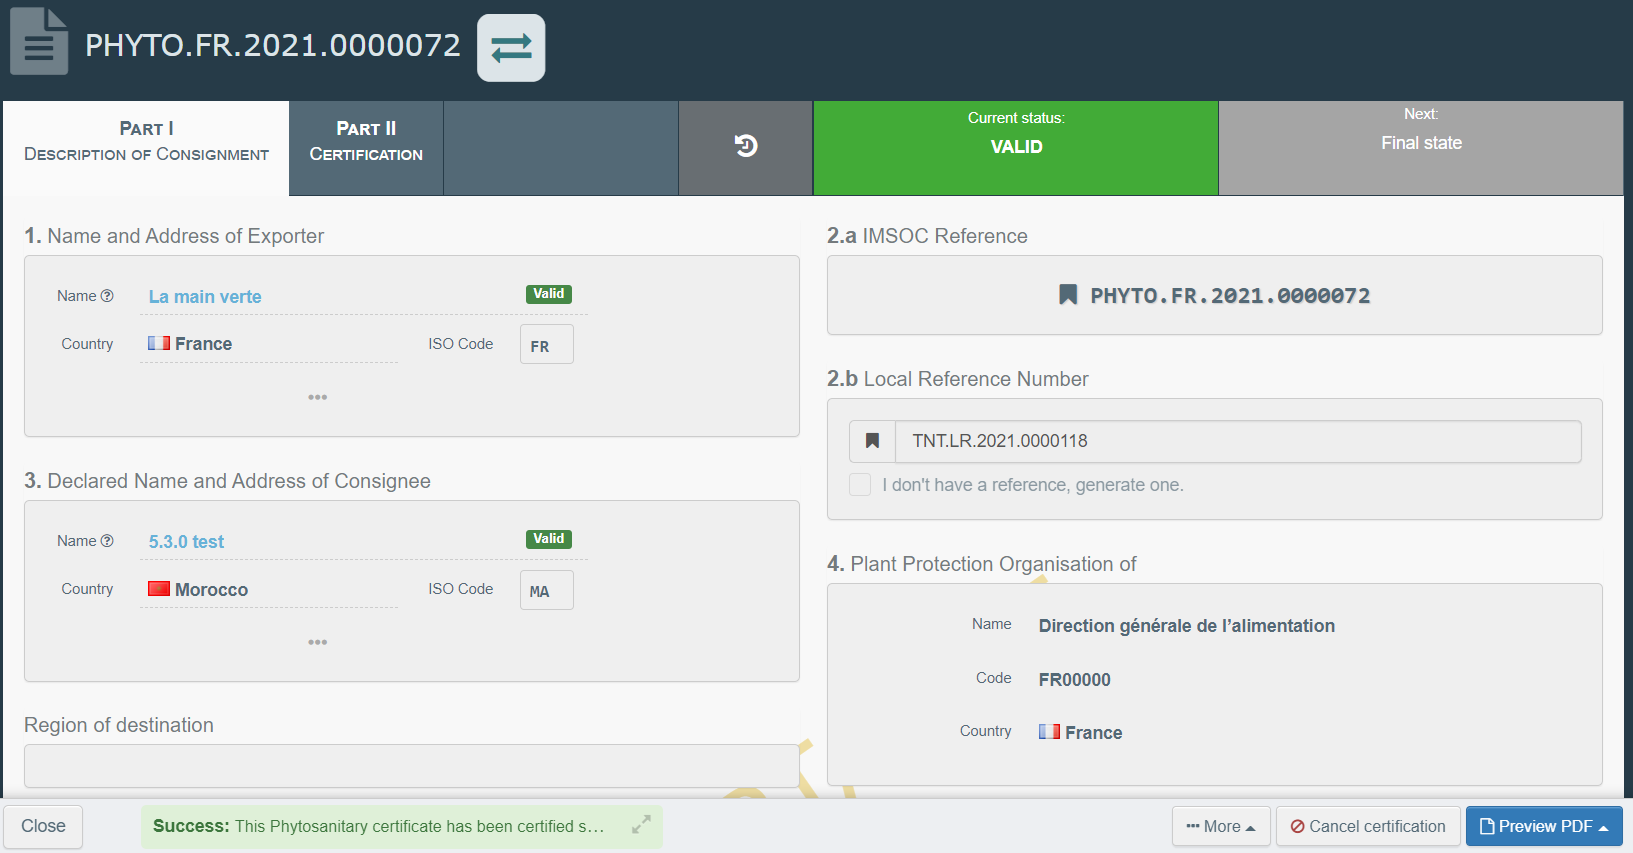
There is an icon next to the PHYTO number. By clicking on it, the tracking information with the IPPC Hub will be displayed.
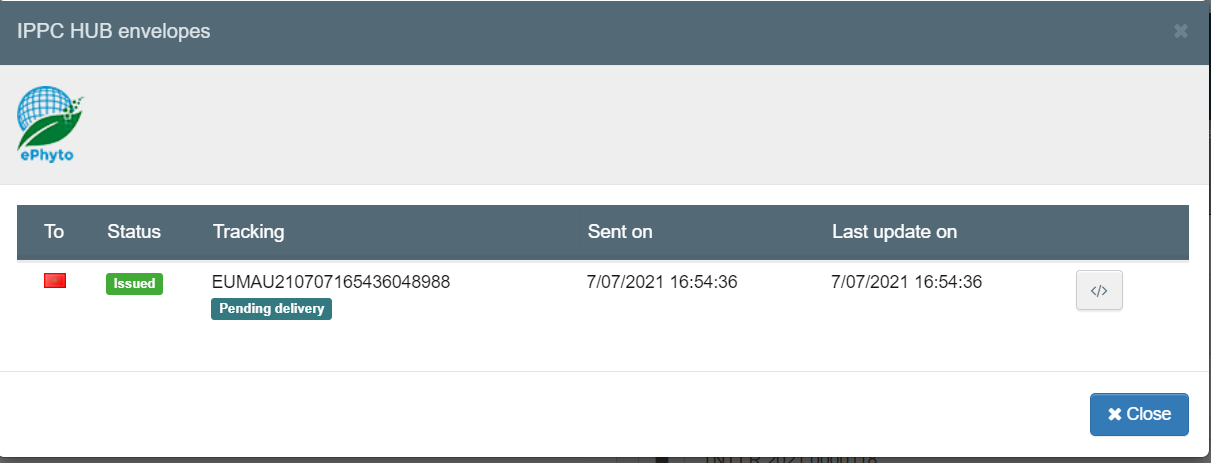
The status depends on the issuing EU country. It is either issued, withdrawn of replaced.
The tracking system (available for 6.0.0) will allow the user to know if the ePhyto has been delivered to the HUB or not. The user does not need to print and sign the PDF if the ePhyto has been correctly issued, as the XML will be signed and submitted to the third country. The e-seal will be sent to the Hub so that the third country inspectors can verify the authenticity of the document. For more information about the e-seal, please copy paste the link below: https://ec.europa.eu/food/animals/traces_en#electronic-certification .
The XML issued can be downloaded by clicking the icon on the right.
The box “Authorised Officer” in Part II will be automatically completed after Validation/Rejection with the details of the Authority who is signing the certificate:

You have successfully completed PART II of the PHYTO!
Optional boxes:
Box Disinfestation and/or disinfection treatment:

Click on “+ Add treatment” and insert in this box the details of the treatment, if any. Commodity/EPPO code and treatment type are mandatory information.

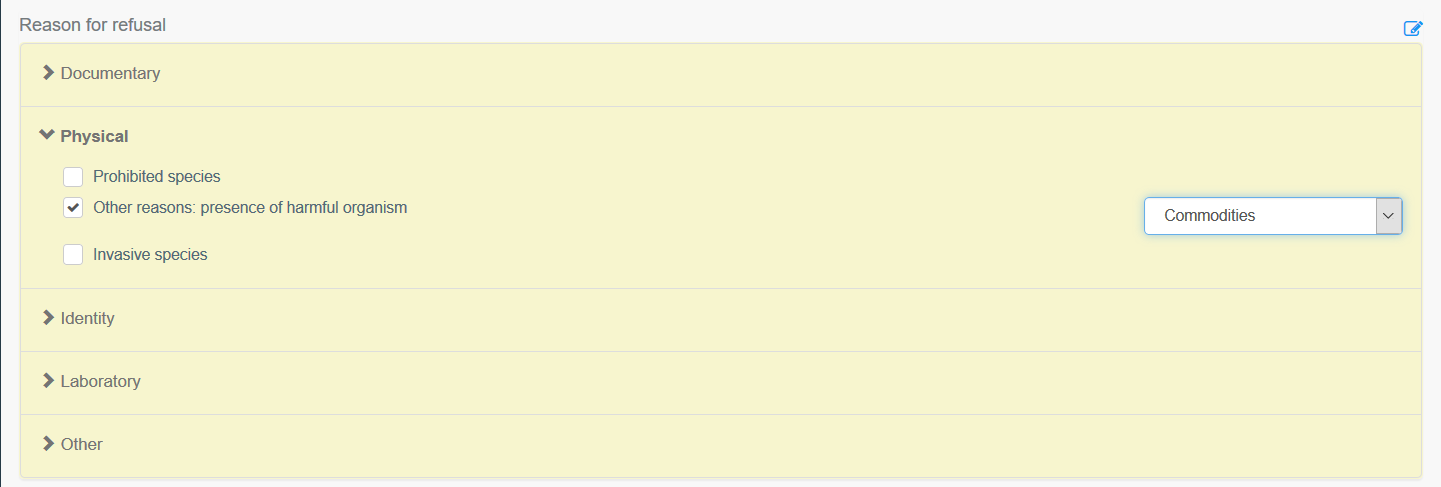
Box Reason for refusal:

If the certificate is to be rejected, you need to provide here the information on the rejection.
Click on the reason to expand the field and see the options:
Box Financial liability:

Tick this box if relevant.