Filling in the “Details on Non-compliance"
Box – Reason(s) for refusal:
The first mandatory box is “Reason(s) for refusal”:

In this box, you have the possibility to select the specific reason for refusal (e.g. harmful organism), or more than one reason, with the corresponding details.
The first field is the Refusal reason. When you click on it, a drop-down menu will appear, from which you will have the possibility to select the option from a list that contains several options.
The next column concerns the Commodities affected. Click on the arrow button and you will review the commodities that are indicated in the Part I of the CHED-PP, and that will appear here for selection:

It will be possible to select one or more commodities, up to all the commodities that were previously included in the CHED-PP and that are affected by the refusal reason.
Once selected, the commodities will appear automatically in the column:

The same procedure applies for the next column, Packaging materials:

Once selected, the packaging materials affected by this refusal reason will appear in the corresponding column:

You can also use the “Comment” field, which is a free text box below the Refusal reason menu, to add any additional information that you may need to indicate.
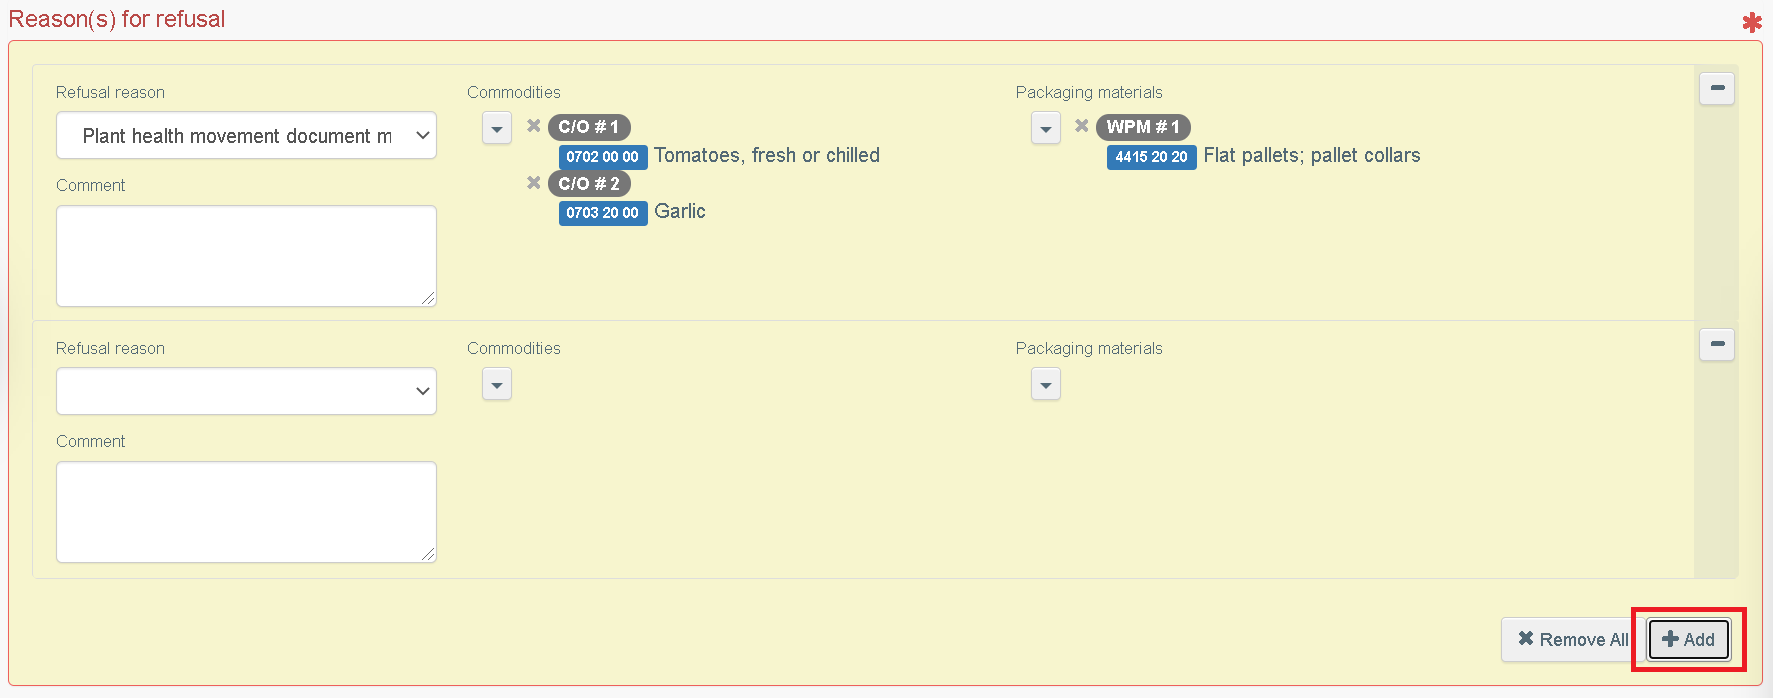
The box will be now completed, but you can still add a new Reason for refusal, if needed (e.g. another harmful organism). To do so, click on the “Add” button located to the lower-right corner. Once you click on it, a new, empty field will appear below the one that has been completed, that you will be able to fill in again:
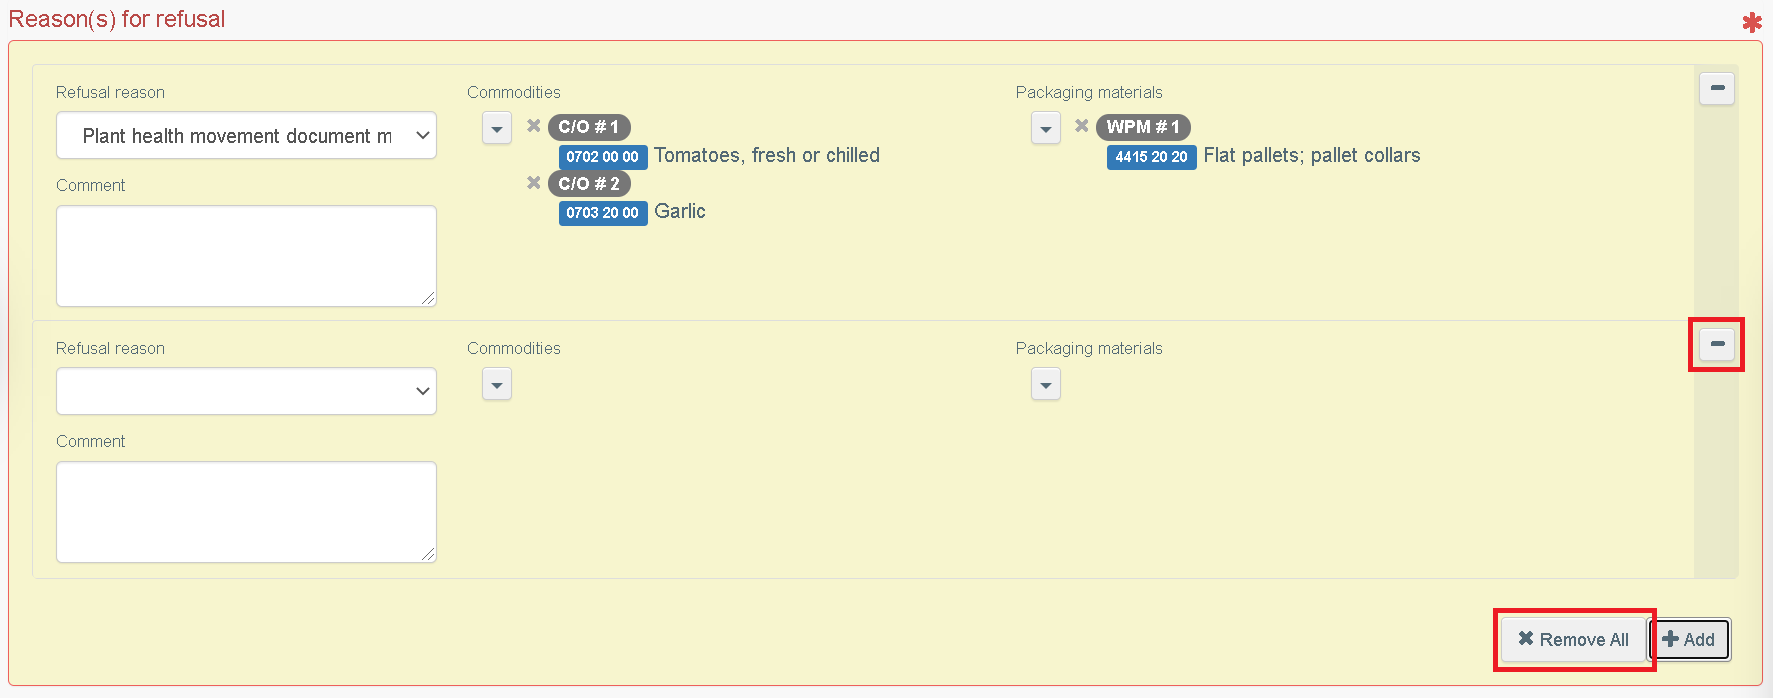
If you need to remove one of the refusal reasons, click on the icon which is next to the packaging materials  .
.
Finally, if you click on the “Remove all” button, you will automatically delete all the information filled in so far, even if you have selected more than one Reason for refusal, and you will be able to restart.
Box – Measure(s) taken on consignment:
The second mandatory box is “Measures(s) taken on consignment”:

In this box, you have the possibility to select the specific measure taken on the consignment, or more than one measure, with the corresponding details.
Similarly to the previous box, you will be able to select different drop-down menus from where to select the proper information. You can do so for “Measure taken” and for “Measure extent”, where you will be able to choose amongst different options:


The next columns concern the Commodities and the Packaging materials. To fill this in, please repeat the same process as described above for the ““Reason(s) for refusal” box:

After the box is filled in, you can still add a Comment on Measure(s) taken in the free text box located below, where appropriate.
In addition, you can interact with the option “Add” or “Remove all”, respectively to add a new Measure taken on consignment or to remove all.
Box – Place of inspection
The third mandatory box is “Place of inspection”:
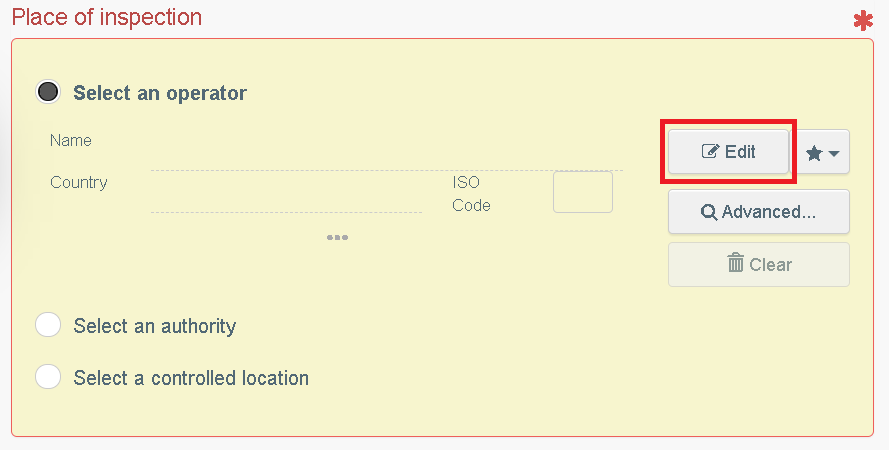
You will be able to choose between an operator, an authority or a controlled location. You can use different options to select one of these actors.
First, if you click on the “Edit” button, it will be possible to look for the needed structure directly from the box by typing the name (you can also select the country to add a filter to your search):
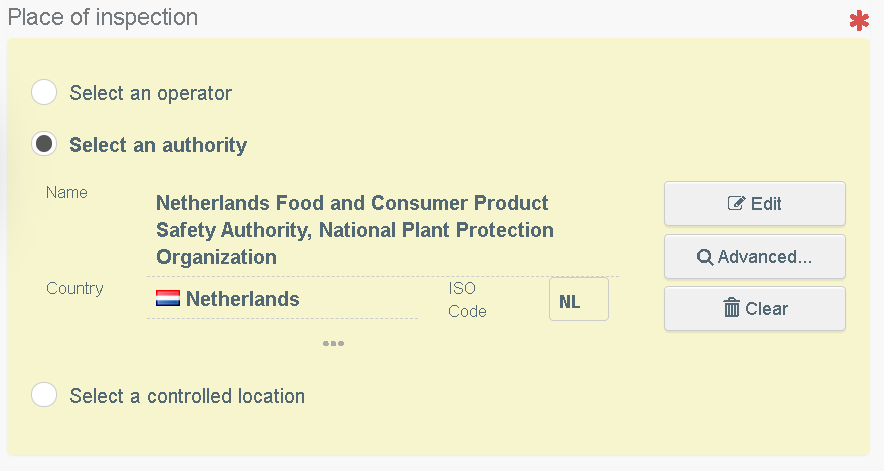
You can also use the “Advanced” button to open the menu for the advanced search, where you will be able to use more filters (such as country, role or code, as well as the name) to find more easily the needed operator, authority or controlled location:
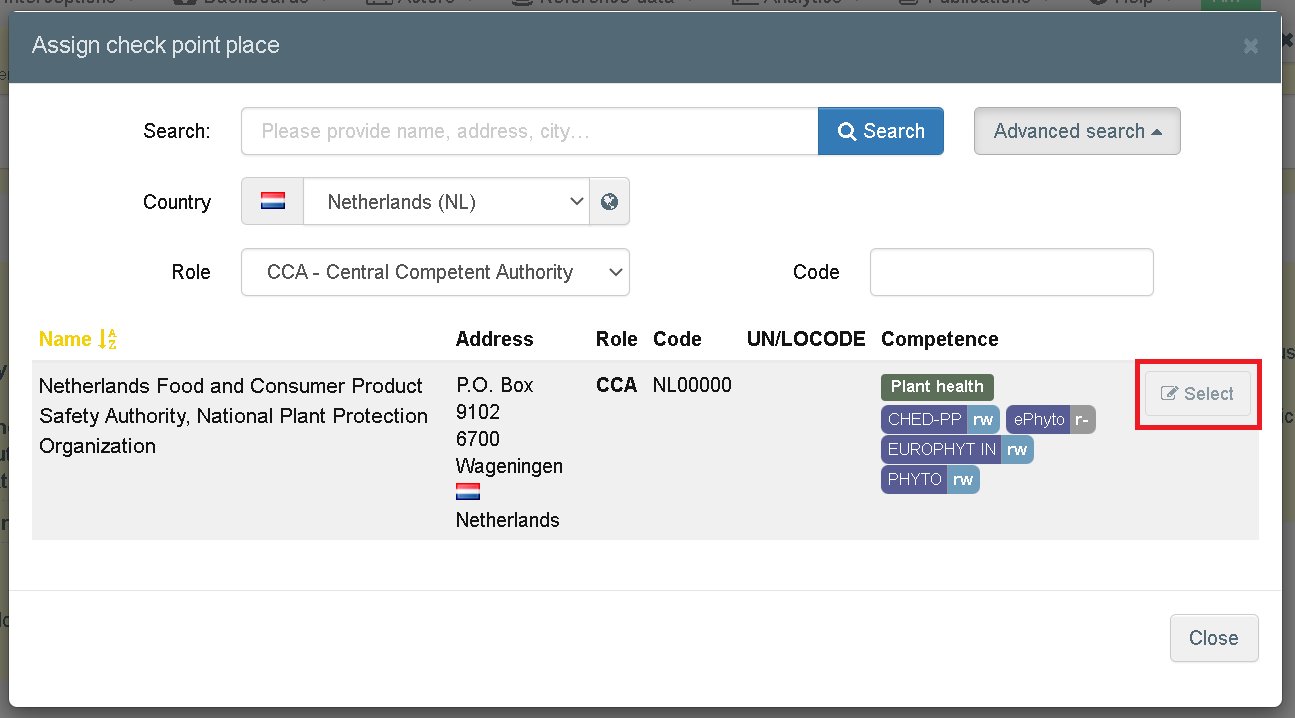
Do not forget to select the place of inspection.
Finally, you can click on the button “Clear” to delete the information selected so far.
Box – Inspection type
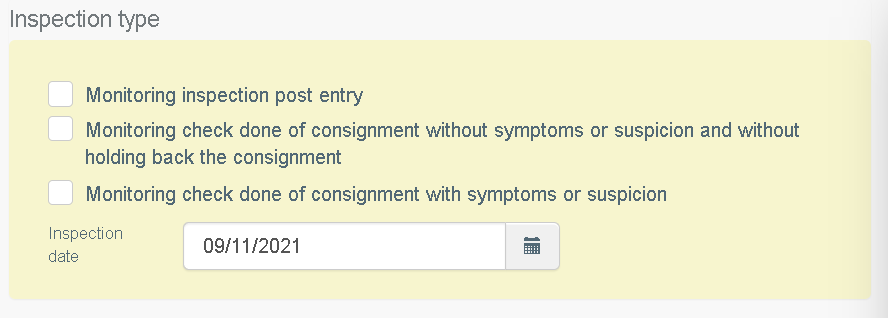
Finally, the fourth box, “Inspection type”, is not mandatory, so it can be filled in as appropriate. If you decide to skip it, you can still fill in and finalise the “Details on non-compliance" tab.
Where applicable, you can tick one, two or all the three inspection type options that are available, as well as indicate the inspection date:
Finalisation
After all the information has been filled-in successfully, the “Details on non-compliance" data can be submitted.
Before closing your window, do not forget to click on the button “Save Non-compliance", in the lower-right corner:

Once saved, the tab will be visible (read-only access) to the parties involved in the CHED-PP (responsible for the load, third country authority users) and to all Member States authority users.
The details of non-compliance remain editable for the authority users wishing to add/remove any information.