PART I
Select the commodity/certificate model
On the homepage, click on “Documents” and then on “EU Intra”:

Click on the green button “+ New EU Intra certificate”:

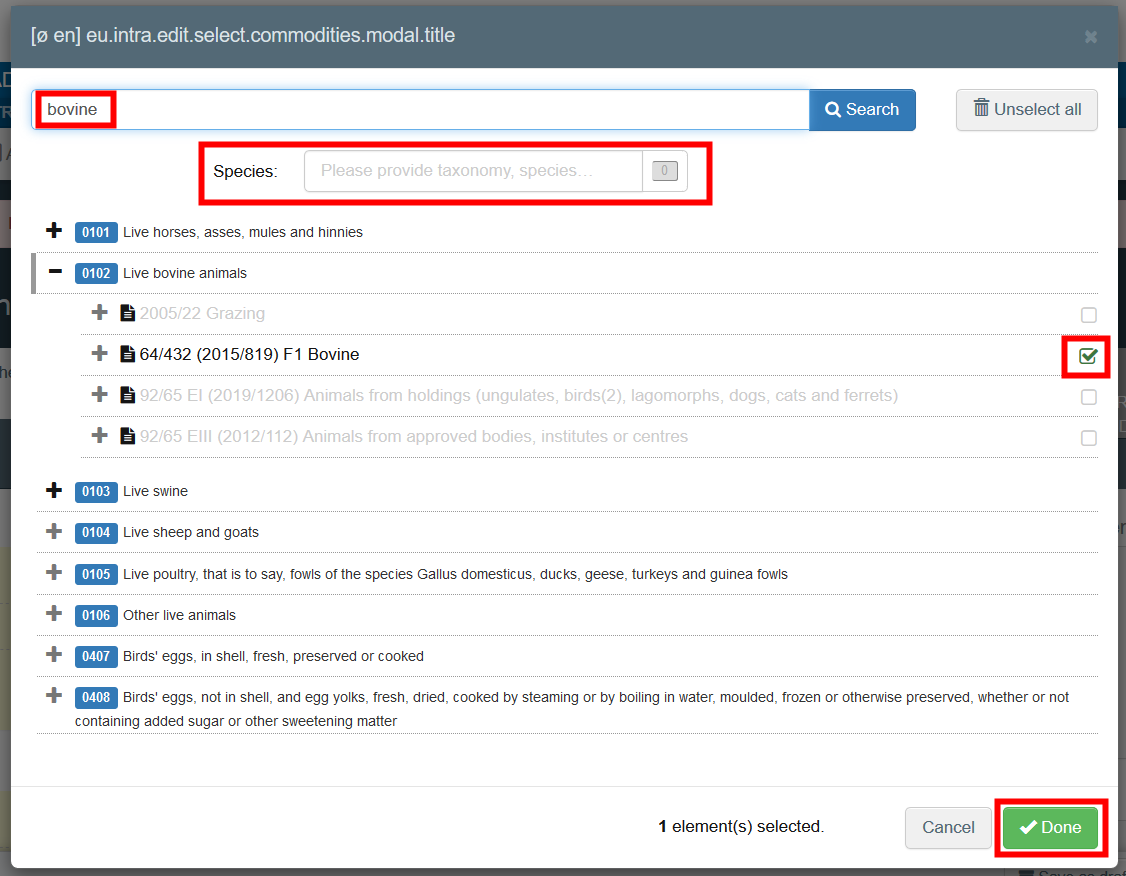
Select the certificate model from the list using one of these 3 options:
Expand the CN code and select it from the list of models
Type the name or the CN code or the title of the model
Filter by species
Click on “Done”.
Note
You can still delete, add or modify the commodity details in the certificate, box – I.29.
Complete Part I
Tip
Use the shortcut tool on the right-hand side of the certificate in order to navigate easily between the boxes.
Note
All othe boxes marked with a red asterisk * are mandatory

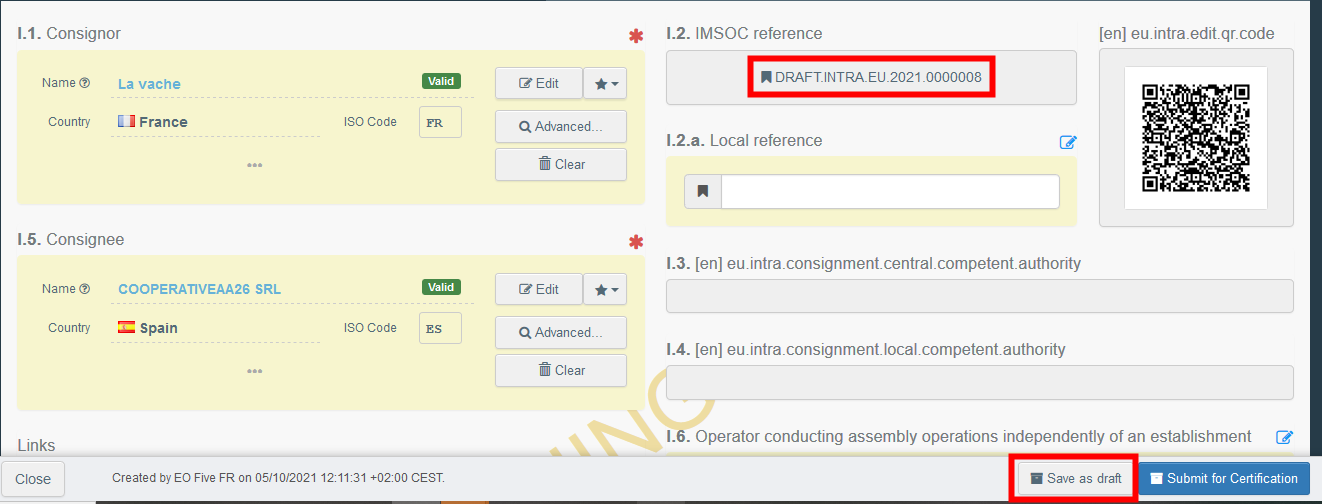
Box – I.1 Consignor
Fill in this box using of these options:
Start typing the name of the consignor and select a company from the drop down list that pops out.

Select a company from the “Favorite operators” list, by clicking on the grey star. To register an operator in your “Favorites”, run an advanced search, find the correct option and tick the star at the left side. This will register this operator as a favourite.

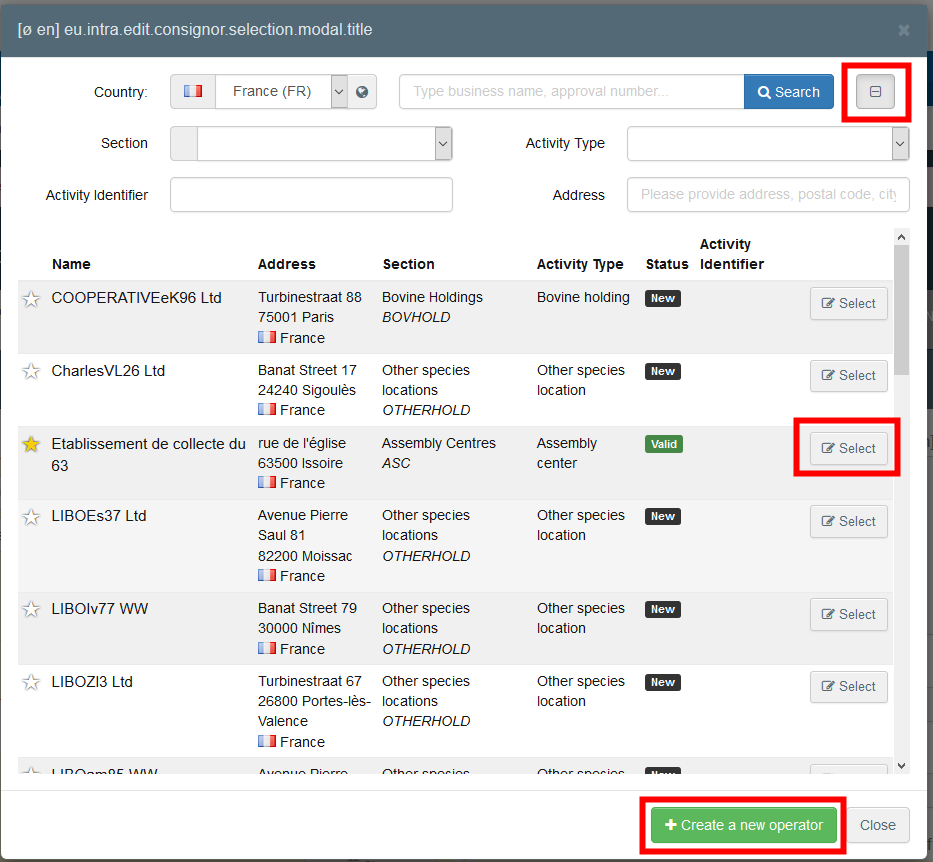
Run an advanced search by clicking on the “Advanced…” button and add some filters by clicking on the small “+” button on the right.
Note
If the operator you are looking for is not already registered in the system, you can create a new one by clicking on “+ Create a new Operator”. This button will only appear once you did an advanced search in order to avoid as much as possible duplicates in the system.
Please note this does not apply for certain approved or registered operators which are to be created/managed by their respective authorities.
It is also possible to click on “Edit” to modify the content of the box or to clear it and select another consignor, clicking on the “Clear” button.
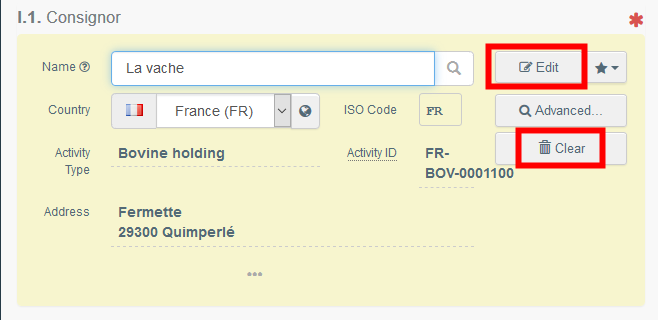
Once the correct operator is selected, the “Name”, “Country” and “ISO Code” of the company are automatically completed. You can see the details of the selected operator by clicking on the three dots:

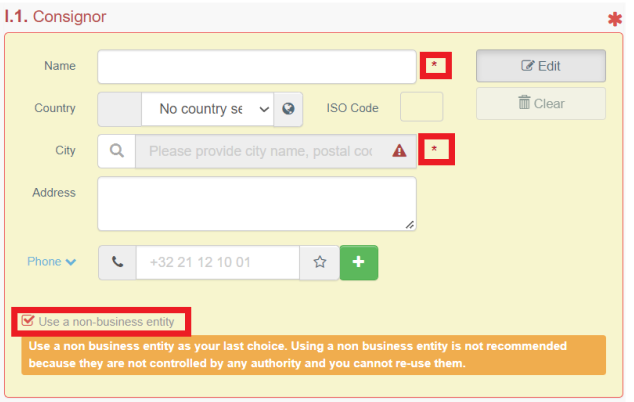
In some certificate models, according to legislation, is possible to populate box I.1 with unregistered operators (non-business entities). When necessary, select this option in the bottom of the box and add information of the operator, that can be a particular.
Note
The choice of using a non-business entity should be a last choice. Using a nonbusiness entity is not recommended because they are not controlled by any authority, and you cannot re-use them.
For the relevant certificate models, this option can also be found in box – I.5 Consignee, and I.12 Place of Destination
Box – I.2 IMSOC reference
The IMSOC reference number will be automatically allocated by the system once you save as draft and/or once you submit the EU Intra.
Box – I.2.a Local reference
It is possible to add a local reference number to the EU Intra. This box is optional.
Box – I.3/I.4 Central/Local competent authority
These boxes will be automatically populated by the system once you fill the box – I.11 Place of dispatch.
Links
This box will be filled only in some cases. For example, if the EU Intra has been replaced, the link to the replacing certificate will be indicated in this box.
Box – I.5 Consignee
To fill in this box, follow one of the procedures described for box – I.1.
Tip
After completing the boxes I.1 and I.5, you can already “Save as Draft” the Part I of the EU Intra and complete it later.
AVO-Appointed Veterinary Office
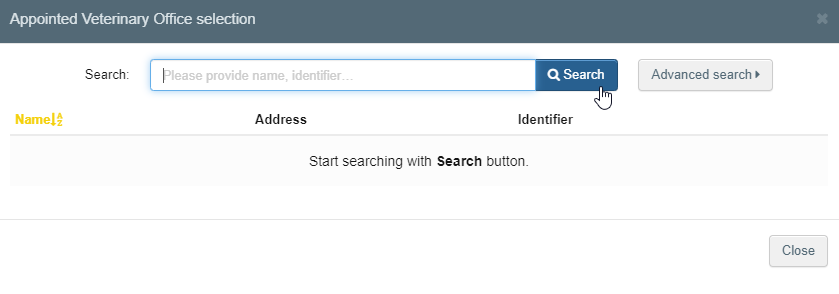
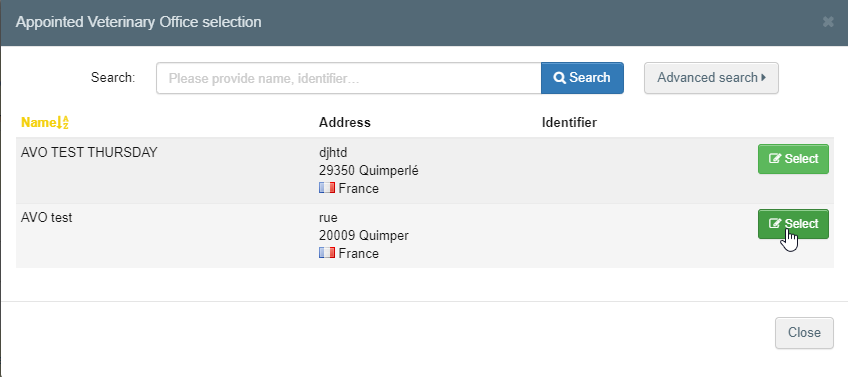
The operator or the Authority issuing the INTRA part I can select the Appointed Veterinary Officer who, where applicable, will be in charge of certifying the INTRA certificate.
Select the operator following one of the procedures described for box –I.1.


Box – I.6 Operator conducting assembly operations independently of an establishment
Select the operator following one of the procedures described for box – I.1.
Box – I.7 Country of origin
The country of origin will be selected automatically based on the country of the place of origin in box – I.30.
Box – I.8 Region of origin
This box needs to be filled in, where appropriate, depending on the requirements of the selected model official certificate.
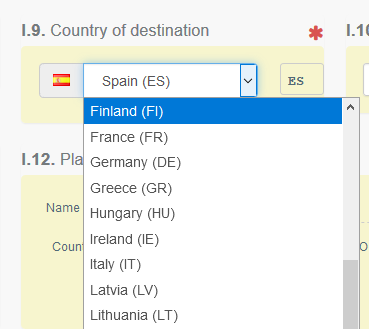
Box – I.9 Country of destination
Choose in the drop-down menu the country of destination of the consignment.
Box – I.10 Region of destination
This box needs to be filled-in, where appropriate, depending on the requirements of the selected model official certificate.
Box – I.1 Place of dispatch
Indicate the holding/establishment from which the animals or the products come from. To fill in this box, follow one of the procedures described for box – I.1.
Box – I.12 Place of destination
Indicate the place where the animals or products are being delivered for final unloading. To fill in this box, follow one of the procedures described for box – I.1.
Box – I.13 Place of loading
Indicate the place where the animals are loaded or the final place where the products are to be loaded in the means of transport. To fill in this box, follow one of the procedures described for box – I.1.
Box – I.14 Date and time of departure
Indicate the date and, when required, time, when animals or products are scheduled to leave the place of loading.
Click on the small calendar icon to choose the date and click on the box to select the exact time (in hours and minutes).
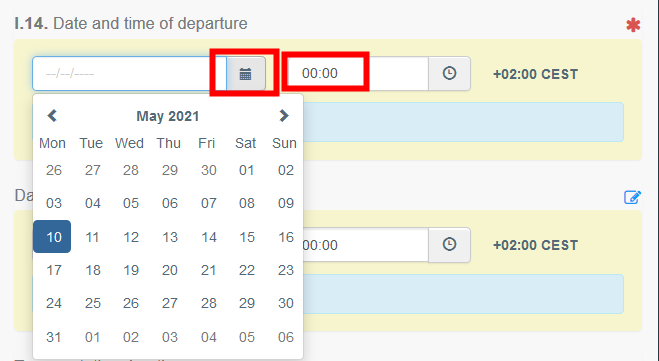
Tip
By clicking the small clock icon, you will set the time to the current date and time.
Date of arrival
Indicate the estimated date and time of arrival. This box is optional.
Transportation duration
This box will be automatically filled once the boxes – I.14 departure date time and date of arrival have been filled.
Box – I.15 Means of transport
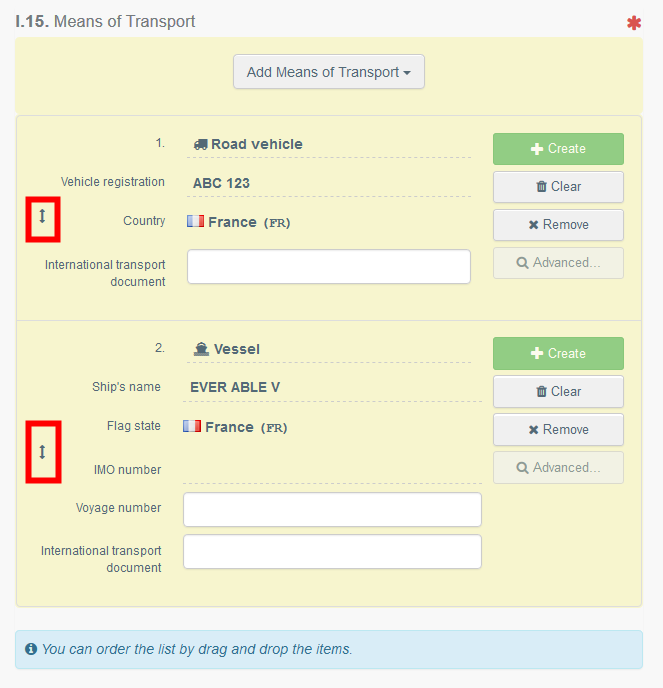
Click on “Add means of transport” to select the means of transport by which the animals or products are leaving the country of dispatch. You have the choice between “Railway”, “Road vehicle”, “Airplane” or “Vessel”.
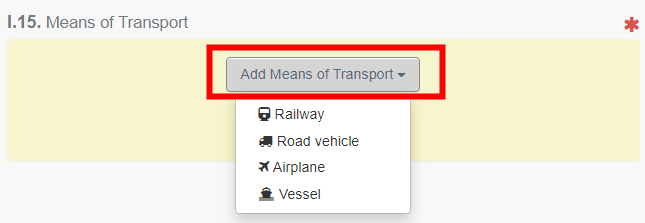
Complete the requested fields:
If the means of transport already exists in the system, it will appear in the drop-down list while typing. Select it.
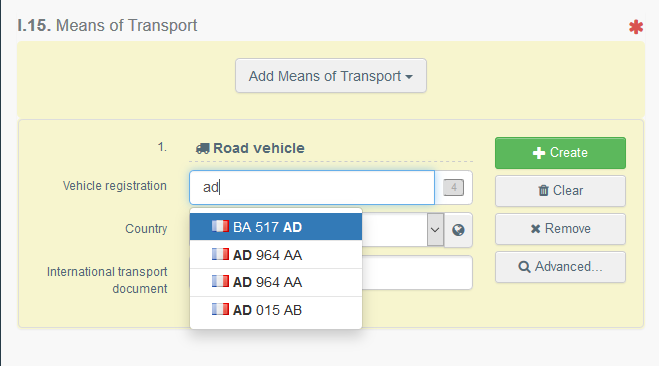
If it does not exist, complete the fields and click on the green button “+ Create”.
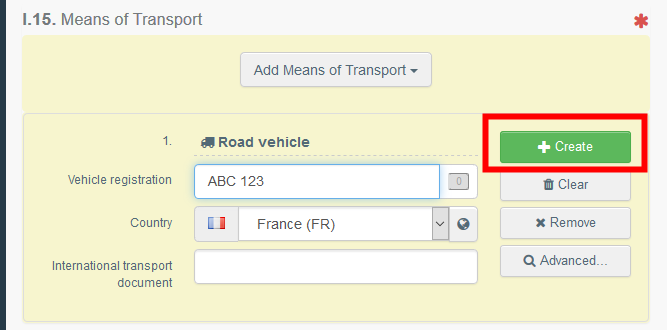
You can add several means of transport and order them by dragging the items with the double sense arrows on the left.

Box – I.16 Transporter
Indicate the name of the person in charge of the transport. To fill in this box, follow one of the procedures described for box – I.1.
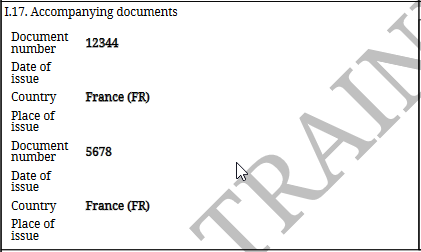
Box – I.17 Accompanying documents
The purpose of this box is to provide any other relevant documents.
“Add Accompanying Document”: choose the type of document from the corresponding drop-down list and enter all relevant information, such as “Number”, “Date” and “Country”.
If you wish to upload a file, then click on the “Select file(s)” button. Don’t forget to click on “✓ Apply”.
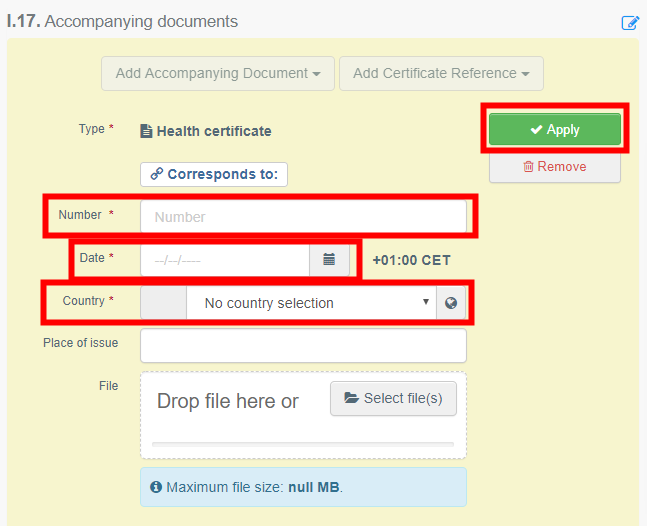
“Add Certificate Reference”: the certificate reference is the reference of a certificate that is issued in TRACES. Fill in the number of the certificate.

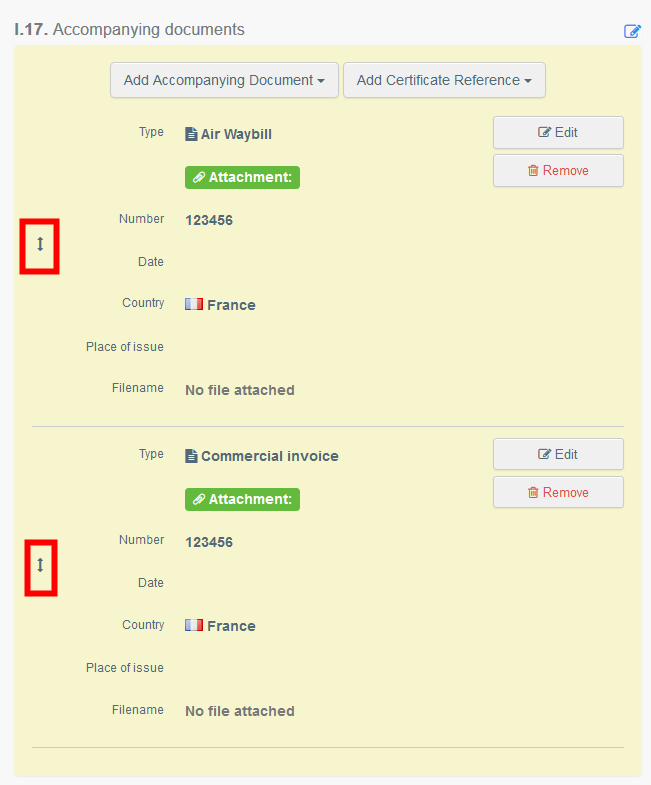
It is possible to add several accompanying documents and to order them by dragging and dropping the items with the double sense arrows on the left.
Box – I.18 Transport conditions
Tick one of the options available. The options may vary according to the selected CN code.

Box – I.19 Container No/ Seal No
Where applicable, indicate the container number and seal number.
Box – I.20 Certified as or for
Select the correct option for the intended use of the consignment. The options displayed depend on the selected Certificate model.

Box – I.21 For transit through a third country
In case of transit through a third country, select the third country from the drop-down menu, then select the Exit point and the Entry point in the EU. You can select more than one country.


Click on ‘Advanced’, search for the Exit/Entry point and select them from the respective list for each of the countries:


Box – I.22 For transit through Member State(s)
In case of transit through Member State(s), select the relevant Member State(s) from the drop-down list. You can select more than one Member States. The central authorities of the indicated Members States will be able to access the EU INTRA trade certificate.

Box – I.23 For export
In case of export, select the third country and the exit point.

Box – I.24 Estimated journey time (between place of dispatch and place of destination)
This box is filled-in automatically based on calculated time between the place of dispatch and place of destination.
Box – I.25 Journey log
In this box, an Animal Journey Log can be added for the animal movements when required. To do it, Click on “Search”

Then introduce the Journey log reference number in the field “reference” and click on “search Journey log”:
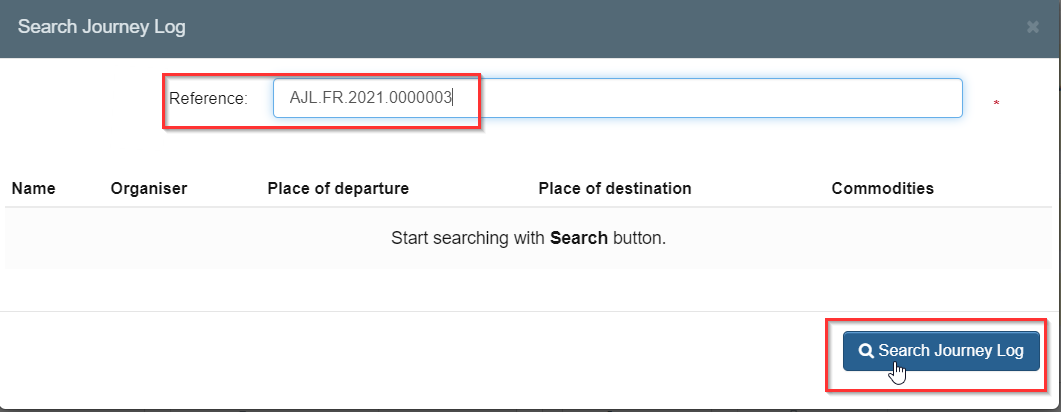
And click on “”select”:

Box – I.30 Description of consignment
Fill-in the requested information for each box by typing or selecting an option from the drop-down menu. Don’t forget to define the quantity and weight unit.
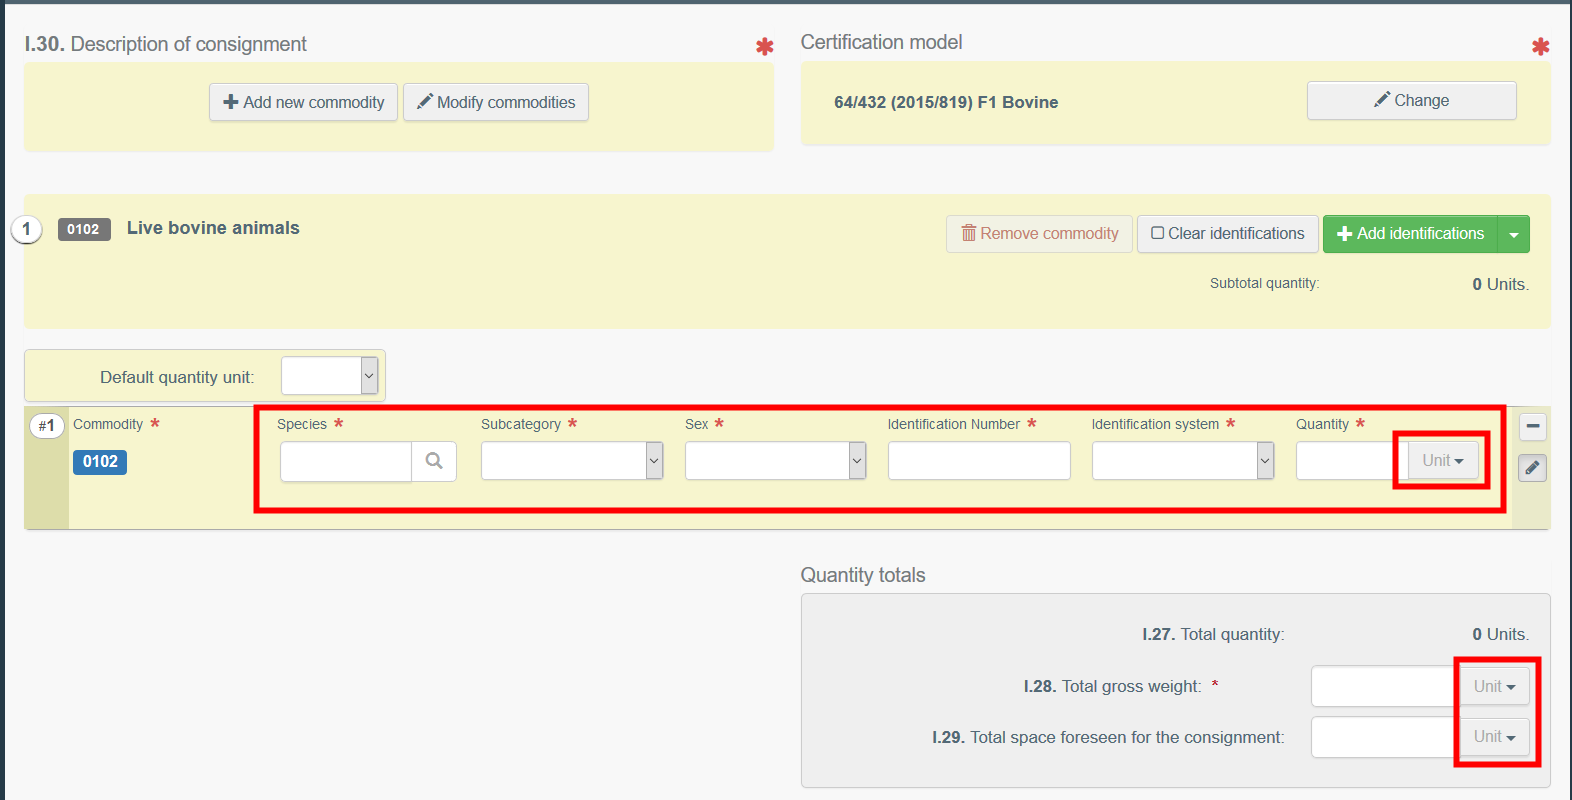
Several other options are also available:
“+ Add new commodityModify commoditiesCN code or change the CN code selected.

The box “certification model” is automatically filled depending on the model you selected when choosing the CN code at the beginning of your EU INTRA. You can modify the model by clicking on “Change”.

“Remove” will delete the selected commodity from the certificate.
“Clear identifications” or “+ Add identifications” will affect the lines of commodities included in the certificate. You can also delete, modify or add 5, 10, 50 or 100 rows by clicking on the small icons on the right side of the box.

The upload of a CSV or excel file is possible:
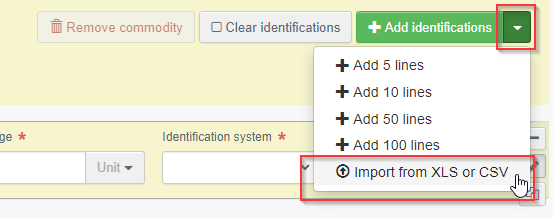
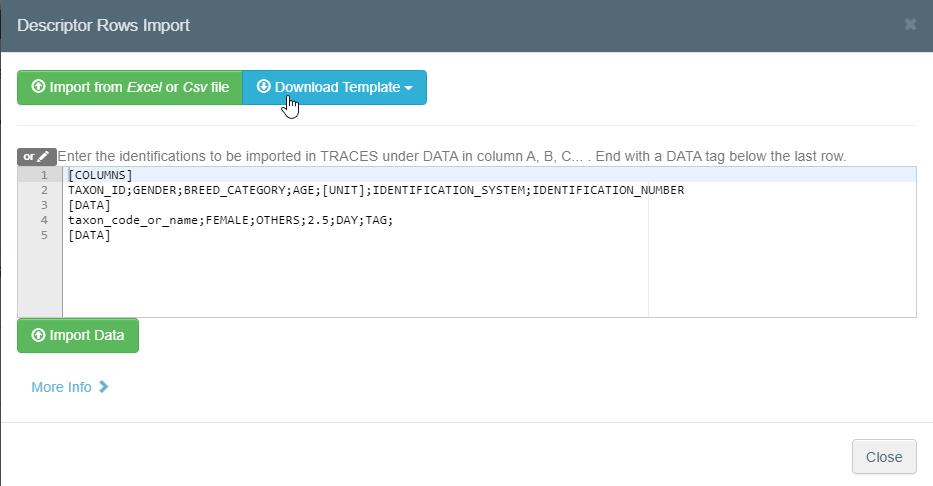
In a first step you can download the template, then after inserting the relevant data in the excel or CSV file, use the “Import from Excel or Csv file” button to browse your computer and upload the file you have created.
Another solution is to directly insert the data in the open field:

A detailed information about the data format is available by clicking on “More info”:

Box – Identification of applicant
This box will be automatically filled with the details of the person submitting the EU INTRA.