Enabling notifications
How to activate the notifications in your profile
After your role request will be validated, you will be able to access the TRACES platform. In order to effectively monitor the non-compliance notifications, you would need to properly activate them in your user profile.
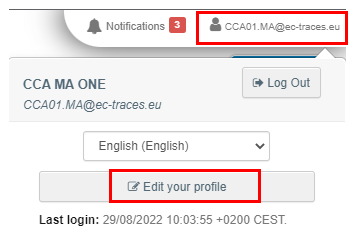
To do that you need to click on your email address that is displayed at the top right corner of the TRACES interface and then select “Edit your profile” as shown below:
Then, you will be redirected to a page where you will be able to set your notification preferences:
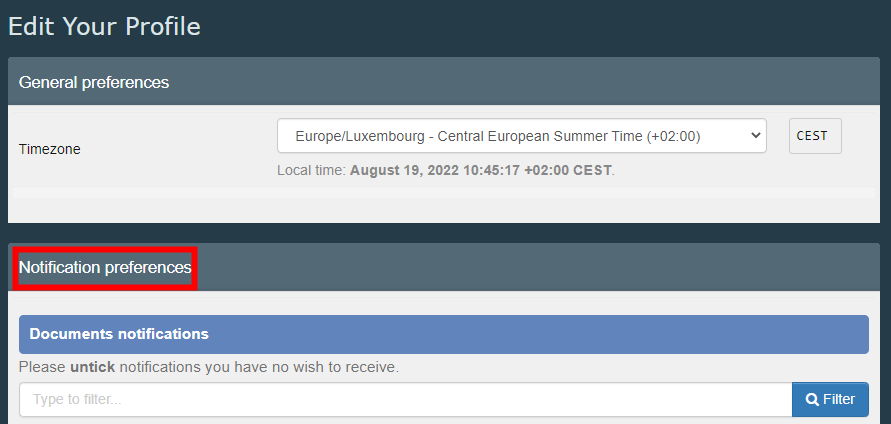
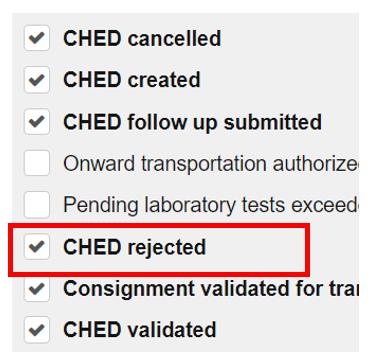
In the “Notification preferences” box, make sure you tick the “CHED certificate rejected” notification:
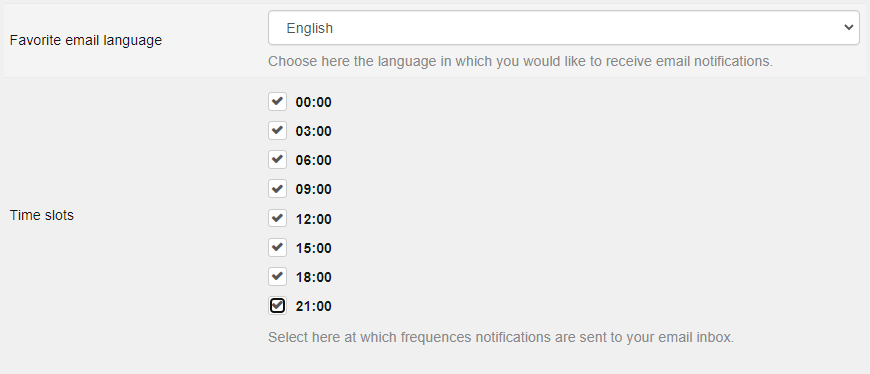
After selecting the “CHED certificate rejected” notification, scroll further below to select the language in which you wish to receive the email notifications as well as the relevant timeslots:
After you select the relevant notifications and timeslots, do not forget to save your preferences – otherwise your changes will be lost:

The “save preferences” box will be pinned at the top right part of the screen.
How to consult the notifications received
It is important to note that the non-compliance notifications are being sent both (1) inside the TRACES platform (in-system notification) and (2) via email to your NPPO’s designated contact persons who have been authorised access in TRACES.
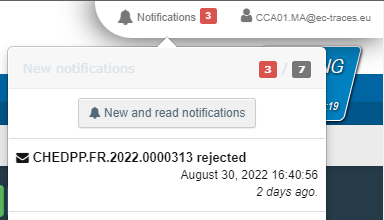
The in-system non-compliance notifications can be accessed by the “Notifications” option on the top right corner of the TRACES interface:
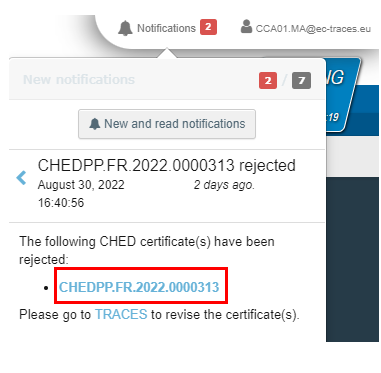
Selecting one of the displayed notifications provides a direct link to the recorded non-compliance in TRACES:
The same information is also sent by email notifications however, it is important to note that the email notifications will be sent only on the timeslots that have been selected in the “Edit my profile” page, whereas the in-system notifications are sent in real time.