Create a license
Note
“Timber Importer” or the representative of the timber importer can create a license in the system.
The Indonesian issuing/licensing authority emits a V-Legal document, which attests that woods have been cut according to the COMMISSION REGULATION (EC) No 1024/2008 of 17 October 2008 (laying down detailed measures for the implementation of Council Regulation (EC) No 2173/2005 on the establishment of a FLEGT licensing scheme for imports of timber into the European Community).
The V-Legal is normally sent by the Indonesian exporter to the importer in the EU (timber importer), who creates a license in TRACES NT system based on V-Legal information.
Note
A representative of the Importer can also insert FLEGT license. For example, a user can have a timber importer profile in TRACES NT but work as a Responsible for the Load (RFL).
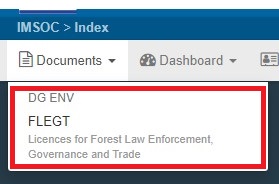
In order to create FLEGT, a user needs to log in to TRACES NT system and click on ‘’Certificates’’ >‘’FLEGT’’:
Click on the button ‘’Create New Licence’’

The next step is to select the commodity code. The commodity is the "HS Code". It is a four- or six-digit commodity code as set out in the Harmonised Commodity Description and Coding System established by the International Convention on the Harmonised Commodity Description and Coding System of the World Customs Organisation.
There are a few ways how to select a code:
Selecting the code from the commodity tree by clicking on the ‘’+ ‘’ to see the codes under the main code, then check the correct box and click on ‘’done’’:

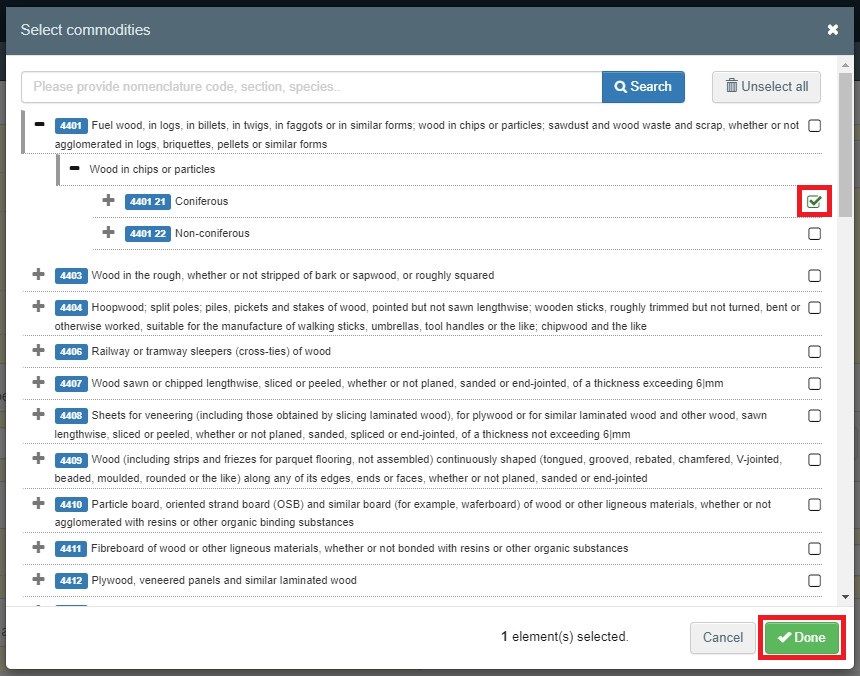
The Timber Importer knows the commodity code as it is already outlined in the V-Legal license. The system allows you to type manually in the search box the name of the commodity and then click on‘’search’’.
The importer can also search by writing in the search bar the wood species name.
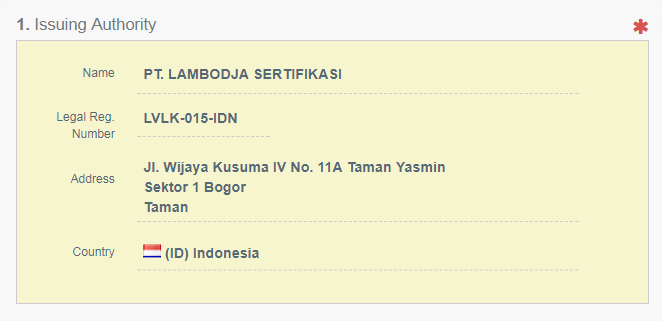
Box – 1: Issuing authority
The Timber Importer must type the first letters of the name of the issuing authority (in Indonesia) and the results will appear in a drop-down list. The importer should omit the ‘’PT.”
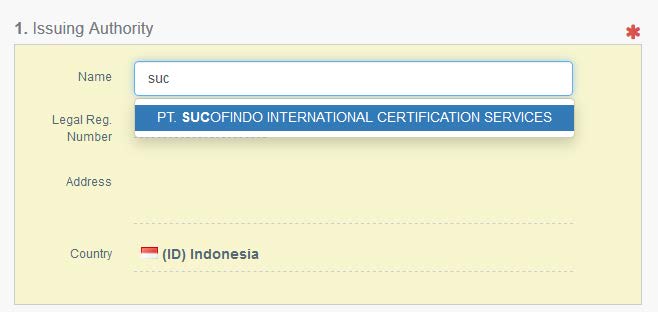
The user must then select the correct issuing body and the information will be automatically filled-in.
Box – 2: For the purposes of the issuing country
The user can choose between adding a scan of the entire V-legal license or typing in this box. It is also possible to insert both. In any case, it is up to the importer and his competent authority to decide what to insert in this box, as some countries require a scan of the license.
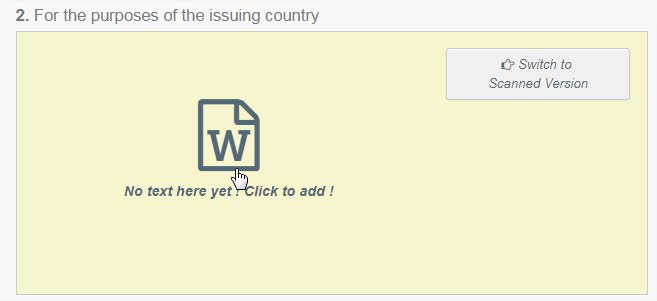
This box is a free-text box. By clicking in the box, where it says "No text here yet! Click to add!", a text box will appear allowing them to type the information they need.
The user can type any textual information. In the V-Legal license, in this box it could be indicated:
the name and address of the importer;
the total value (in USD) of the shipment;
the name + 2 letters ISO code of the country of destination;
Where applicable, the name + 2letter ISO code of the country of transit.
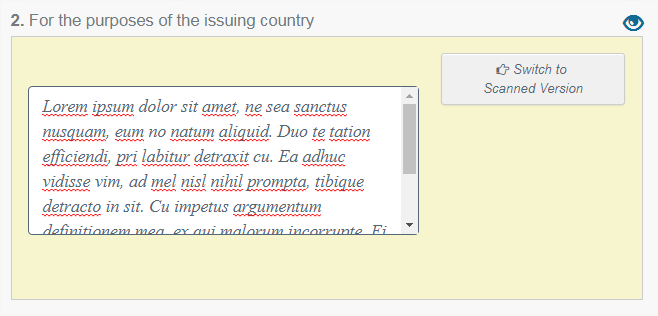
To save this information, the user must click outside of the text box. The information will be automatically saved.
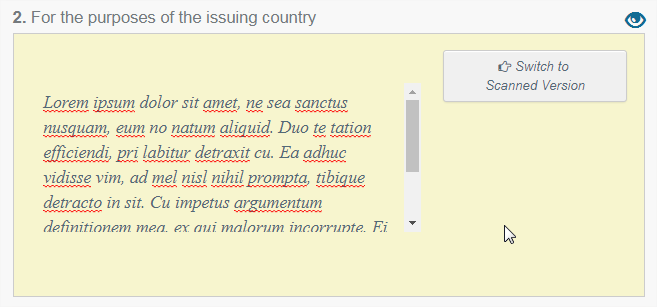
The user can also add a scan of the V-Legal certificate by clicking on "Switch to Scanned Version".
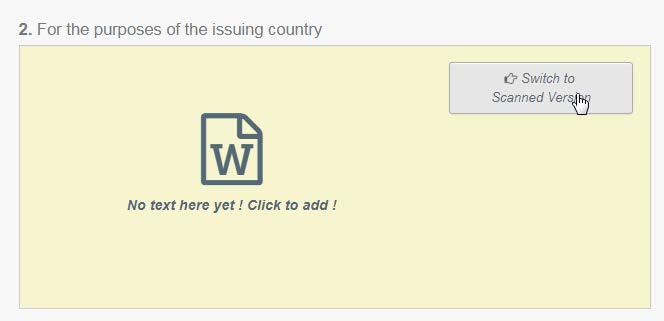
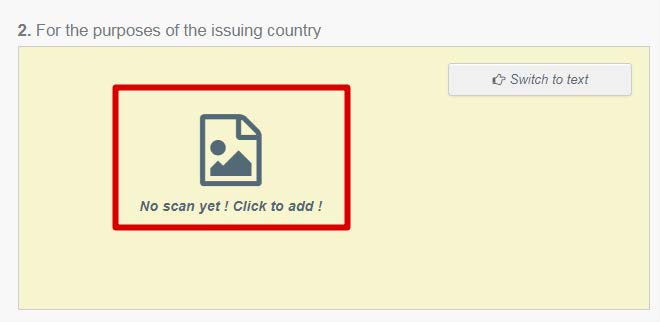
The message within box 2 will change, and the user must click on "No scan yet! Click to add!". A new window will be brought up where the user can add a document to the FLEGT Licence.
Once the document is selected, it will be displayed as follows:
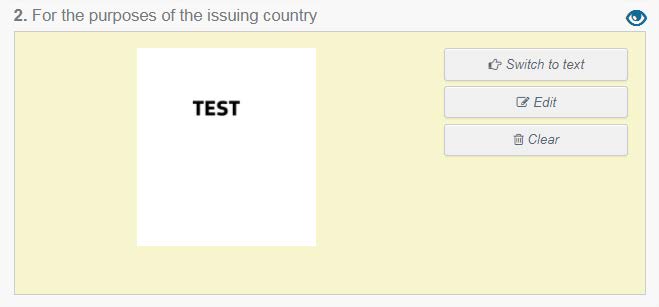
The logo with the (crossed) eye means that the information is confidential and that it should not be imported in another format (excel). This function is not used at the moment.
Box – 3: FLEGT license number
In this box, the user must insert the FLEGT license number. This number is the number that appears in the V-Legal license in box – 3, given by the issuing country. This number can be changed in the future if the user wrongly typed it in TRACES NT system.

When the user starts to type the license number, information on how to fill it in will appear.
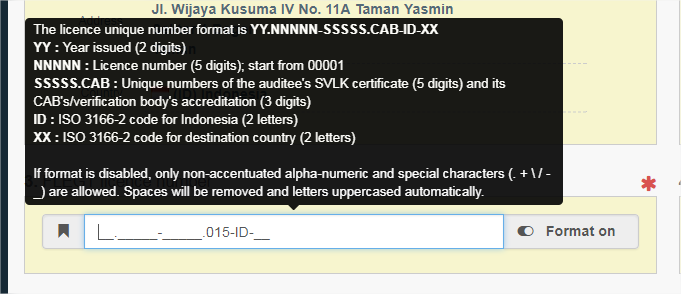
The user can also choose to have the format of this number switched on or switched off:


Yet it is important to note that normally all the EU countries require ‘’Format on’’.
Box – 4: Date of expiry
The user must insert the expiry date. This is the period of validity of the license. Since the issue of V-Legal there is 6 months period to insert the license in the system.
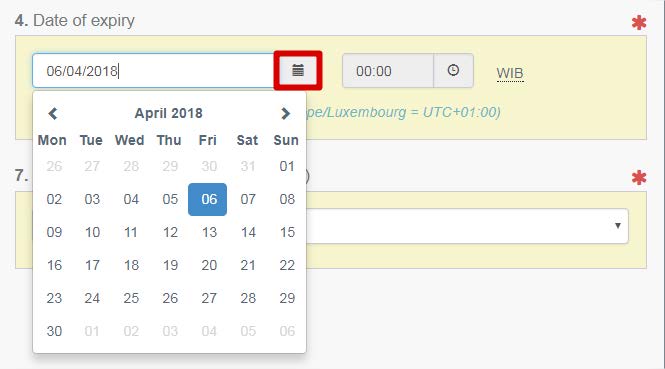
The user must click on the small icon and choose a date from the calendar. The hours cannot be changed. This information can be found in box 4 of the V-Legal license.
Box – 5-6: Country of export
In this box(es) the user must indicate the country from where the timber products were exported to the EU. This information can be found in the box 5 (country of export) and 6 (ISO code of the country of export) of the V-Legal license.

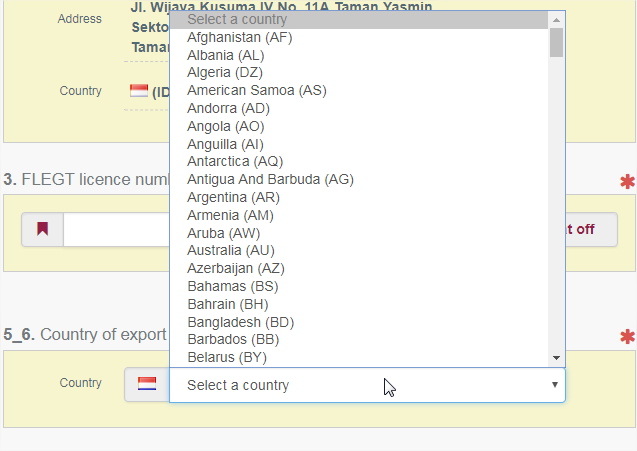
By default, the country of the issuing authority is selected but can be modified if needed. The user must click in the selected country and a drop-down list will appear. Once the user selects the country of the export this will be displayed in box – 5_6.

Box – 7: Means of transport
In this box, the user must select the type of transport, i.e., the means of transport at the point of export. The user must select one of the available means of transport within the drop-down list.

Box – 8: Licensee (name & address)
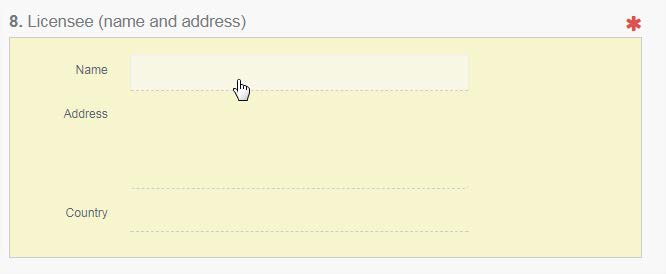
In this box, the user must fill in the exporter's name, address, and country. This information can be found in box – 8 of the V-Legal license.
These boxes are free-text boxes. To start writing the user must click in and type the correct information
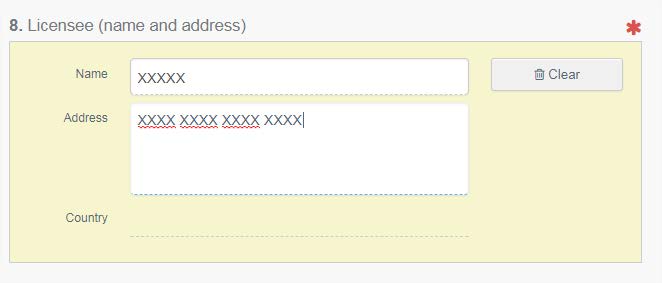
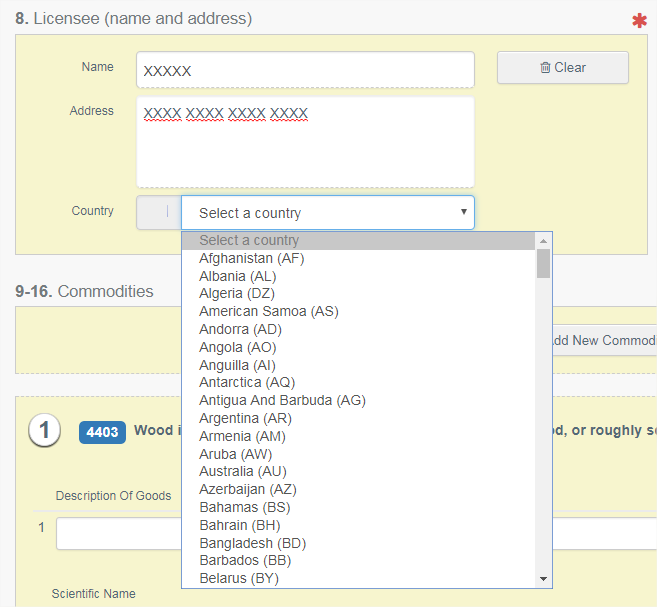
Then, the user must select the country of the exporter, by clicking on the box Country and selecting the correct country from the drop-down list.
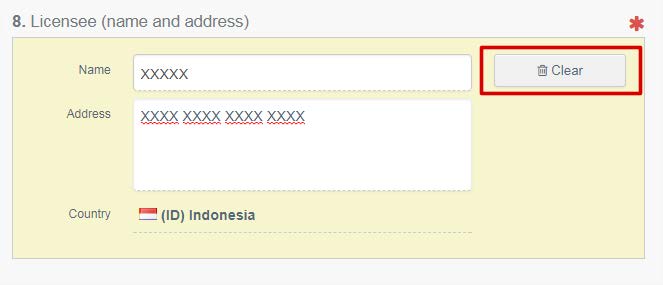
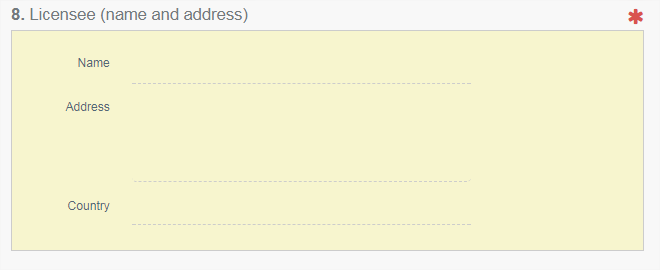
If needed, the user can delete this information by clicking on Clear. This will clear all the information within box – 8 and it will allow the user to re-type the correct information.
Box – 9-16: Commodities
This box is the result of boxes – 9, 10, 11, 12, 13, 14, 15, and 16 of the V-Legal license.
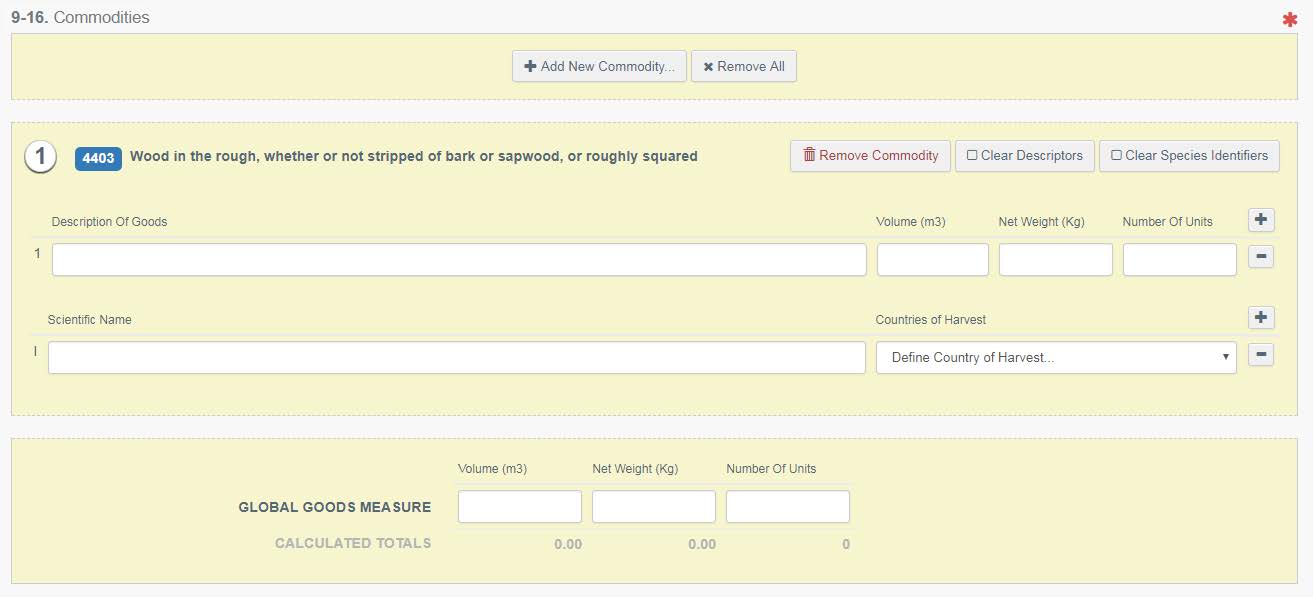
In Description Of Goods, the user must indicate the commercial description of the timber product, the volume in m3, the net weight in Kg, and the number of units.
The Volume may be omitted unless the information about the net weight has been omitted.
The net weight indicates the overall weight of the shipment at the time of measurement: "It is defined as the net mass of the timber products without immediate containers or any packaging, other than bearers, spacers, stickers, etc."
The number of units may also be omitted.

The Scientific Name indicates the scientific name of the species of timber used in the product. It is possible to add a separate line by clicking on the plus. This will allow the introduction of several scientific names when a product is made of different species of timber. FLEGT user should either select the scientific name from the drop-down list or if the name does not appear in the drop-down list, the user should manually type the name and click out of the box.


To delete a scientific name the user must click on the "–".
The ‘’Countries of Harvest’’ indicates the countries where the species of timber were harvested. This information may be omitted for a composite product or component that contains multiple species whose identity has been lost.
This information may be selected by clicking in the Countries of Harvest box and choosing the country from the drop-down list.
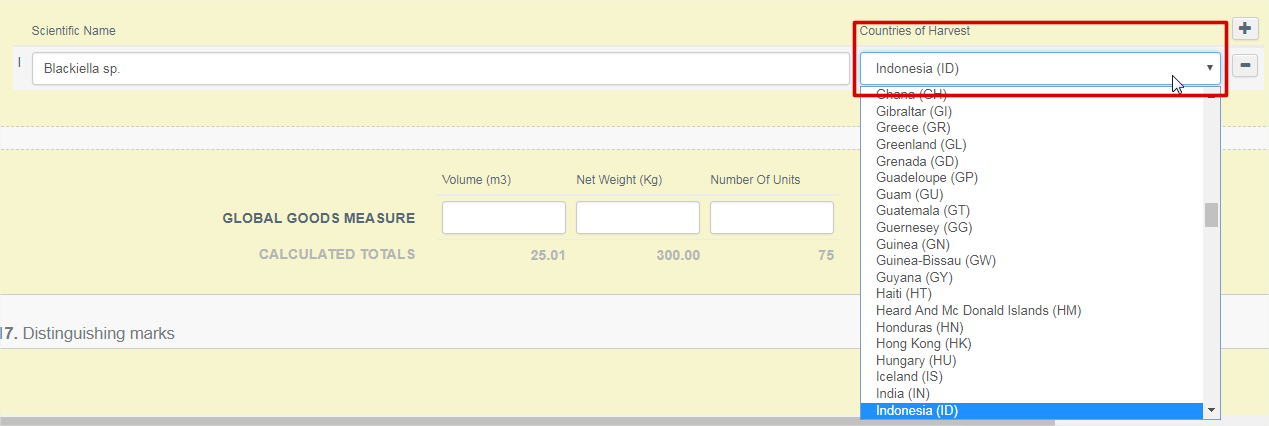
If this information must be changed, or if there are more than one country of harvest, the user has to click in the pencil next to the ISO code of the selected country.

Then the user will have to click on Add New country and select the country from the drop-down list.
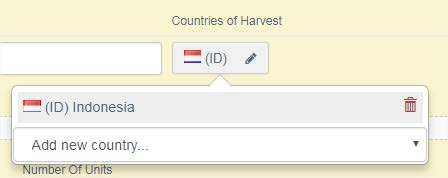
This will automatically add the selected country to the list of the Countries of harvest. If there is no need to add other countries, the user just needs to click outside of this box to "save" this information.
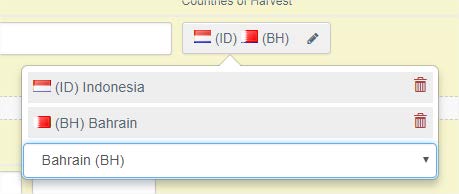
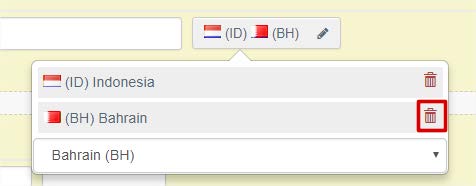
If the user is actually correcting a mistake and wishes to add a new country and delete another country, the user just needs to click on the bin icon next to the country he wishes to delete.
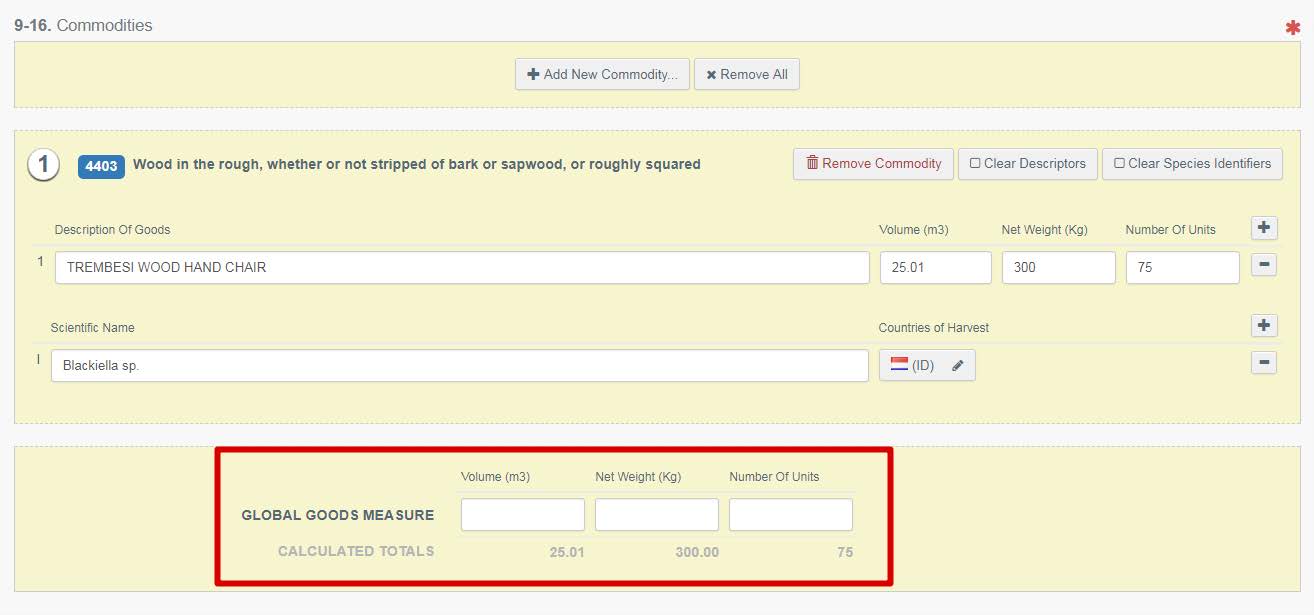
Within the box – 9-16. Commodities, there is a section where it is calculated the ‘’Global goods measure’’. This is done automatically when inserting the measures in the section Description of the goods OR the user can decide to insert the global goods measure instead of the measures for each commodity.
As in the measures for each commodity, in the global goods measure at least the volume or the net weight must be indicated.
To insert the information, the user just has to type it in the free-text boxes.
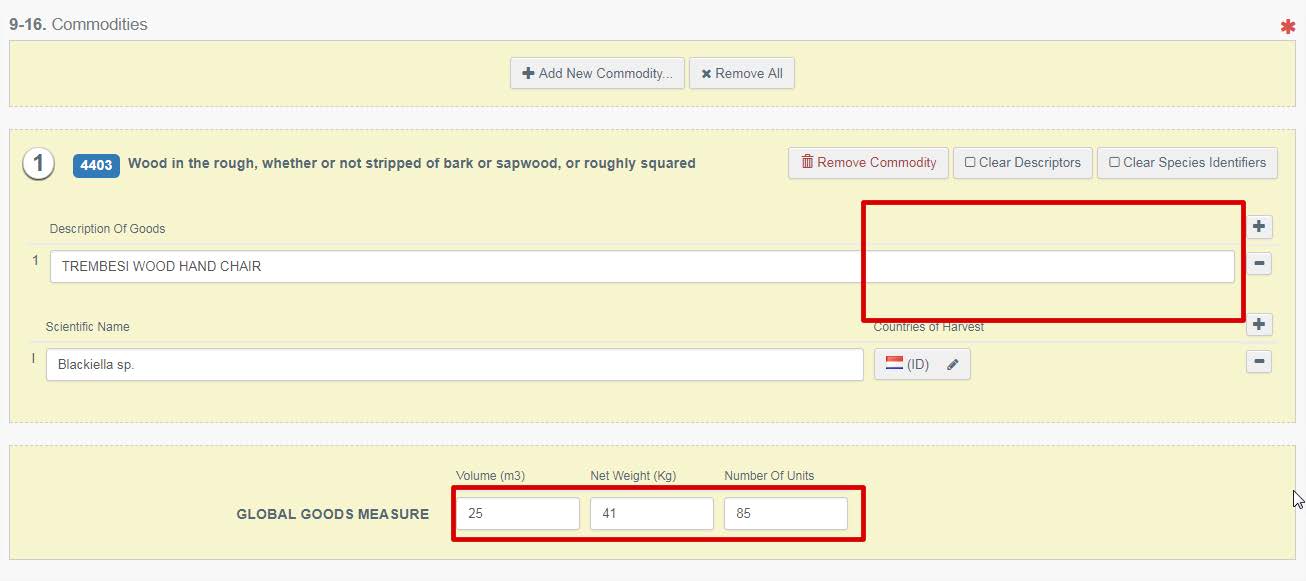
By typing the global measures in the Global Goods Measure section, the information already inserted in the description of goods will disappear.
Box – 17: Distinguishing marks
In this box, the user will be able to add extra information concerning distinguishing marks, for example a lot number, bill of landing number, etc.

Box – 18: Signature and stamp of issuing authority
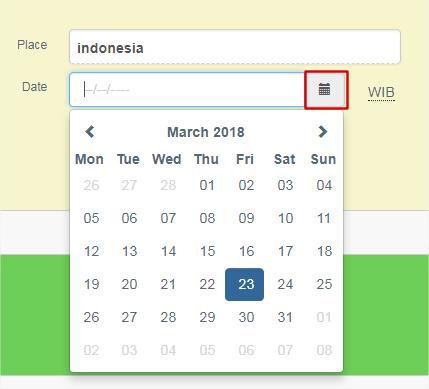
In this box, the user must insert the Place and Date of the signature of the V-legal Licence (Indonesia). The ‘’Place’’ is a free-text box where the user can type the same information as displayed in the V-Legal Licence.
The date must be chosen from the calendar, by clicking on the icon:
Then the user must check the boxes indicating that the license is signed and/or stamped. These need to be checked accordingly to what is done in the V-Legal Licence.

In the end the user must click on ‘’Submit for Validation’’

A new window will pop up, where the user will have to insert the information about the Customs Office (CO).
First, the user will have to choose the country. After selecting the correct country, the other boxes will open.
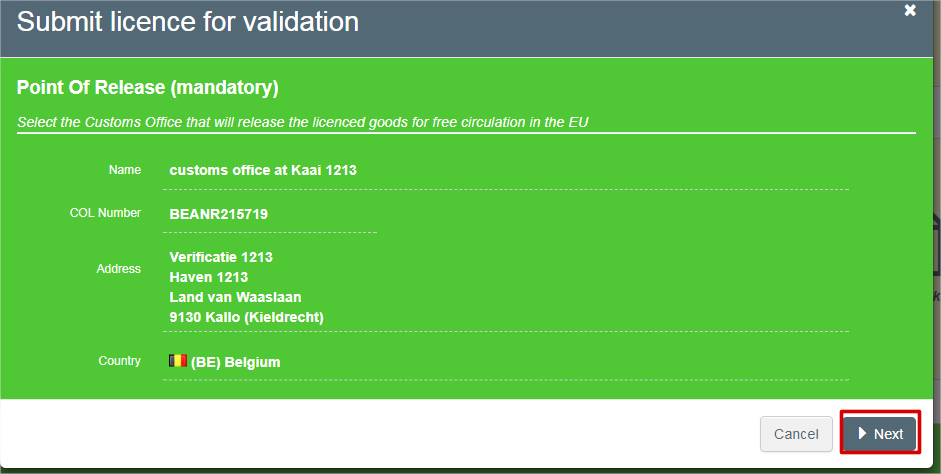
In the Name, the user can type the name of the customs and select the correct CO from the drop-down list OR type in the COL number (still in the name tab). This will show the only available option for that specific number.
Once the user selects the correct CO, the rest of the information will be automatically filled in. Then he needs to click next:
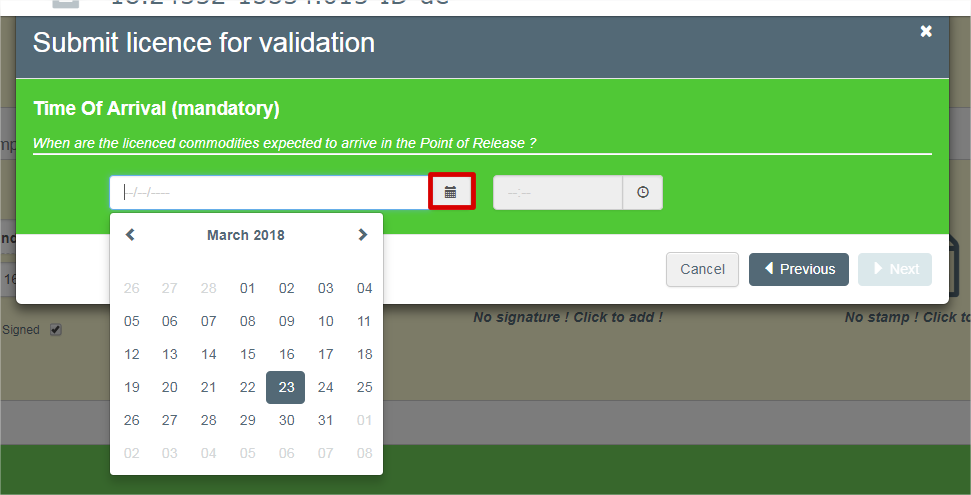
In the next step the user will have to insert the time of Arrival

The date must be inserted by clicking on the calendar icon and choosing the date from the calendar.
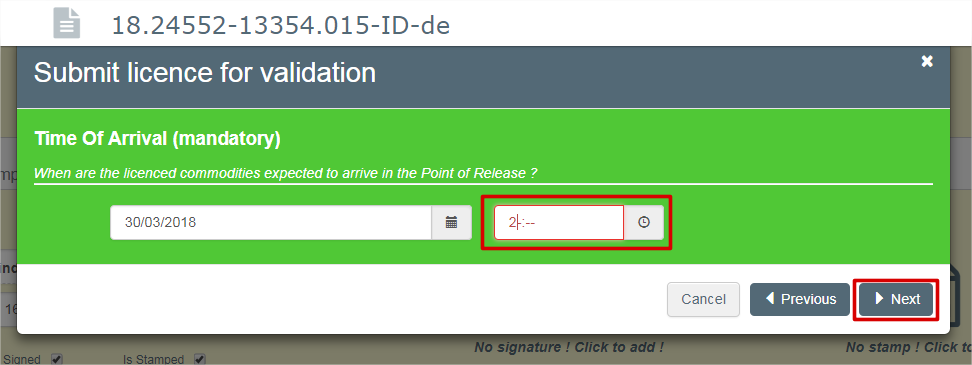
On the other hand, the hours must be typed. In the end, they must click on Next.
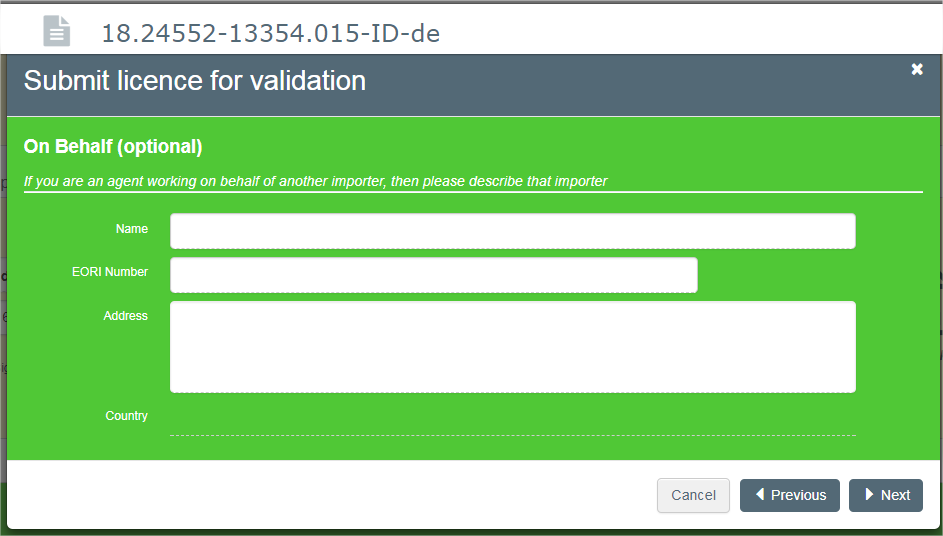
The next step is to fill in the information of the importer, in case of the user creating a certificate is doing it on behalf of another importer. If not, the user can just click in next without filling in these details.
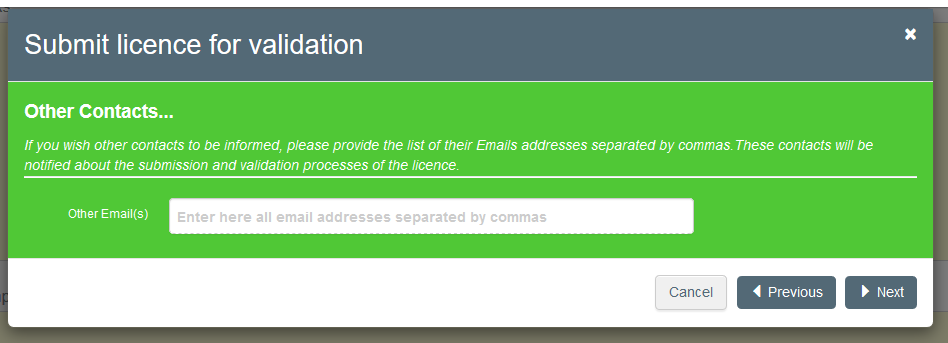
The next box allows the importer to write the email addresses of other contacts who need to be informed about the license.
As a final step, the users can add some comments if needed, or just click on Submit.
If they do not want to submit the license, and they want to correct any mistake, they must click on Previous:
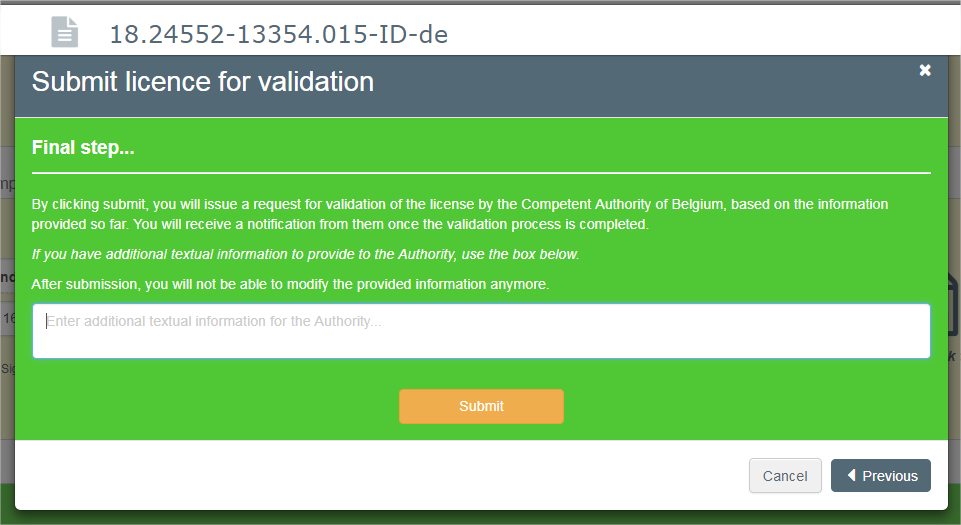
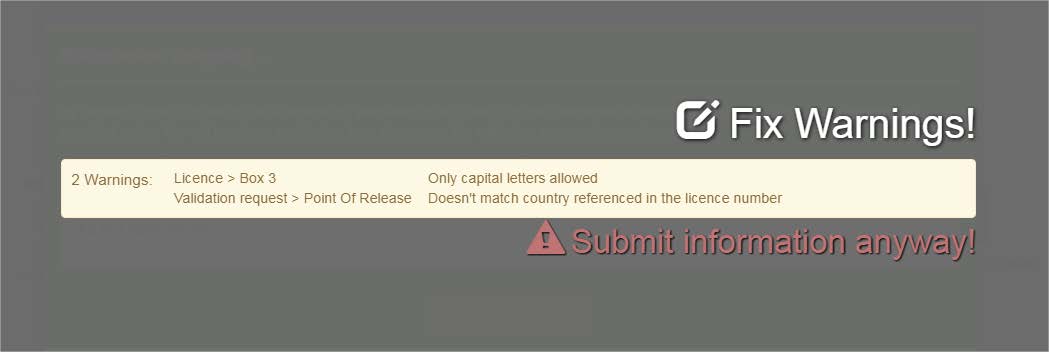
After clicking on Submit, if some possible errors exist in the license, a warning message will pop up. The user can decide to fix the possible mistakes, by clicking in Fix Warnings!, or to submit the license, by clicking in Submit information anyway!.
Some notes about the Licence submitted by the importer
Box – 9-16 Commodities
If the user wants to know which is the country of harvest he must click on the eye-icon and a box will appear with the name of the country


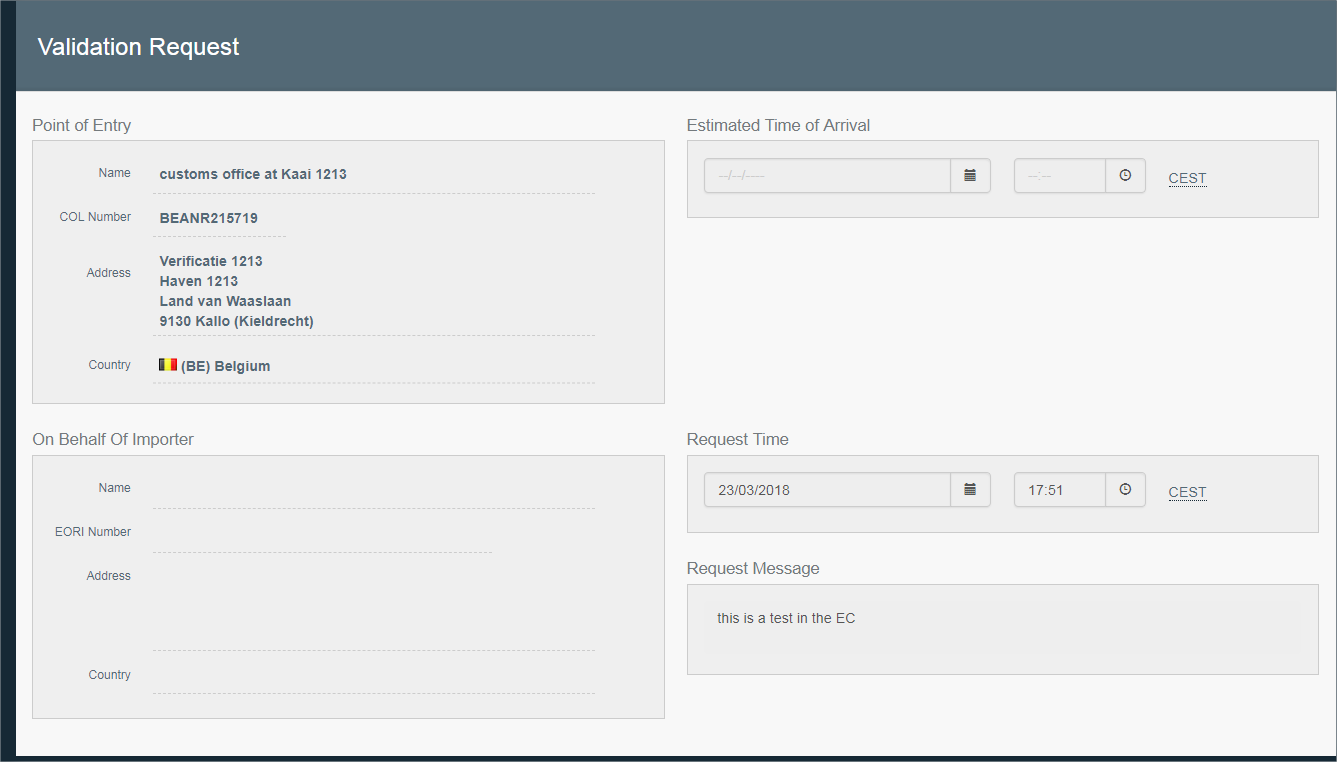
Validation Request box
After the submission of a license, a new box is added at the end of the license.
This box contains information about the Point of Entry, On Behalf of the Importer, Estimated Time of Arrival, Request Time, and Request Message.
This information is the one inserted in the green pop-up window.
