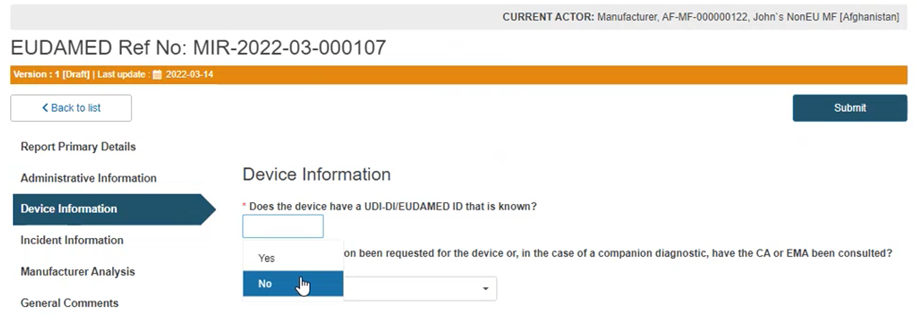
Case B: Device without a known UDI-DI/ EUDAMED ID
If the device UDI-DI (or EUDAMED ID in the case of legacy devices) is not known, answer No to the question Does the device have a UDI-DI/ EUDAMED ID that is known?:
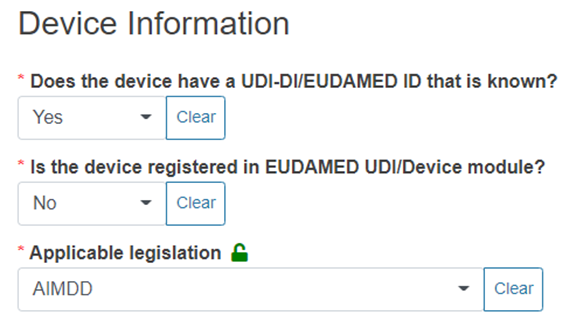
Answer Yes or No to the questions below and provide the applicable legislation:
Note
There will be some variation in the fields appearing next, depending on the legislation chosen.
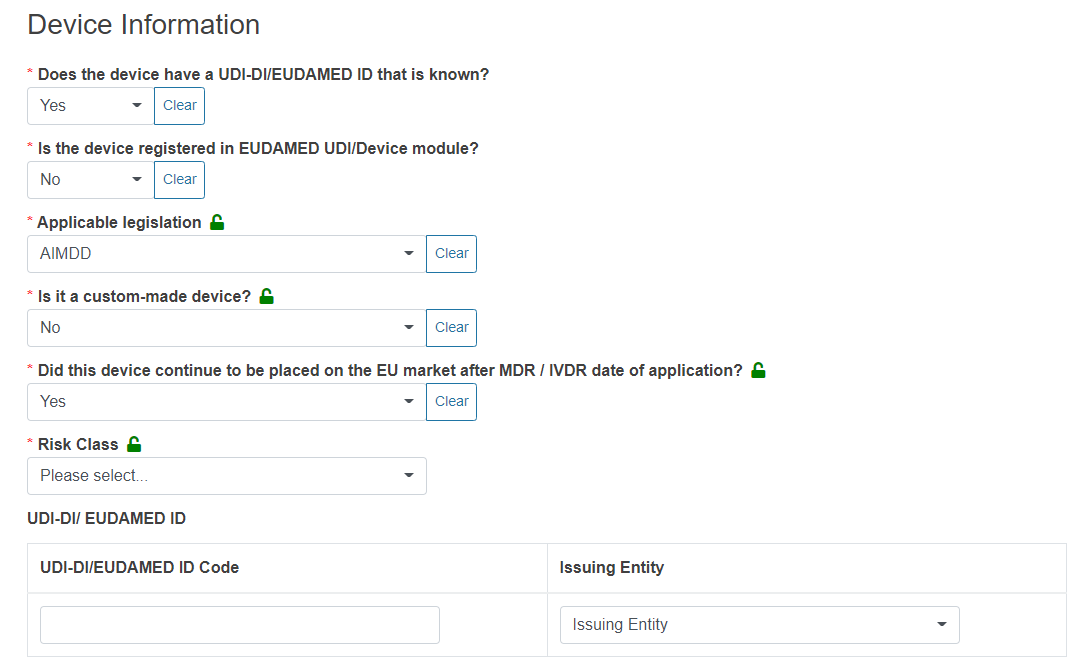
For legacy devices (MDD, IVDD, AIMDD) not yet registered in EUDAMED, the system will display two additional fields, UDI-DI/EUDAMED ID Code and Issuing Entity:
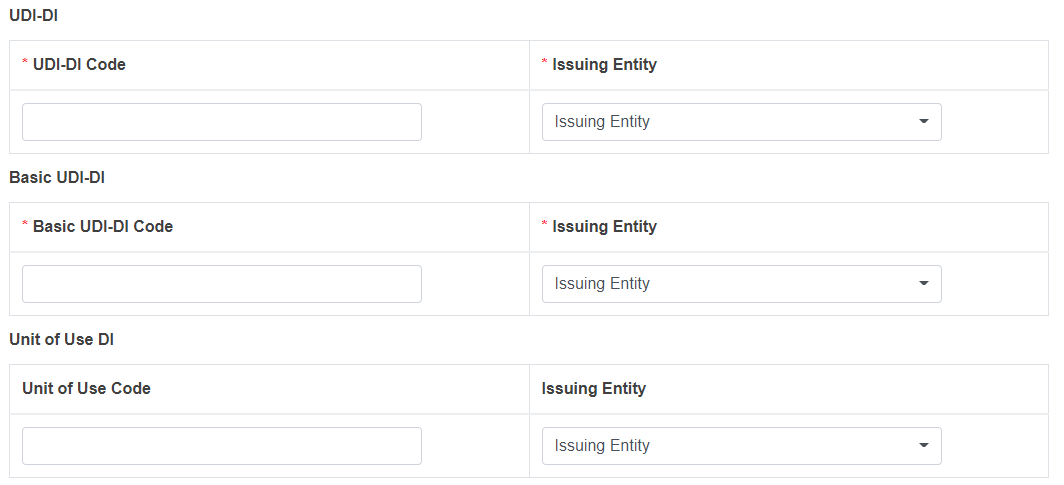
For regulation devices (IVDR, MDR) not yet registered in EUDAMED, the system will display six additional fields:
In the case of AIMDD and MDD, specify if the device is custom-made or not and continue with the following questions in a similar manner.
Answer the question shown below with Yes for a legacy device or No for an old device:
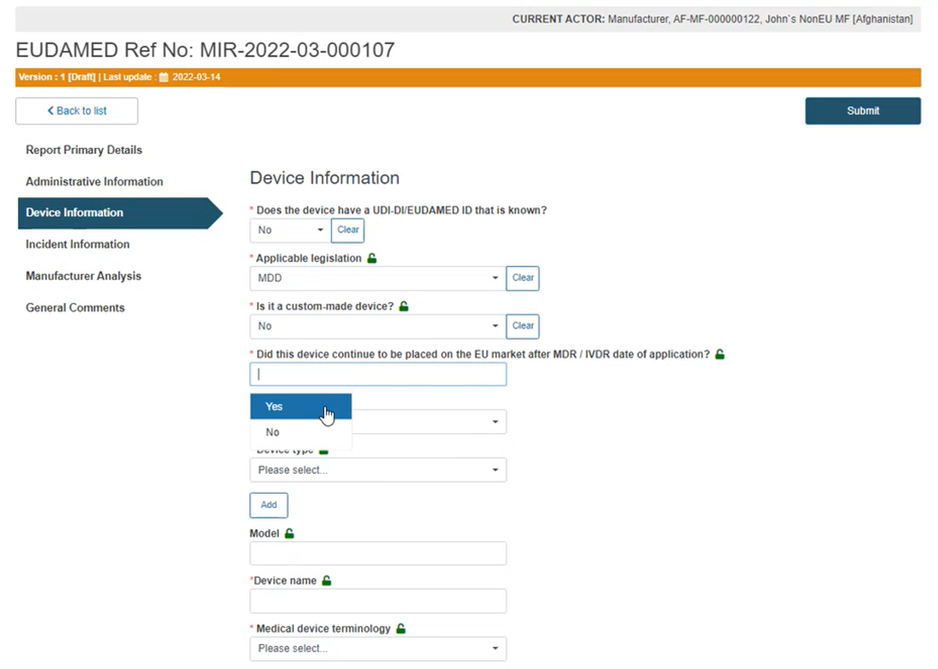
Select the applicable Risk Class and Device type from the relevant drop-down lists:

Enter the Device model and Medical device name (brand/trade/proprietary or common name) and select the appropriate nomenclature for the device under Medical device terminology:
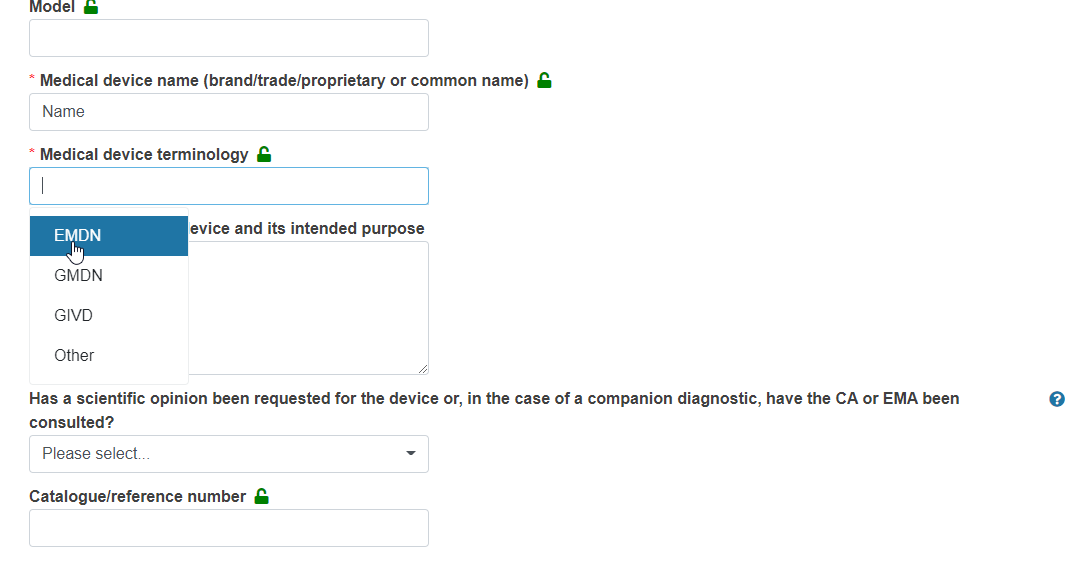
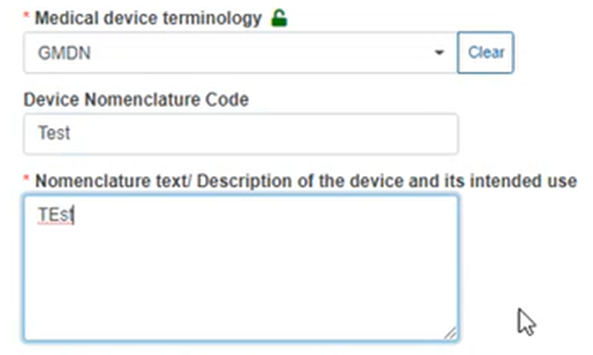
In the case of GMDN, GIVD or Other nomenclature, you must type the device nomenclature code and provide a description in the text boxes provided:
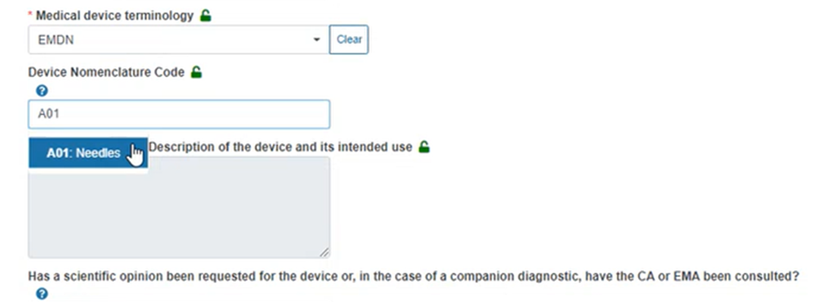
In the case of EMDN nomenclature, you must provide the appropriate code from the EMDN nomenclature dropdown list, for example:
Tip
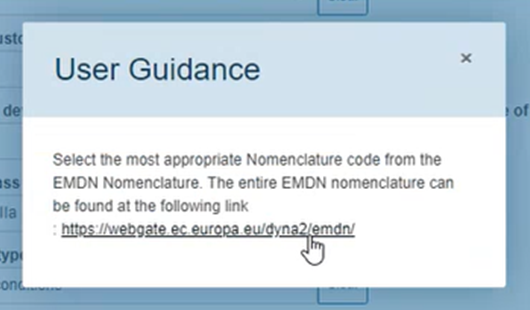
Click on the blue question mark above for a link to the entire EMDN nomenclature via the pop-up window:
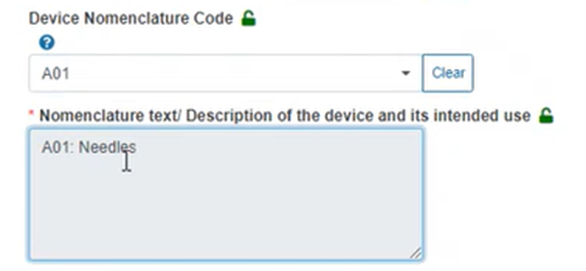
When you click on the code, the nomenclature description box is auto-filled with the selected code description:
Select Yes or No for the question regarding a scientific opinion. If you select Yes, the system will prompt you to provide the competent authority or EMA:

Provide the Catalogue/reference number:

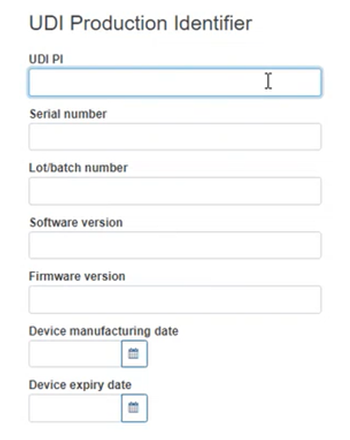
Fill in the UDI Production Identifier section:
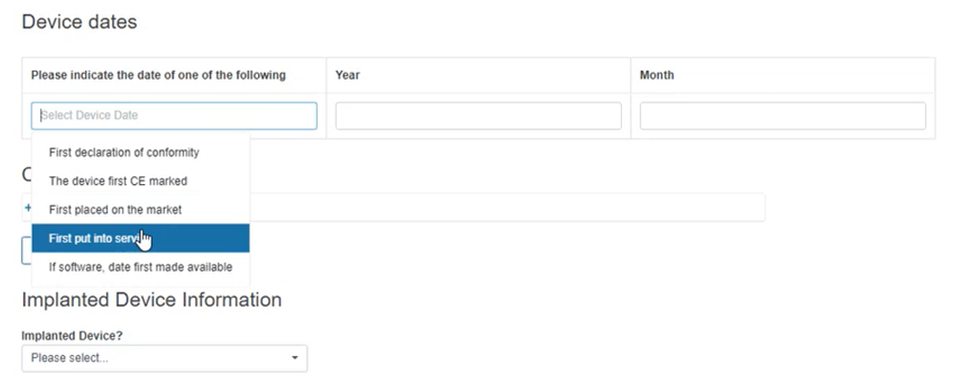
Fill in the Device dates section:
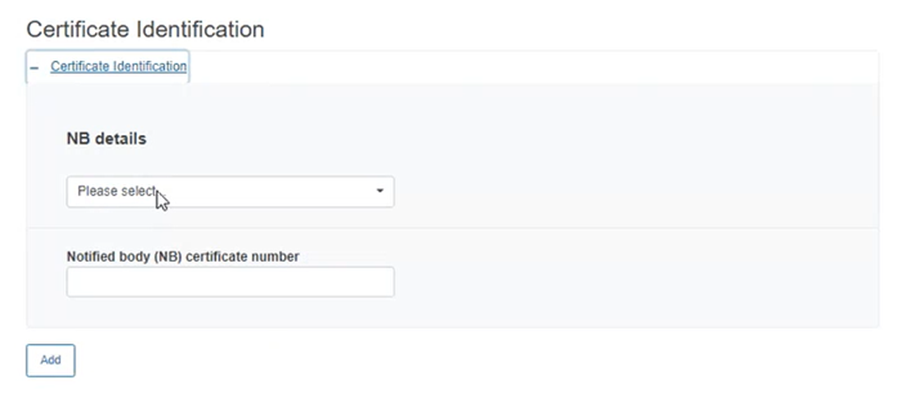
In the Certificate Identification section, click on the plus sign to add the Notified Body (NB) details and the NB certificate number:

Select the NB details from the dropdown list and type the certificate number (you can add more than one certificate by clicking on Add):
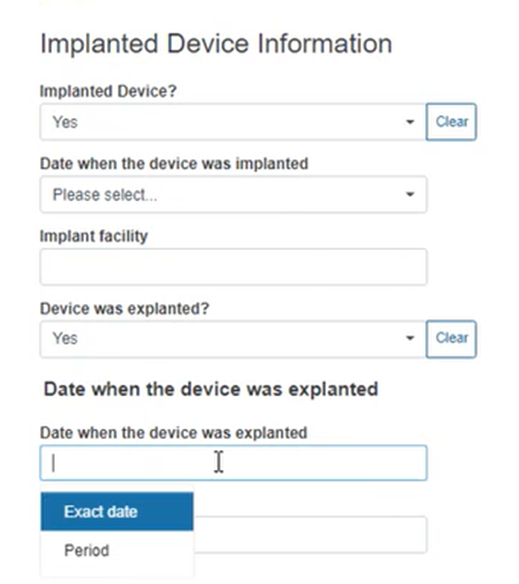
Specify if the device is implantable. If you select Yes, you need to provide more details in the new boxes appearing below:
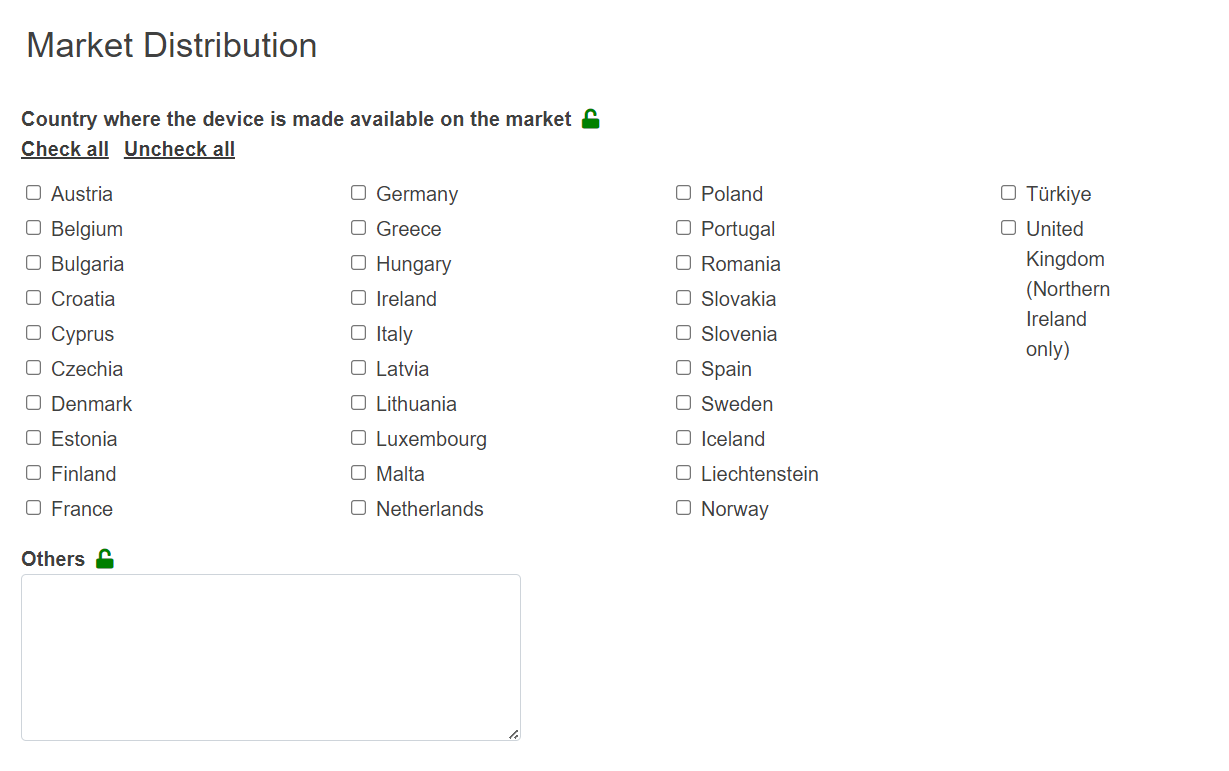
Under Market Distribution, select the country(-ies), in which the device is made available:
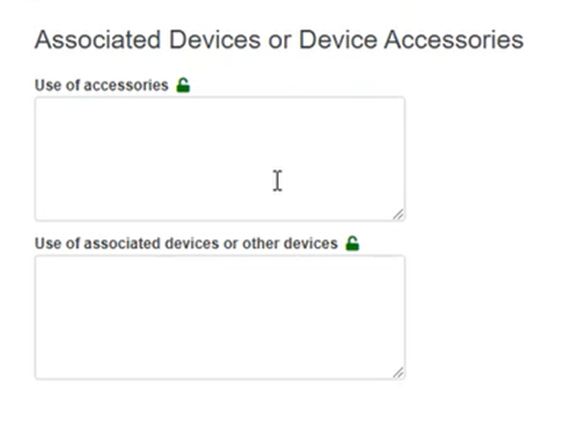
Provide any associated devices or device accessories:
