UDI-DI identification information
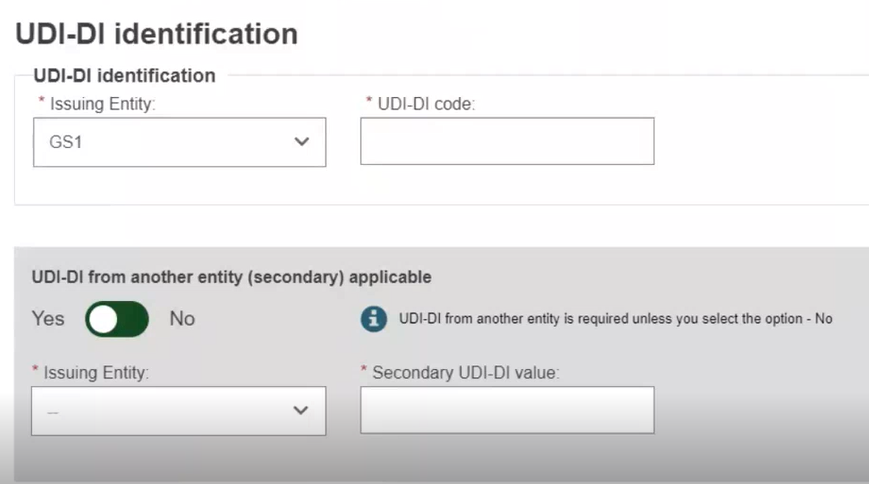
Select the Issuing Entity from the drop-down and enter the UDI-DI code:

Important
The UDI-DI code must be unique. If it already exists in EUDAMED, you will not be able to save.
Note
In the case of a GS1 Issuing Entity, the UDI-DI code you enter must be a 14-digit code including the check digit that will be used by EUDAMED to validate the UDI-DI code. If your GS1 UDI-DI (GTIN code) is shorter than 14 digits (check digit included), when populating EUDAMED field please add leading zero(s) until you reach 14 digits.
For example:
000000nnnnnnnn (GTIN-8)
00nnnnnnnnnnnn (GTIN-12)
0nnnnnnnnnnnnn (GTIN-13)
Enter the Secondary UDI-DI from a different Issuing Entity to the UDI-DI if applicable:

Enter the EMDN code, click Find and select the correct one from the list:

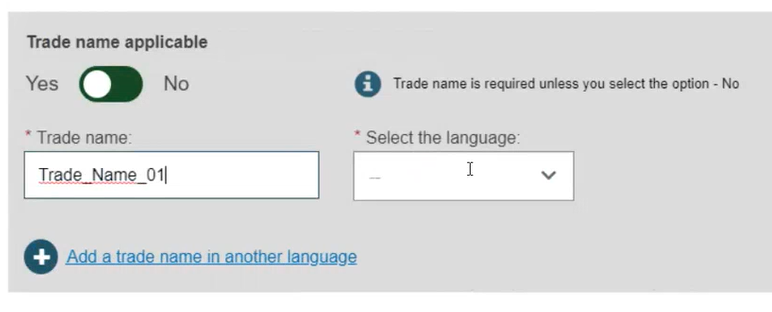
If applicable, enter the trade name (as specified on the device label) and select its related language (select All languages if not language dependent):

Enter the Reference/Catalogue number.
Select the Type of UDI-PI.
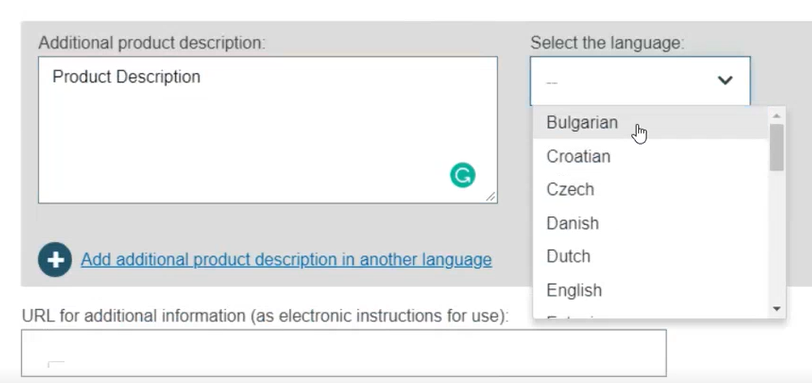
Enter any additional pertinent information about the System or Procedure Pack, select the language of the additional information and enter a URL (web address) for additional information online, if applicable:

Specify the UDI-DI status in selecting whether it is On the EU market, Not intended for the EU market or No longer placed on the EU market and click on Save or Save & Next:
