Supplement
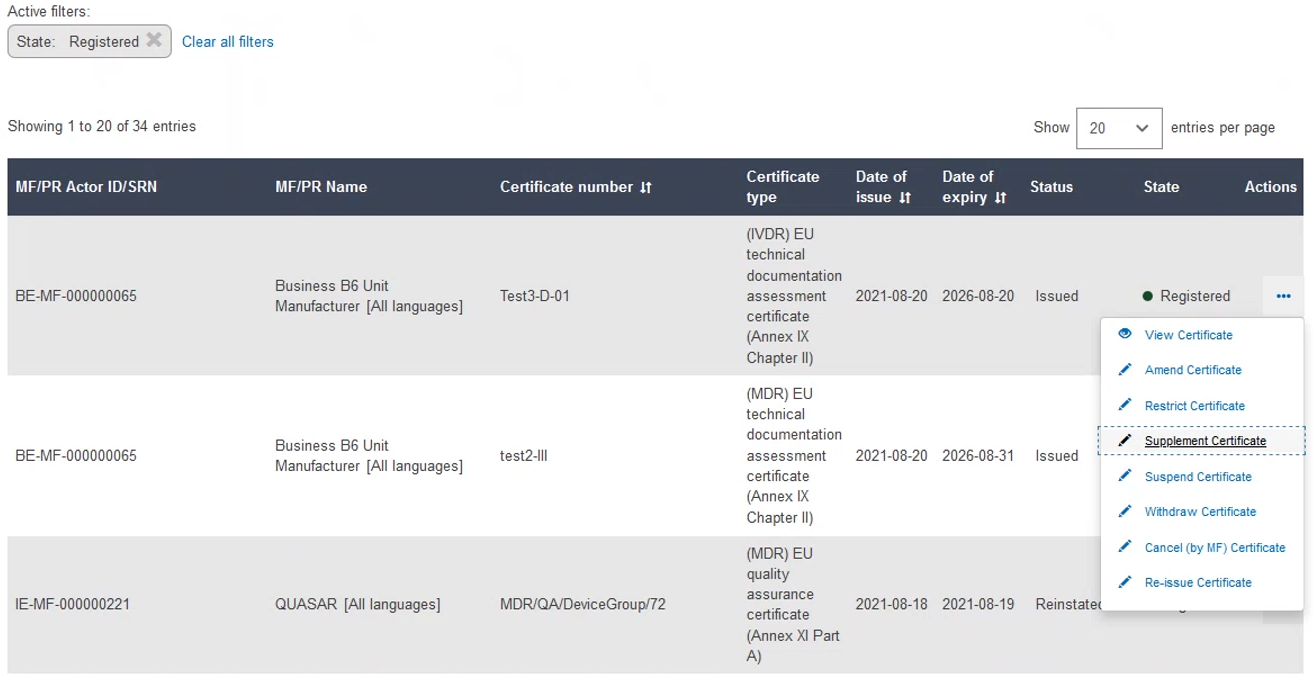
To supplement a certificate, click the three dots next to the desired certificate and then click Supplement Certificate from the dropdown menu:
 |
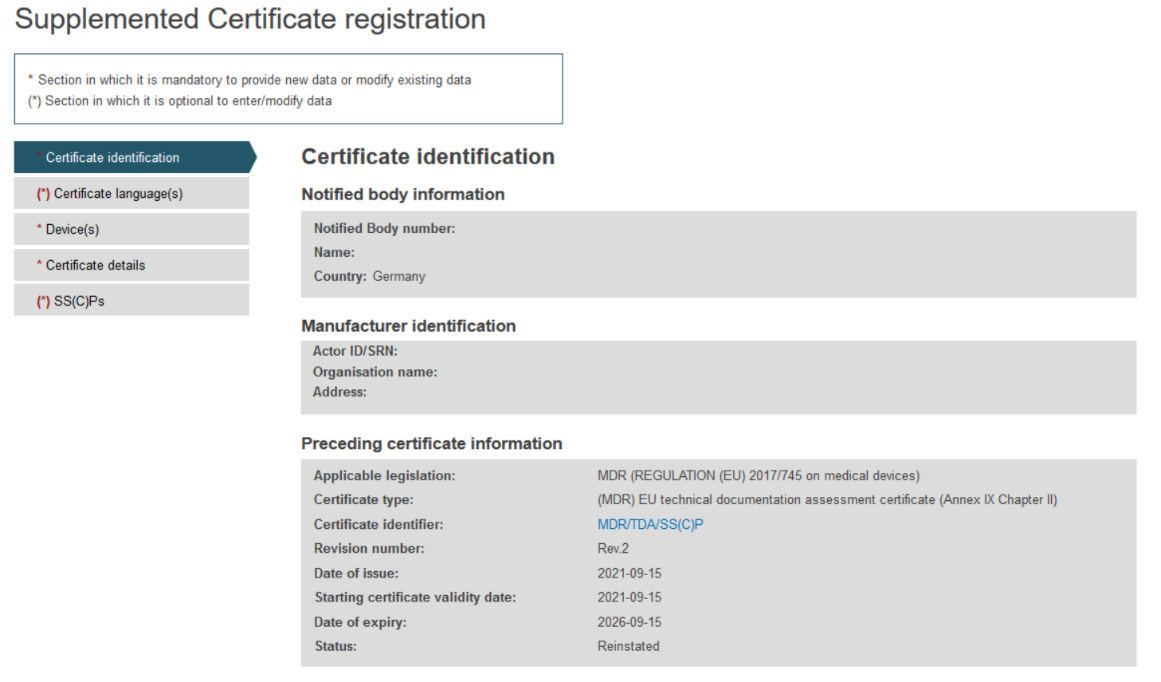
On the next screen, you will find all information relevant to the specific certificate and a menu with different sections on the left.
Complete the information in the Certificate identification section:
Scroll down and fill in the New Certificate Information:
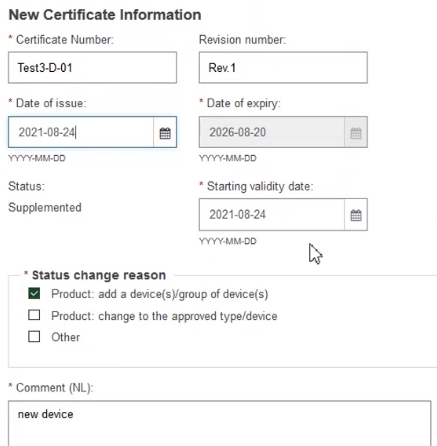
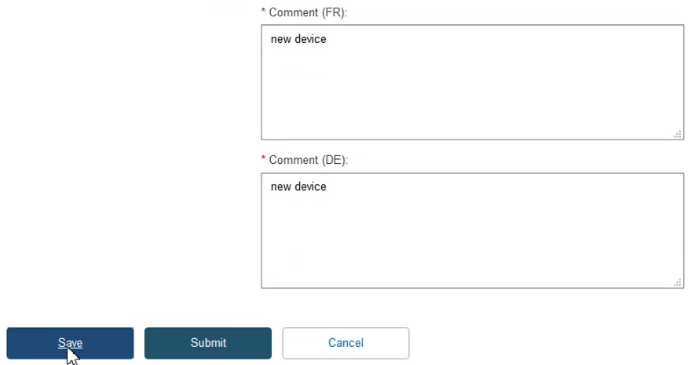
Provide comments in each certificate language and click Save to proceed:
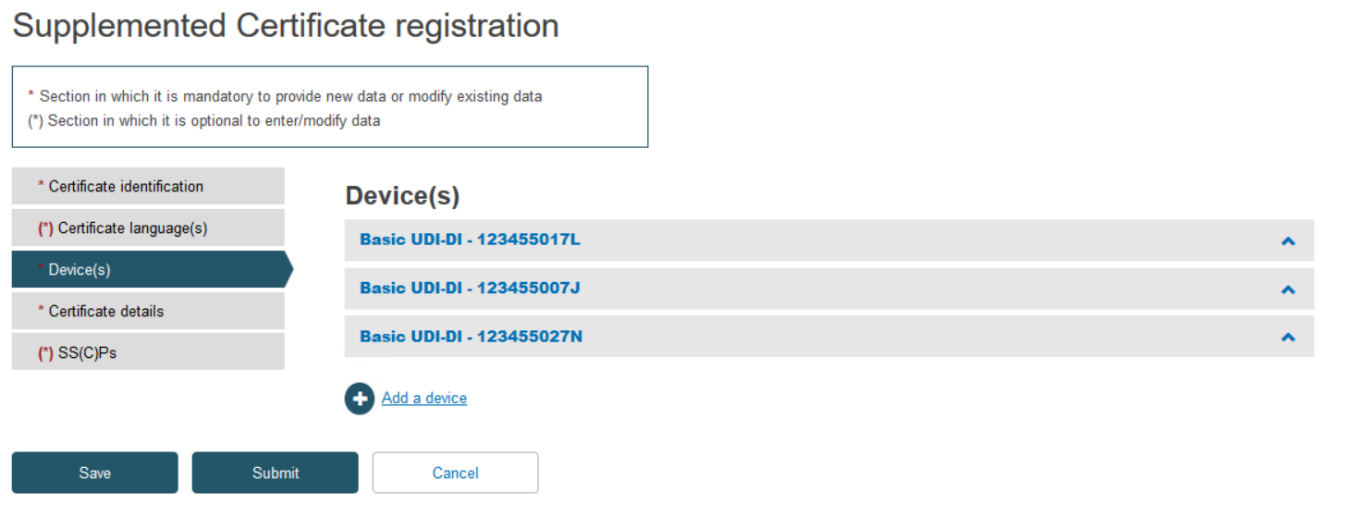
Click on the Devices tab on the menu on the left, then click Add a device:
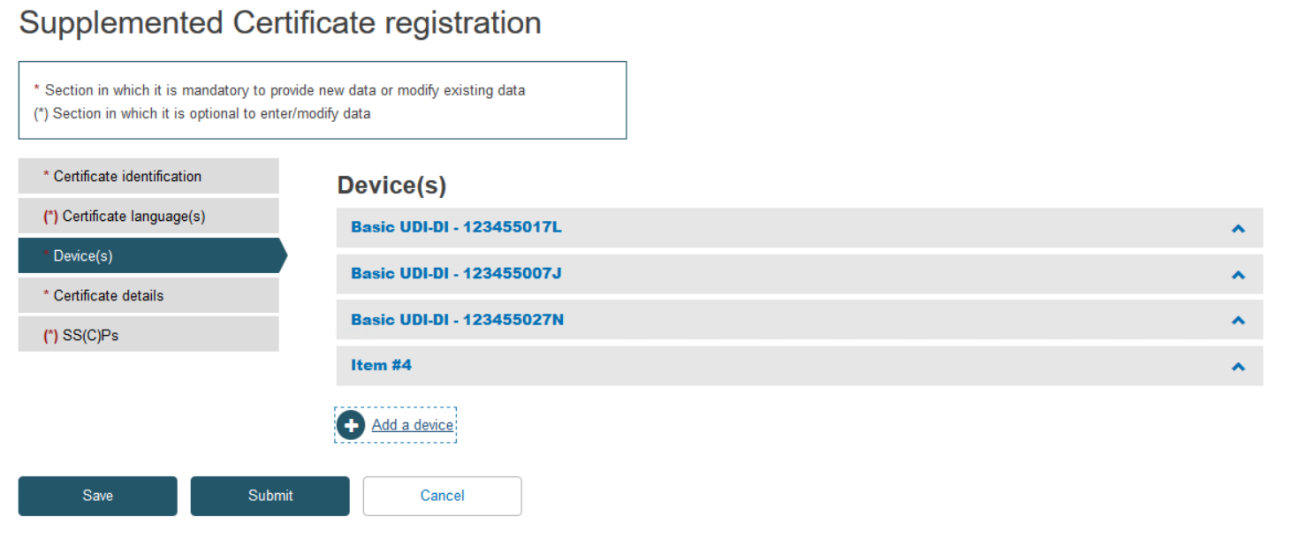
Click on the banner marked Item to expand the information for this device:
Type the desired Basic UDI-DI code and click Search:
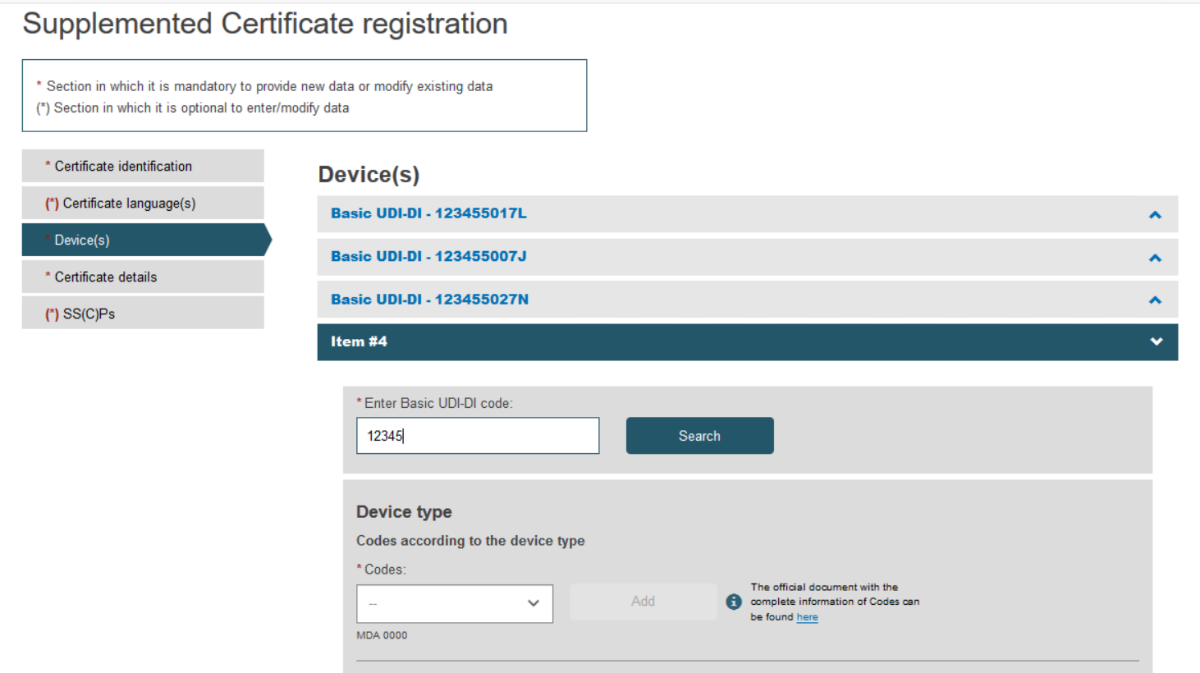
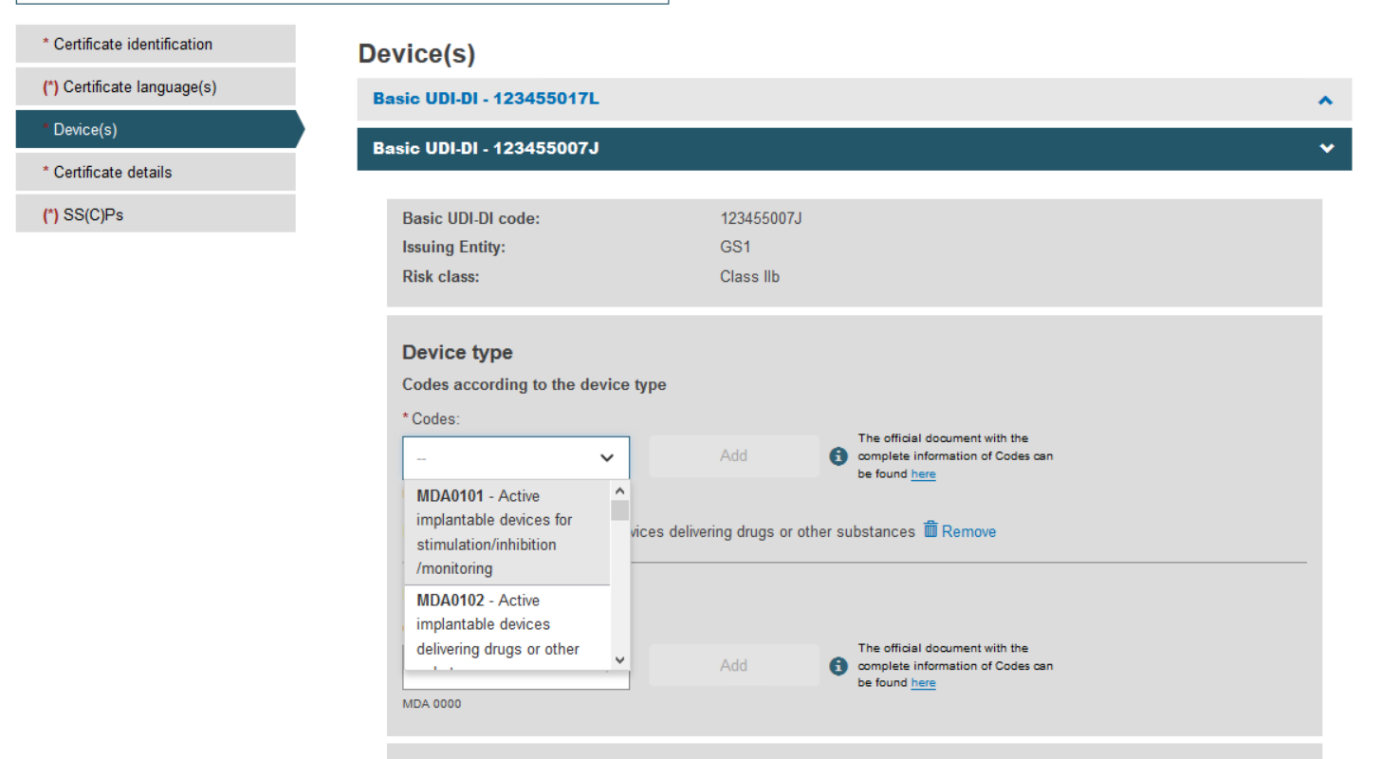
Fill in all the new details for the supplement, i.e. choose Device type and provide the intended purpose:
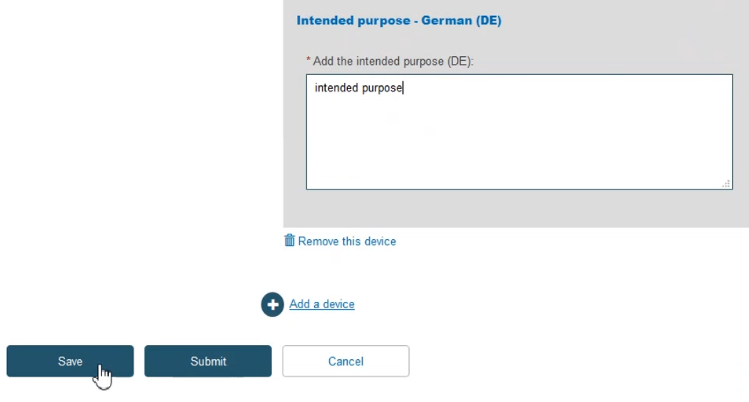
Once you have provided the necessary information, click Save:
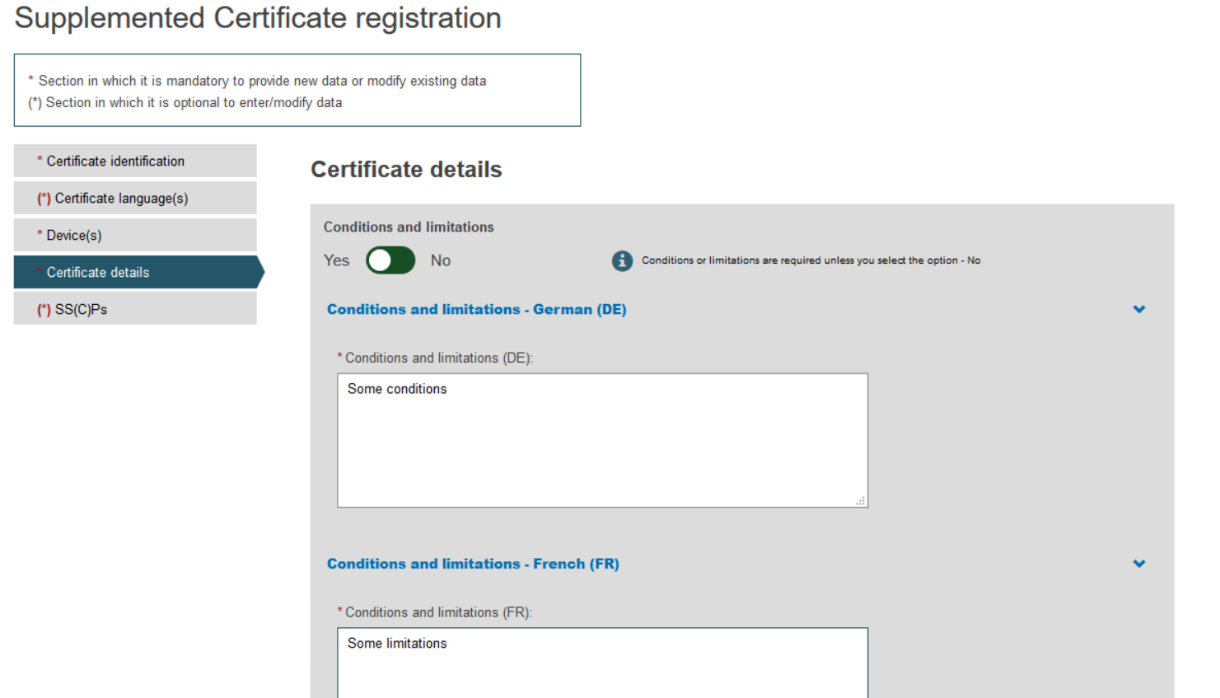
Click on the Certificate details section from the menu on the left and complete all the steps:
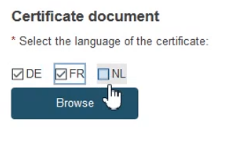
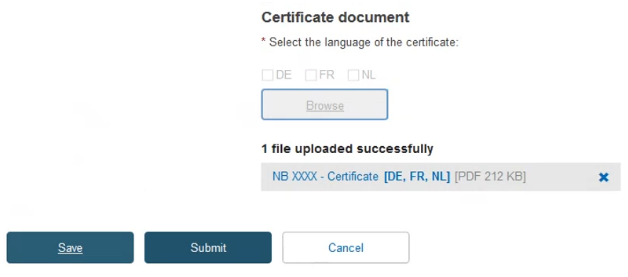
To provide the new Certificate document, tick the relevant languages and click Browse to upload the document(s) from your computer. You can upload either one document containing one/some language(s) or one document covering all languages:
Once you have successfully uploaded the new certificate document(s), click Save.
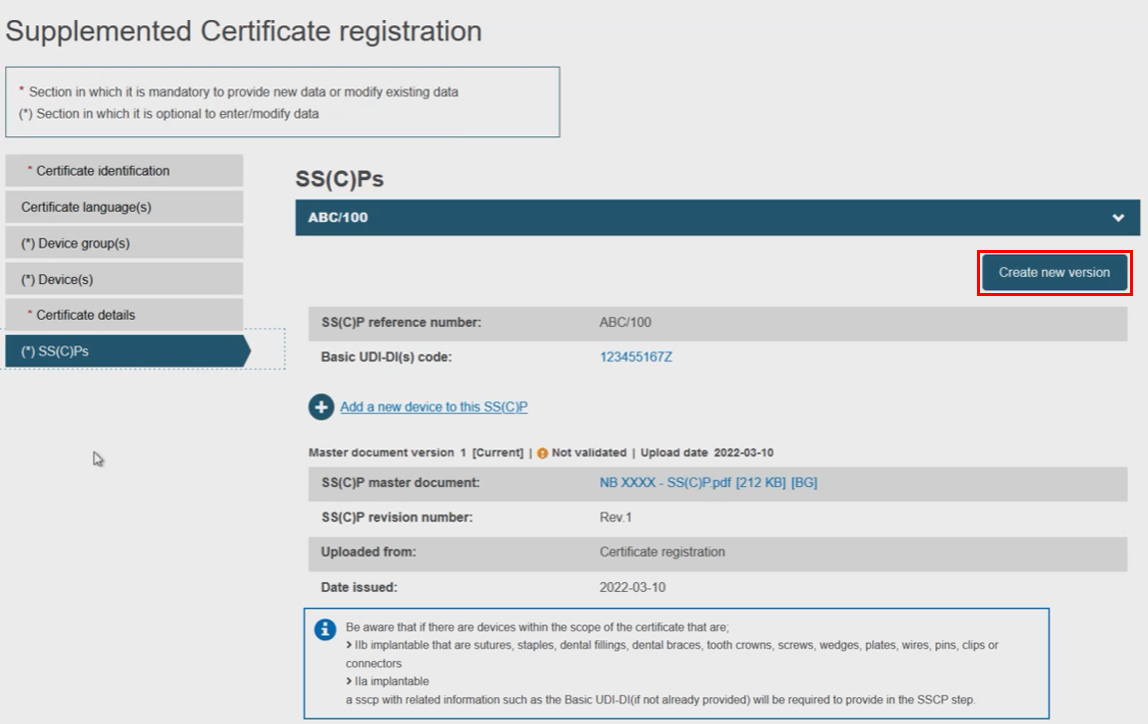
Next, decide either to create a new version of the SS(C)Ps, or link new devices to the existing one. Click on the next menu section, i.e. SS(C)Ps, then click Create new version:
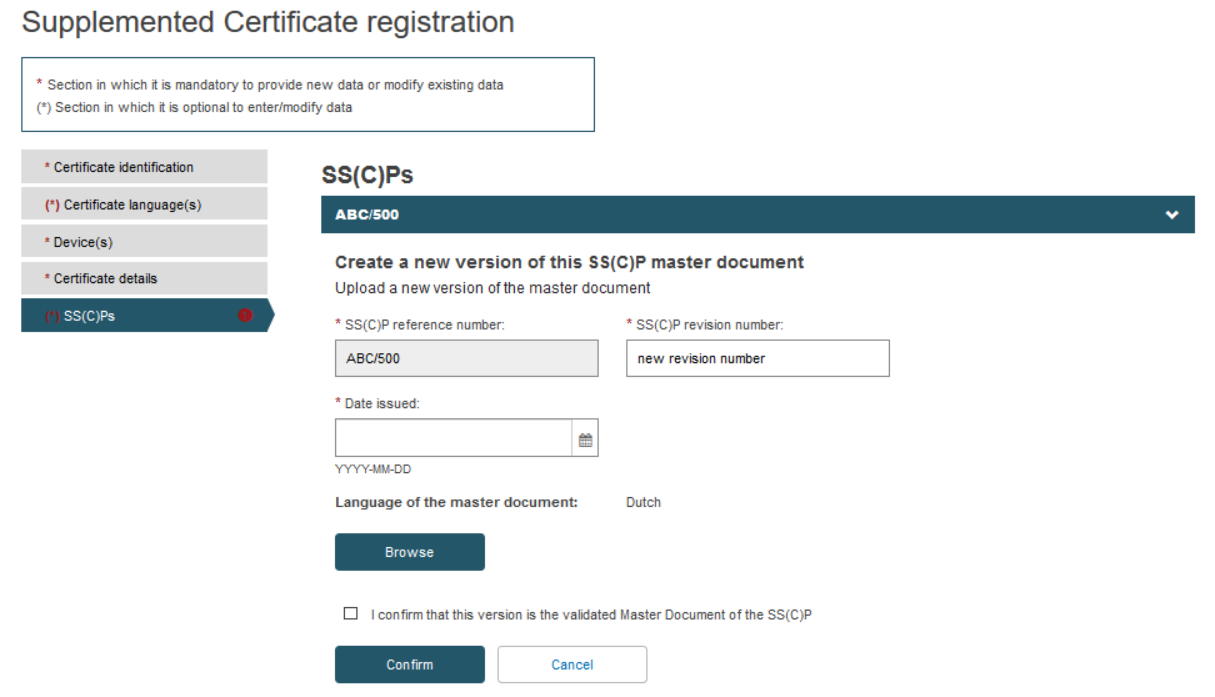
Fill in the information for the new SS(C)P document version and upload the new master document in the pre-selected language:
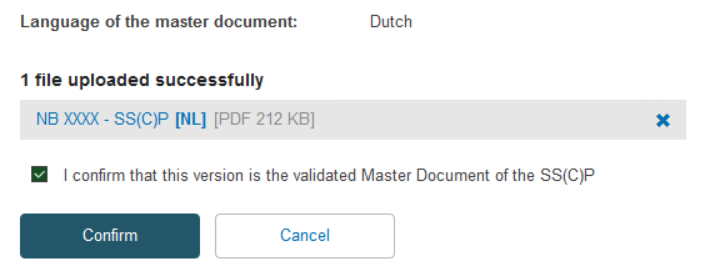
Once you have uploaded the new SS(C)P master document, tick the confirmation box and click Confirm:
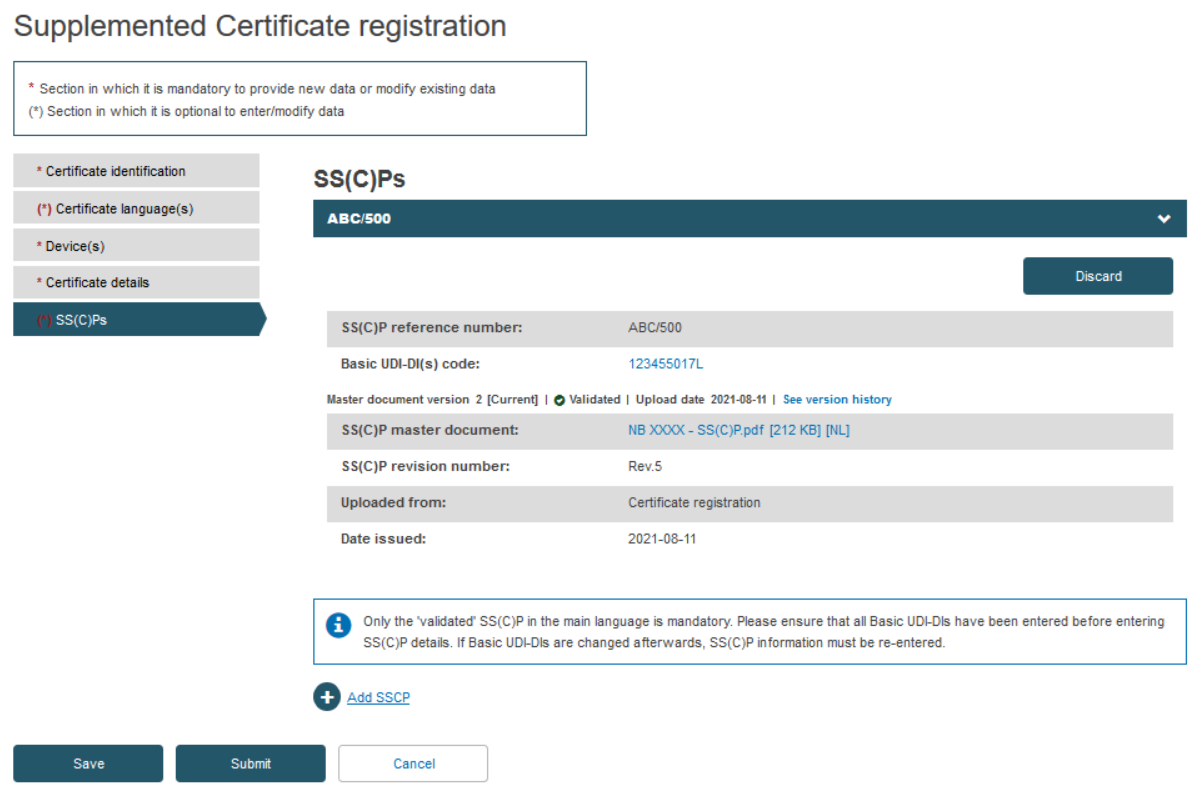
The system will display your newly created SS(C)P version for you to review. If you discover a mistake, you can click Discard and re-do the process, alternatively click Save:
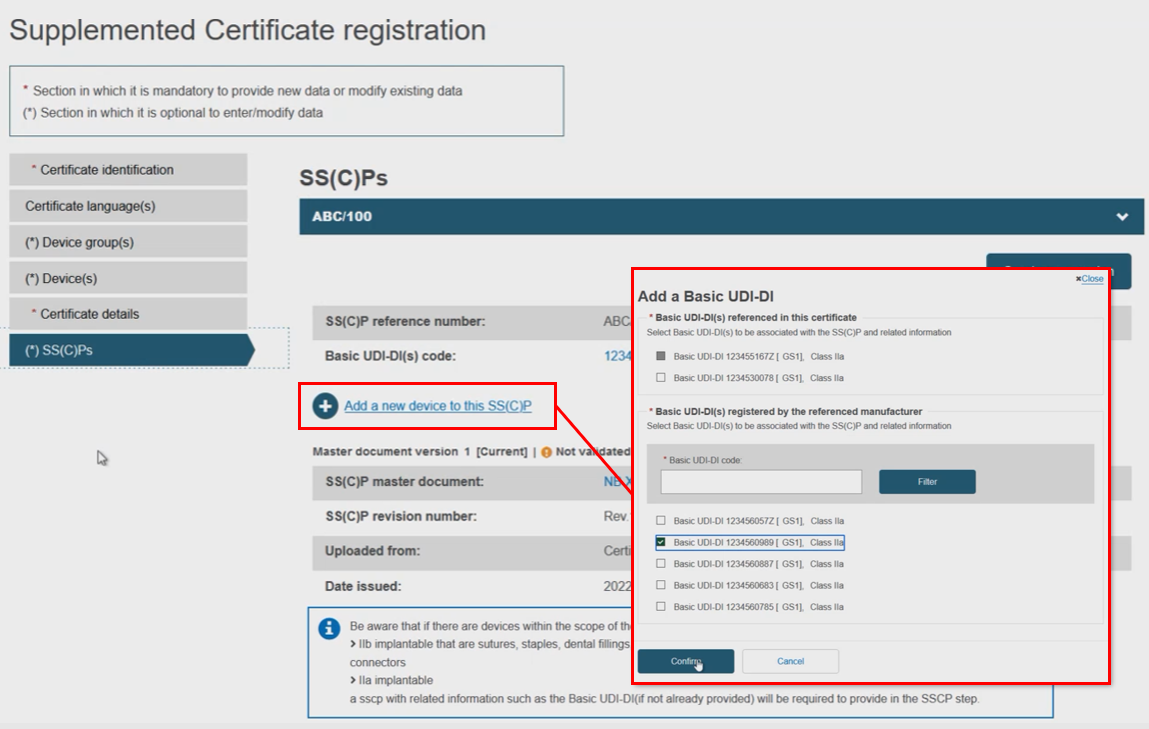
Rather than create a new SS(C)P version, the Notified Body may instead link new devices to the original SS(C)P (version) by clicking Add a new device to this SS(C)P. Select the device(s) from the pop-up display, then click Confirm:
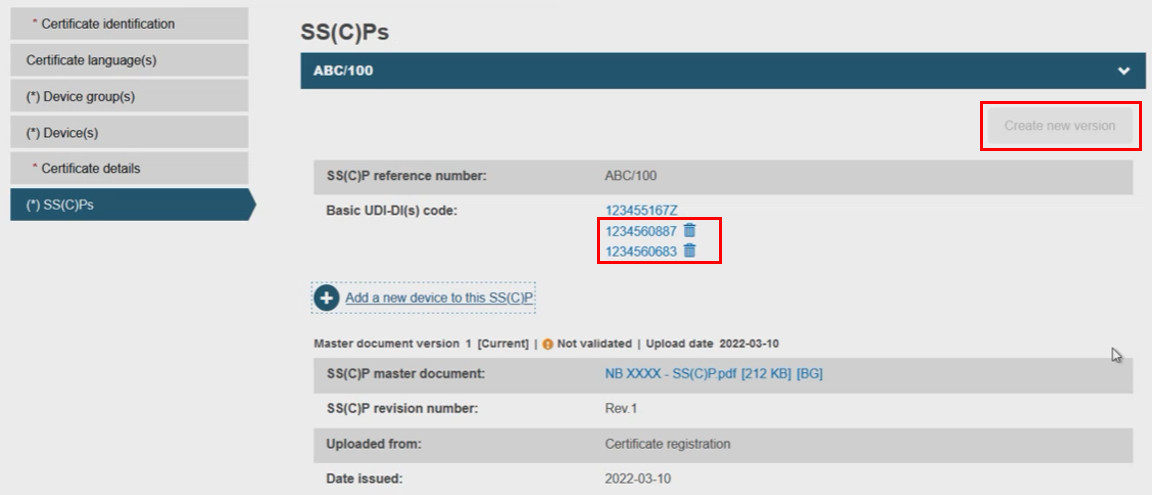
The selected device(s) will appear on the SS(C)P window, removable by clicking the dustbin icon. You will notice the Create new version button is now inactive, only reactivated if all newly linked devices are removed:
When you have fully reviewed all the information provided, click Submit:

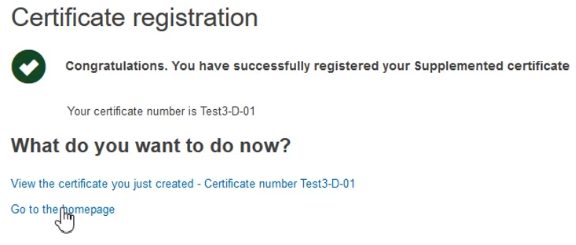
The system will confirm the successful registration of the Supplemented certificate:
