Register a withdrawn application
 VIDEO: Register a withdrawn application
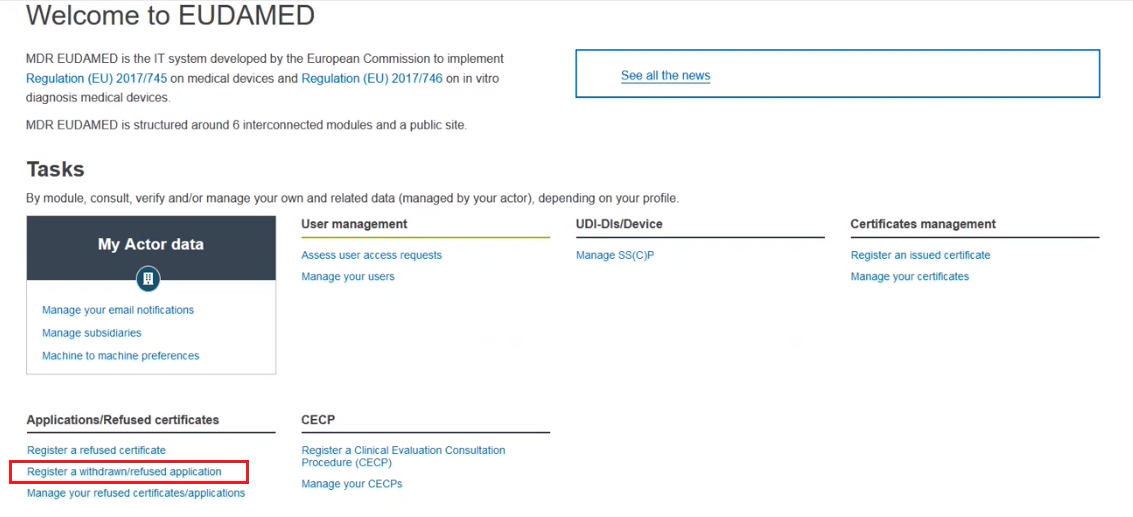
Click Register a withdrawn/refused application in the Applications/refused certificates section:
 |
Select what you want to register:
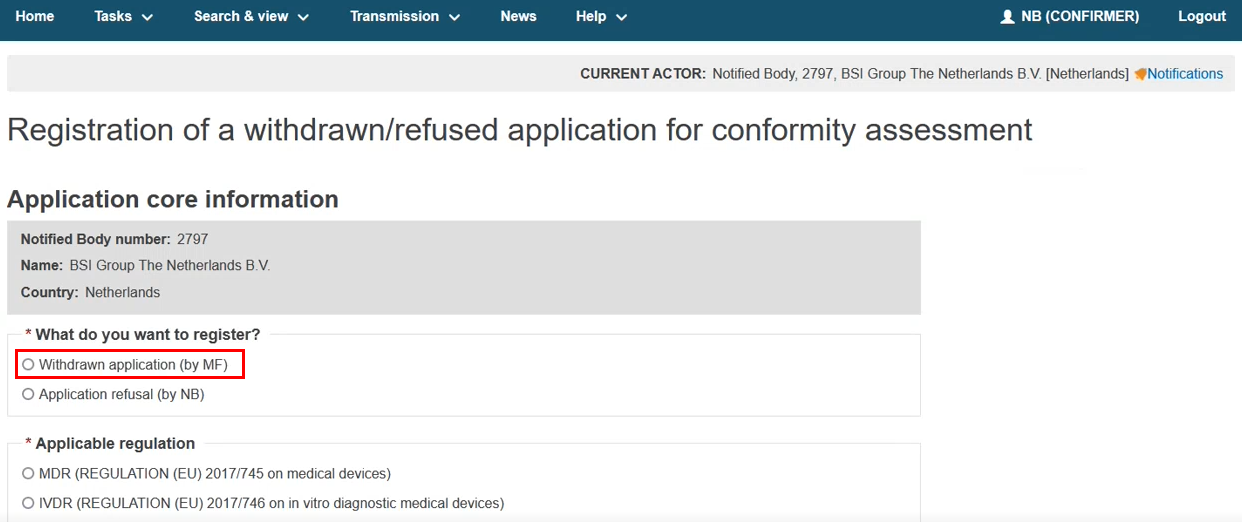
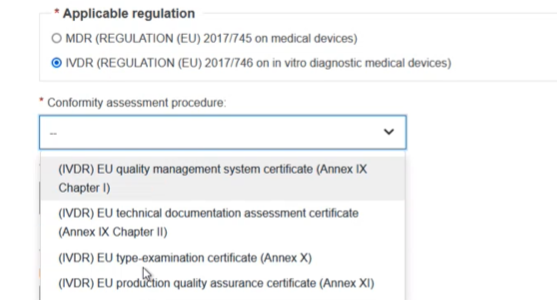
Select the applicable regulation, in this case IVDR, and then select the conformity procedure:
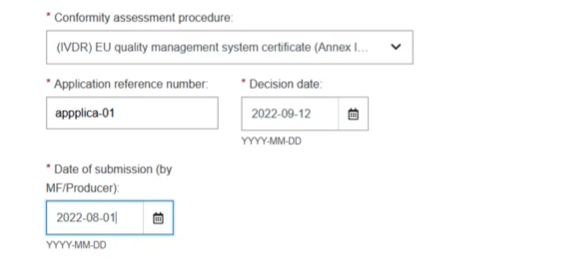
Provide the Application reference number, the Decision date and the Date of submission by:
Enter the Actor ID/SRN or name of the manufacturer or the system/procedure pack producer, click Find and select from the list displayed:

Click Save & Next:

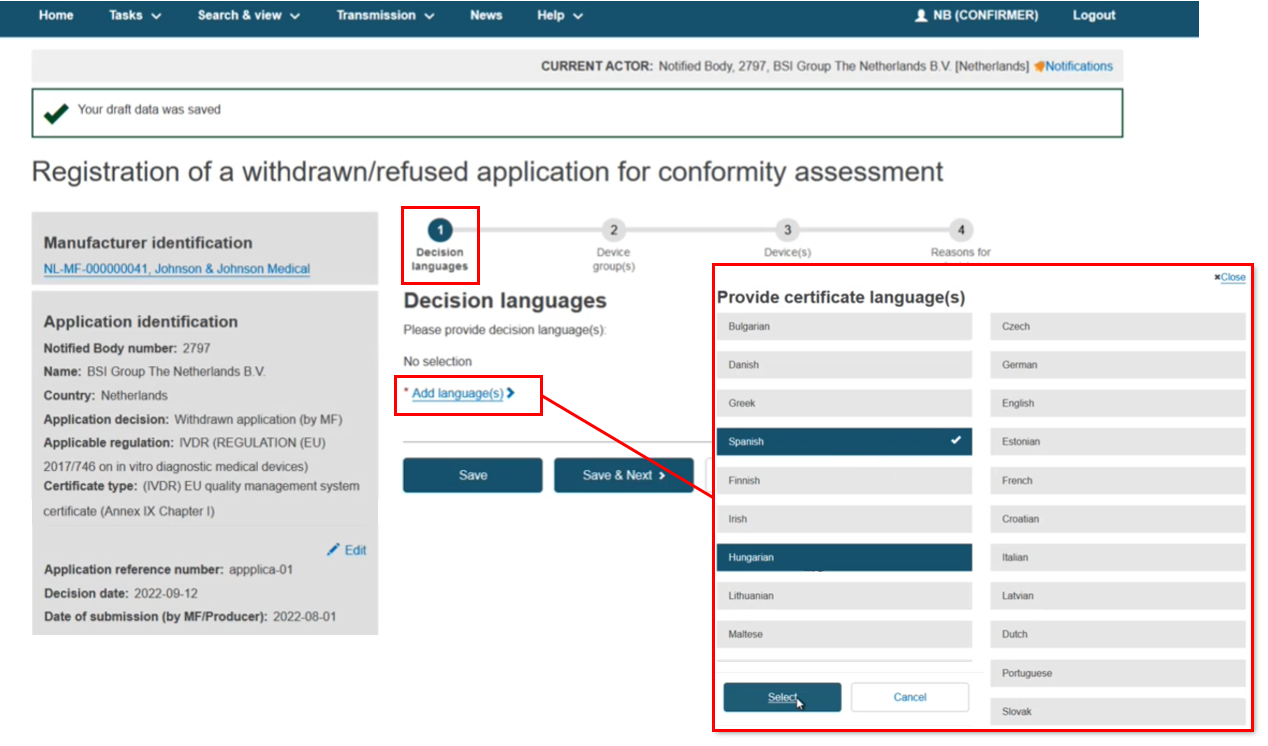
The process flow displays. First add the Decision language(s). You can select multiple languages, then click Select:
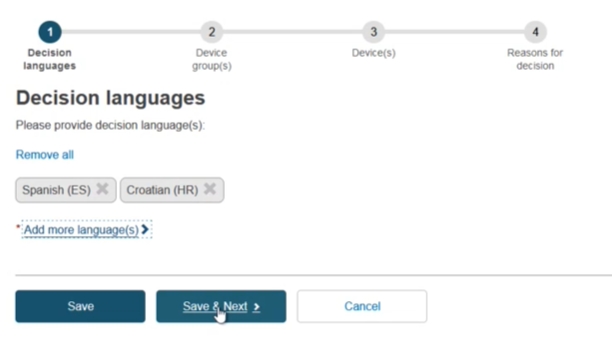
The language tabs display, which can be removed using the x. Click Save & Next:
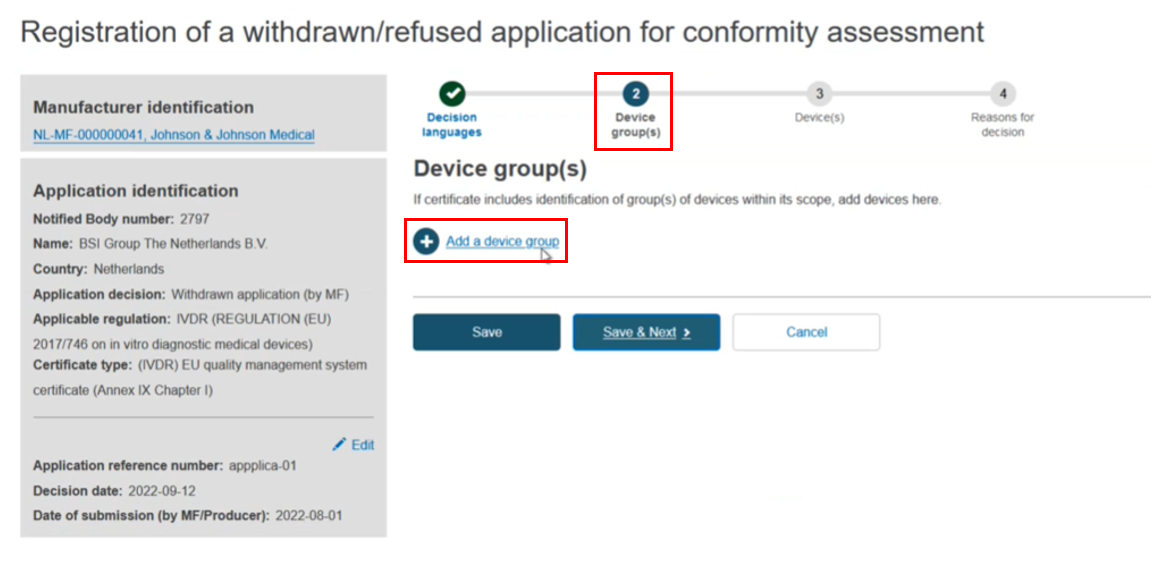
The next step in the flow is Add a device group:
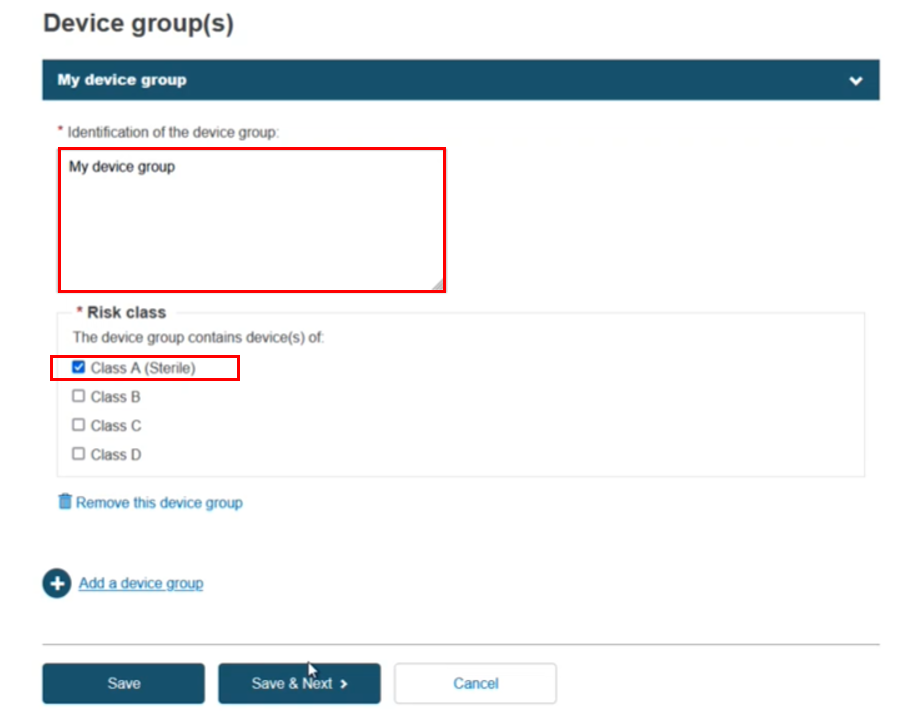
Enter the device group identification and select the risk class. Click Save & Next:
Add a device. Click + Add a device:
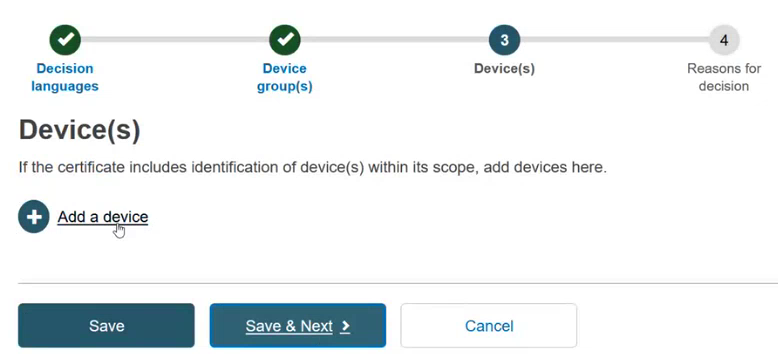
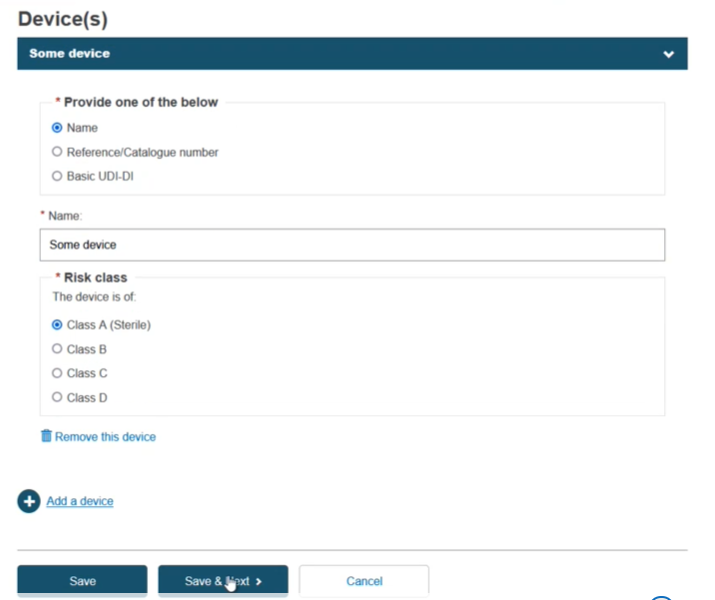
Select Yes or No in the field Custom made class III implantable and specify if you will provide the Name, the Reference/Catalogue number or the Basic UDI-DI of the device:
If you select the Name, then you must provide the Name and the Risk class of the device:
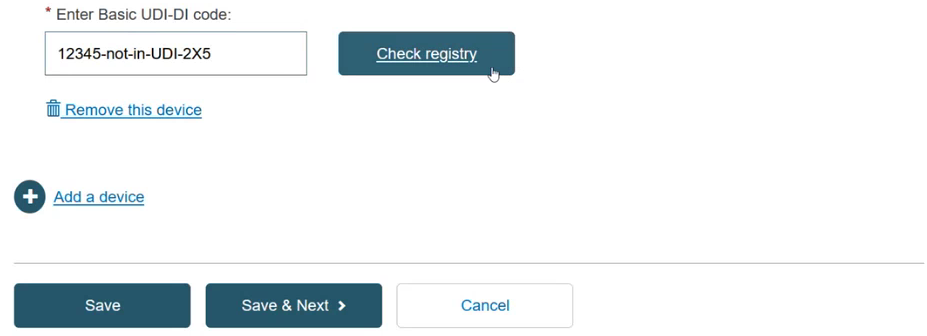
If you select the Basic UDI-DI, then you must fill in the field Enter the Basic UDI-DI code and click the Check Registry button:
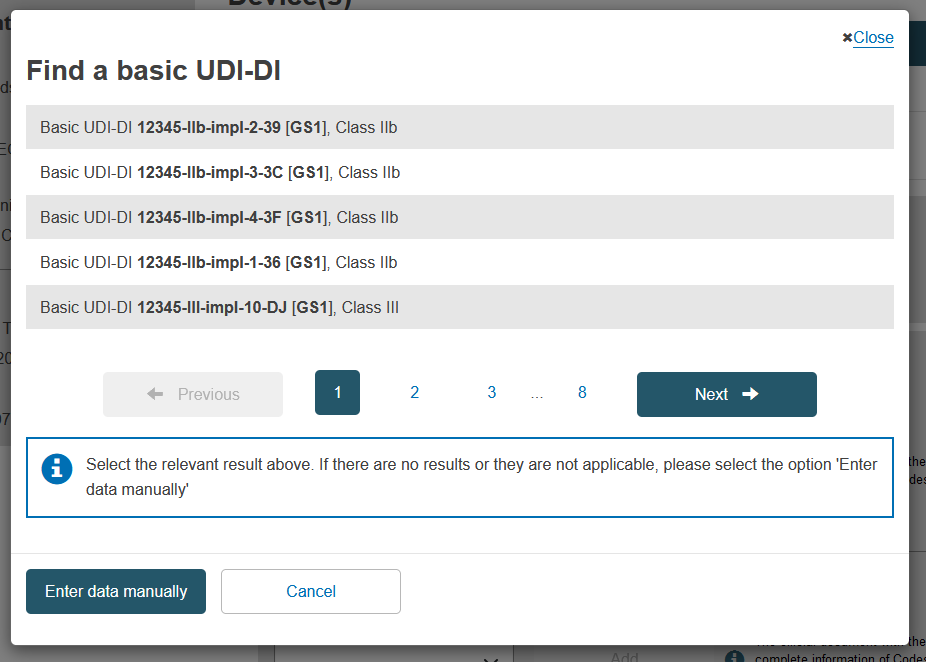
In the pop-up window either select the device from the list (if the device is already registered in EUDAMED) or click on the Enter data manually button (if the device is not yet registered in EUDAMED) to add the Basic UDI-DI manually:

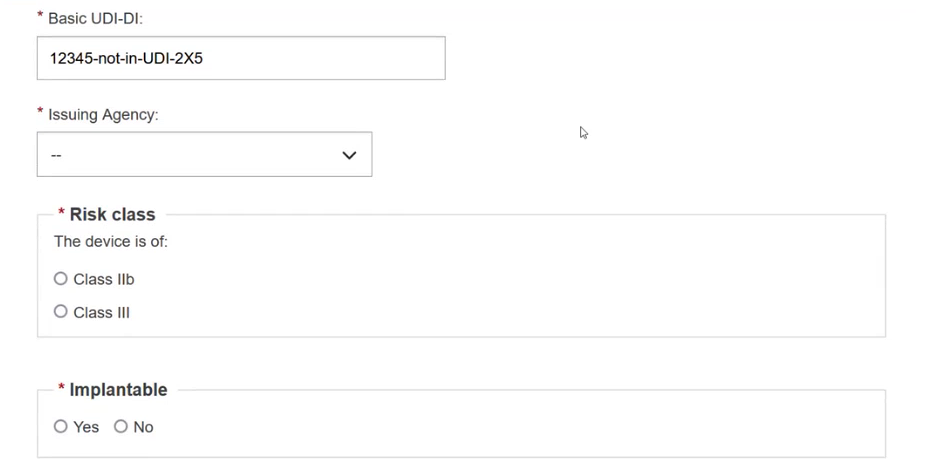
Select the Issuing Agency and the risk class of the device and specify if the device is implantable or not (applicable for MDR):
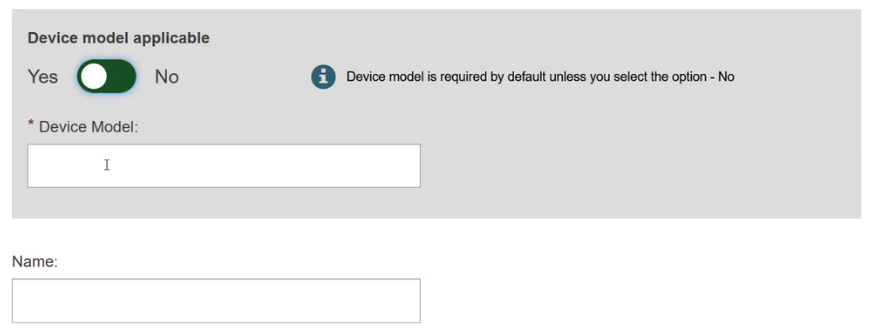
Specify if the device model is applicable or not:

Click Save & Next.
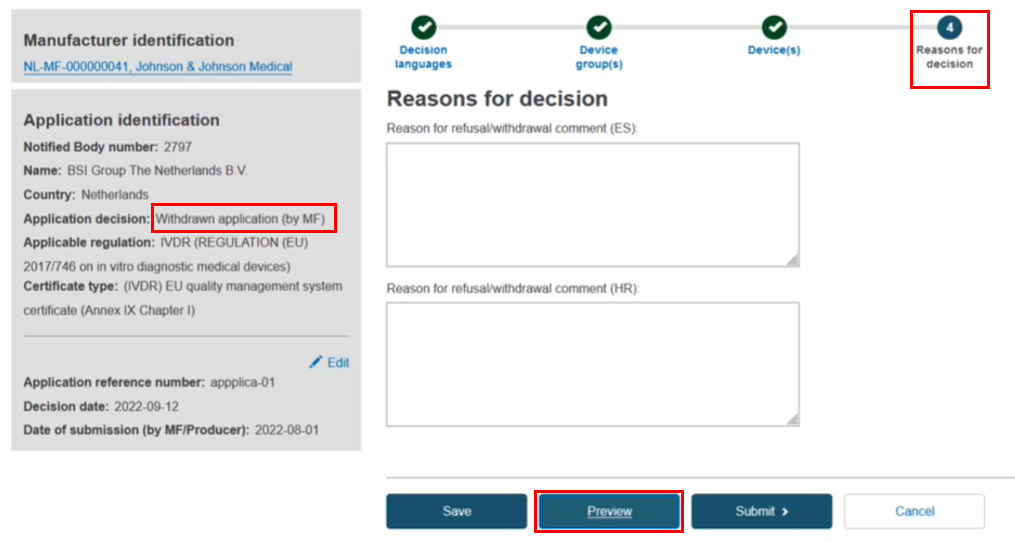
The reasons for the withdrawal/refusal in the language indicated above the text box. You can click Preview to double-check the content in each step:
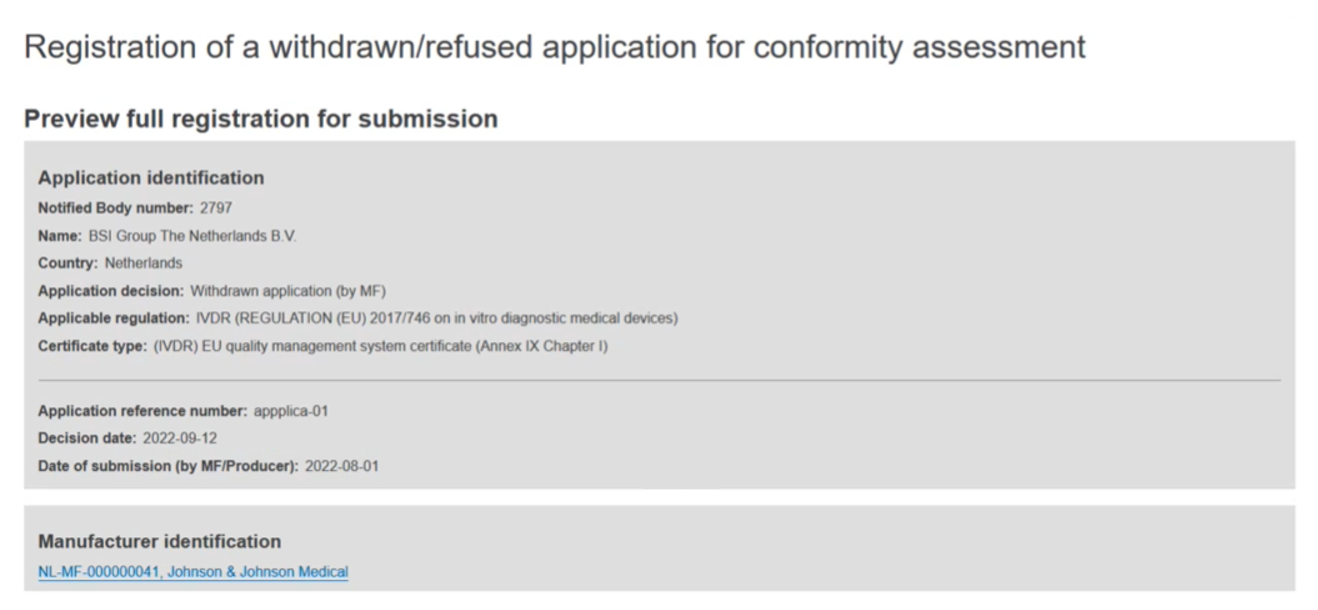
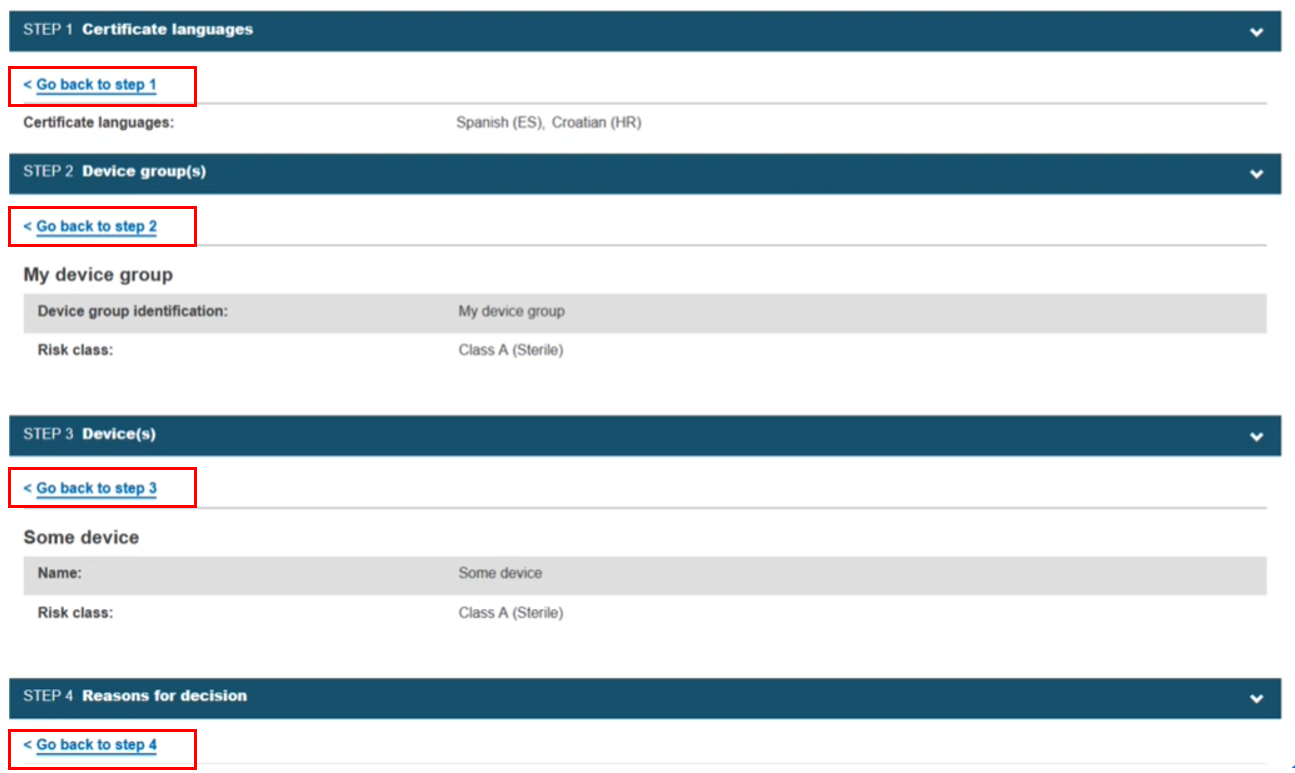
Scroll through the preview. You can return to a specific step by clicking Go back to step x to make edits:
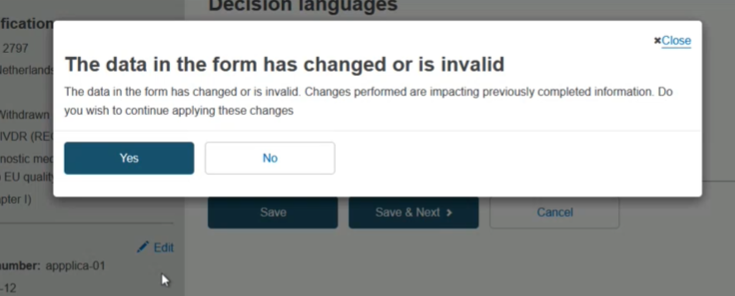
If you make edits, click Save & Next, then you will see this confirmation message. Click Yes, and proceed out of any further steps until you reach the last one:
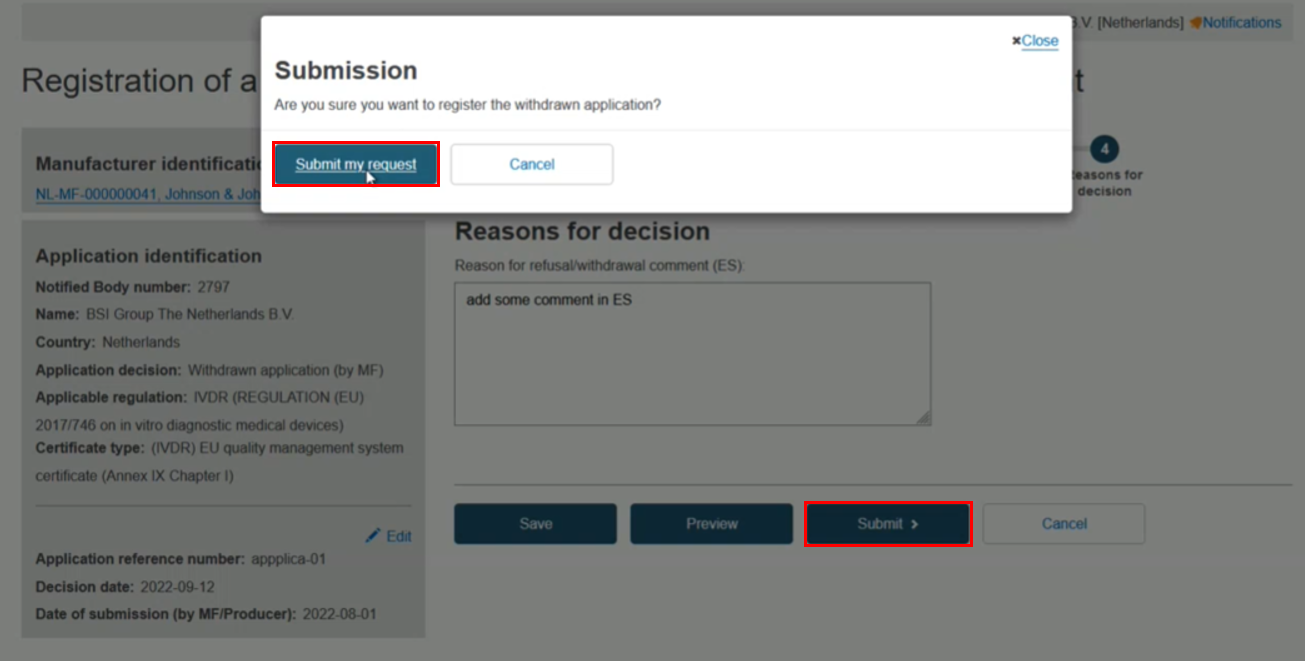
Click Submit my request:
The Confirmation message displays:
