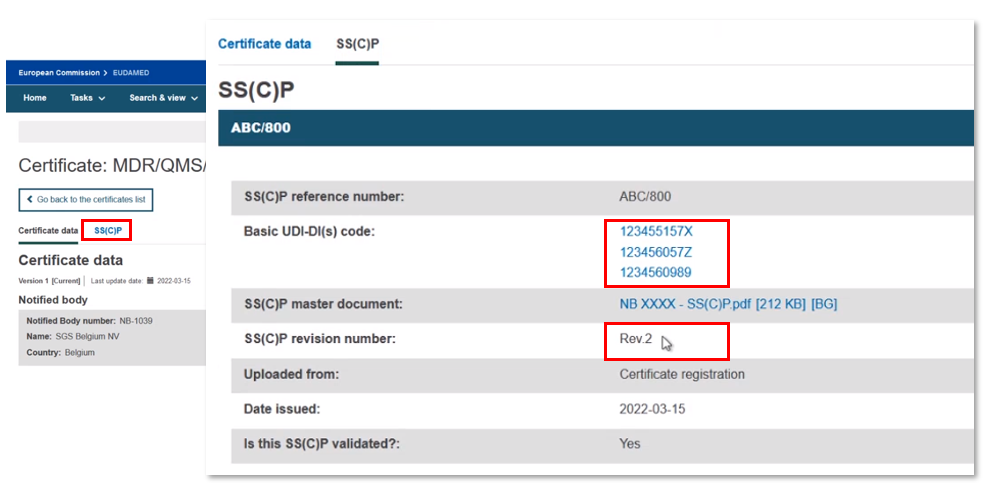
Create new version of a registered SS(C)P
You can reference an existing SS(C)P that is already registered, and link other devices to it. However, you can also create a new SS(C)P version, while referencing an existing SS(C)P.
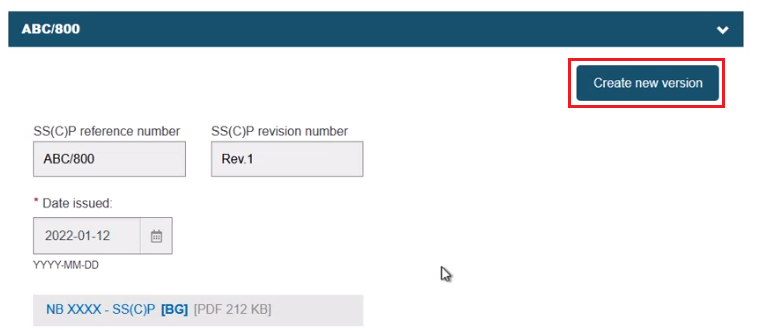
Click Create new version:
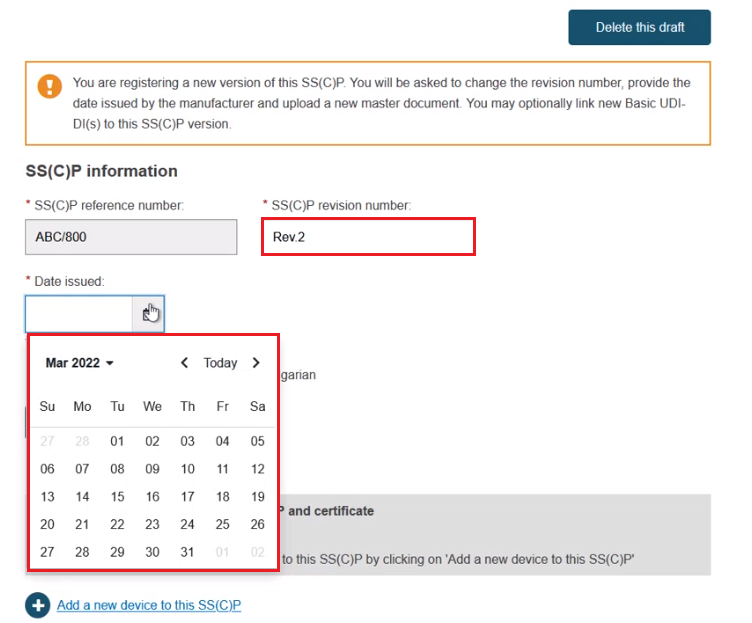
The warning message requests a revision number that must be different from the previous version, a manufacturer-provided issue date and a new master document. Click Date issued and input the date:
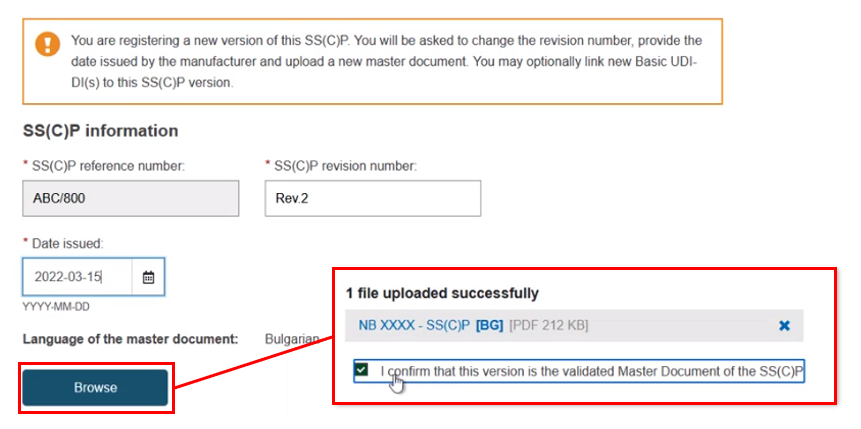
Click Browse to upload the new master document in the pre-selected language, and confirm that it has been validated where applicable (SS(C)P on devices that only need a quality certificate may not necessarily be validated already):
The Device(s) information box confirms no associated devices. Click Add a new device to this SC(C)P. The pop-up shows two sections: the Basic UDI-DI(s) referenced in this certificate of class IIa implantable and relevant class IIb implantable or relevant class C, and (for Quality certificates only) a list of all Basic UDI-DIs of class IIa implantable and relevant class IIb implantable or relevant class C registered by the referenced manufacturer. You can select multiple devices:
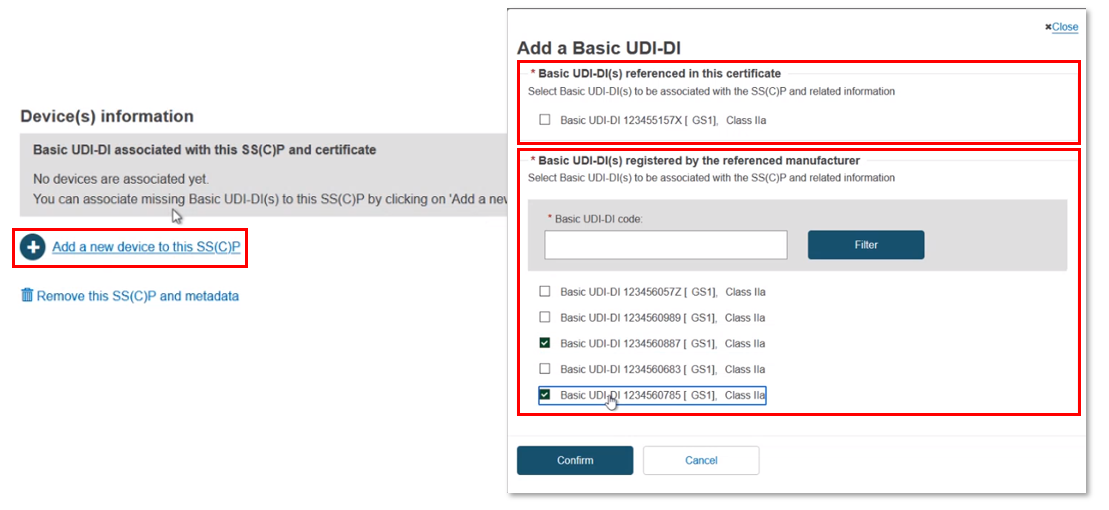
You can input a partial Basic UDI-DI number and click Filter to narrow down the search results:

Note
If you have referenced a Basic UDI-DI in Submitted state, then upon submitting your certificate, you will be asked to confirm the accuracy of the device data registered for the referenced Basic UDI-DI:
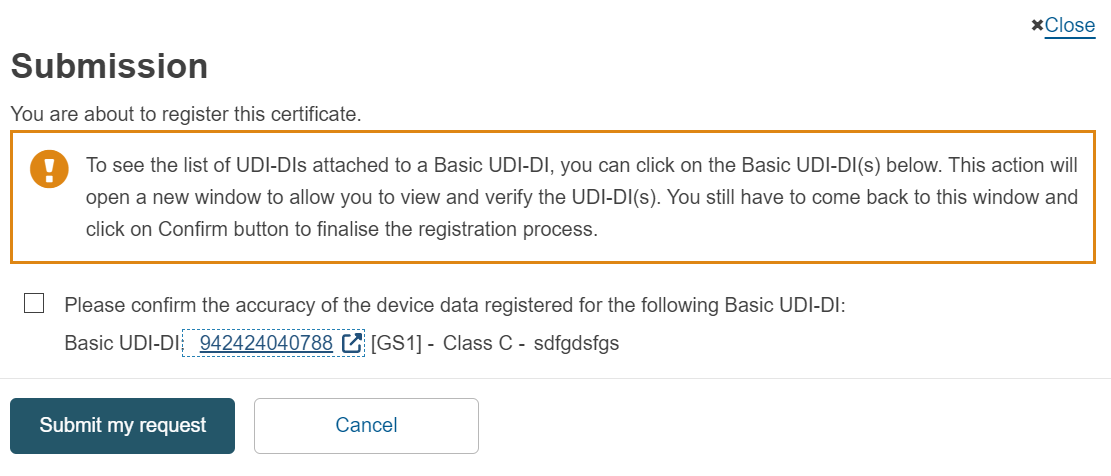
After the certificate is submitted, the state of the Basic UDI-DI will be updated to Registered. The Basic UDI-DI(s) and their related UDI-DI(s) will then become visible on the EUDAMED public site.
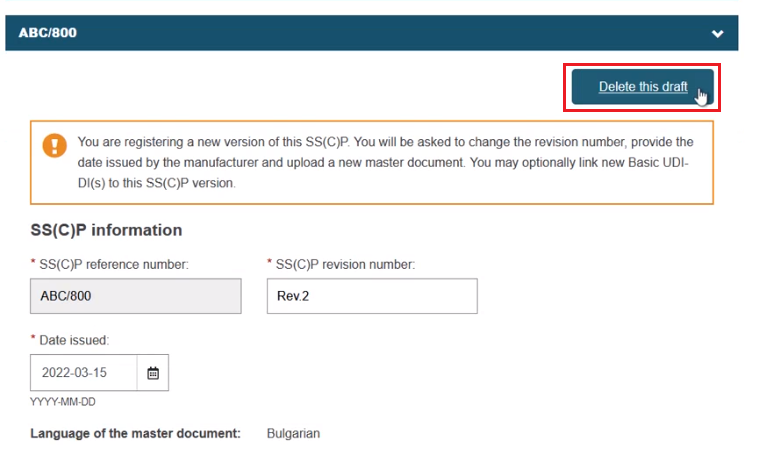
Once selected, click Confirm to link the devices to the SC(C)P new version. Nothing is yet submitted, and you can delete the inputs/links by clicking Delete this draft to return to the previous screen:
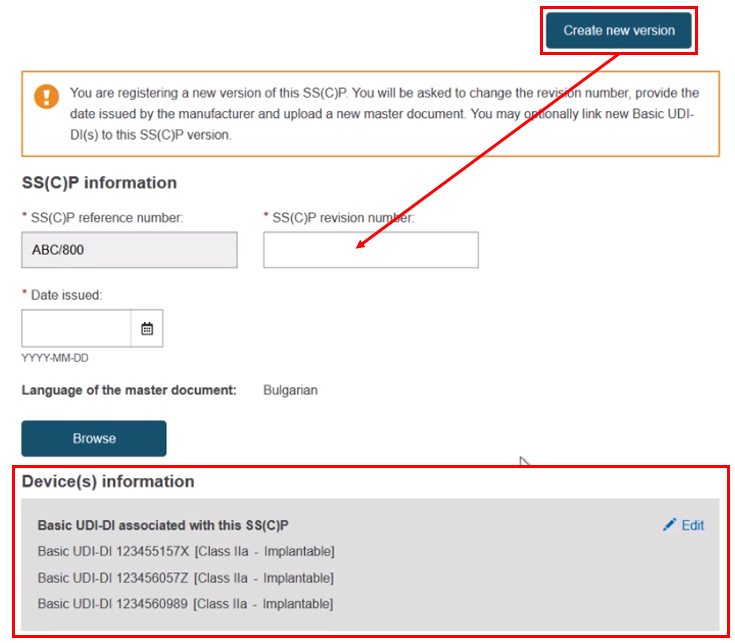
You may also perform the tasks in reverse order. First select the Basic UDI-DI(s), then click Create new version and input the revision number, date and master document etc.:
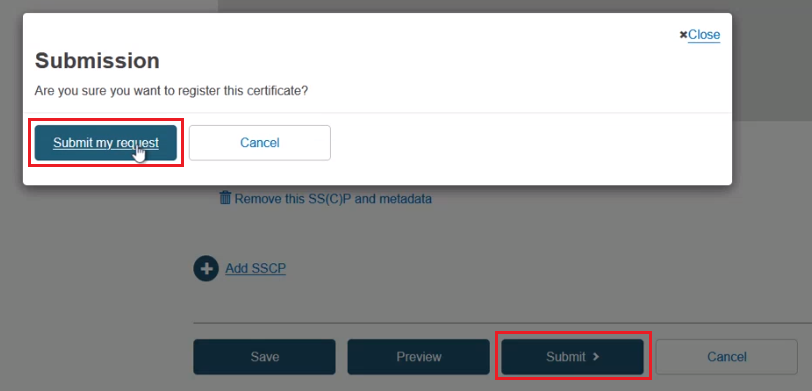
Click Save to continue, or Submit. In the confirmation click Submit my request:
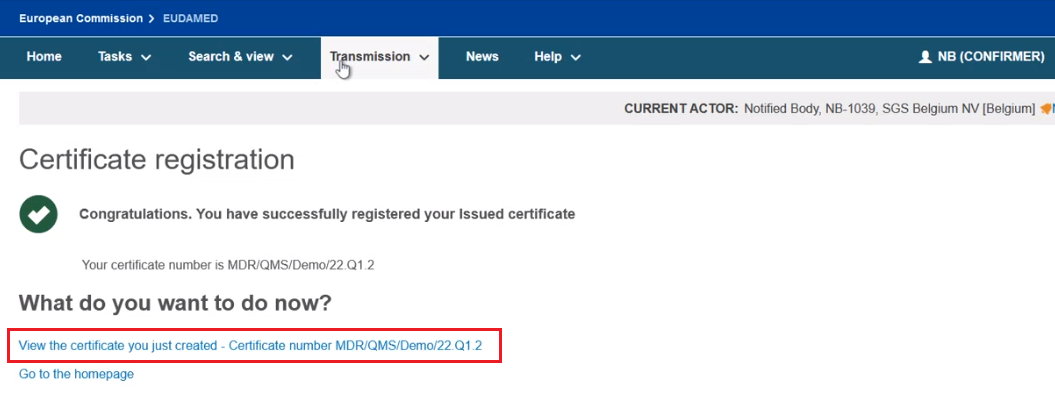
From the confirmation page, click View the certificate you just created:
You can view the newly created certificate version, and all the devices linked to the new registered SS(C)P version:
