Measures
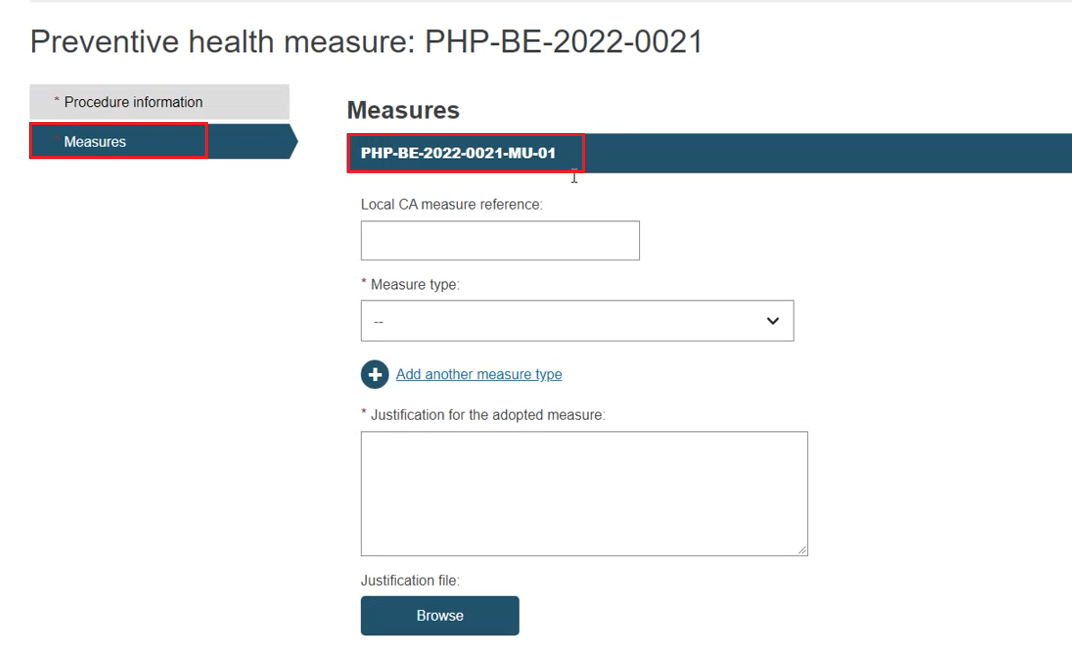
Click on the Measures tab. The system creates the first measure identifier within the procedure, made up of the procedure type abbreviation (in this case PHP), the country, year, reference and measure (MU) number:
 |
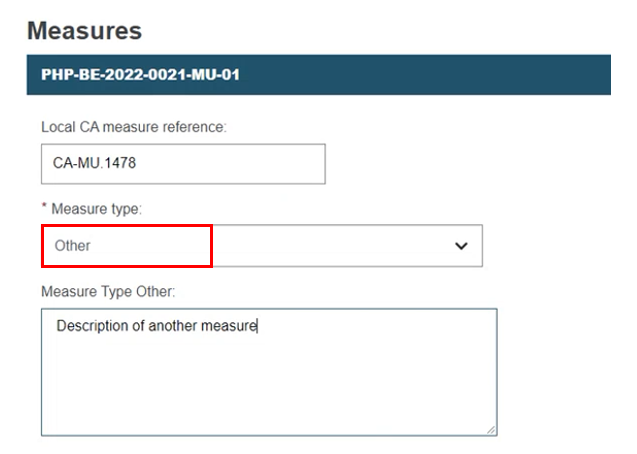
Provide the CA's measure reference number and select the measure type. If you select Other, enter an explanation:
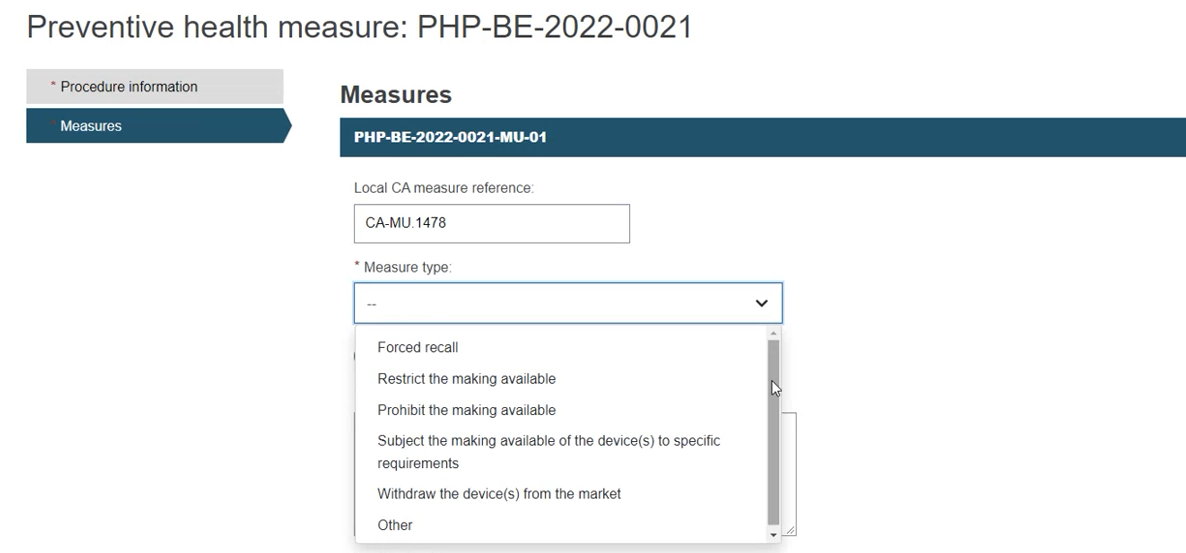
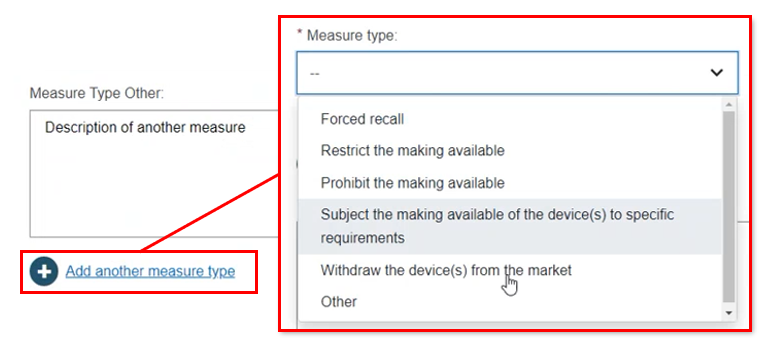
To add other measures, click Add another measure type, and select the measure type:
Provide a justification, and upload a justification file if necessary:

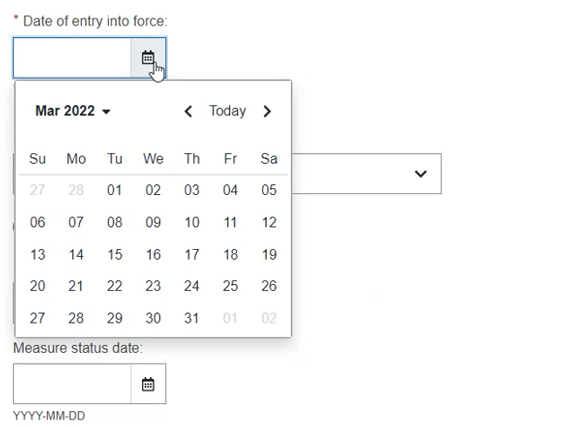
Enter the date that the measure comes/came/will come into force:
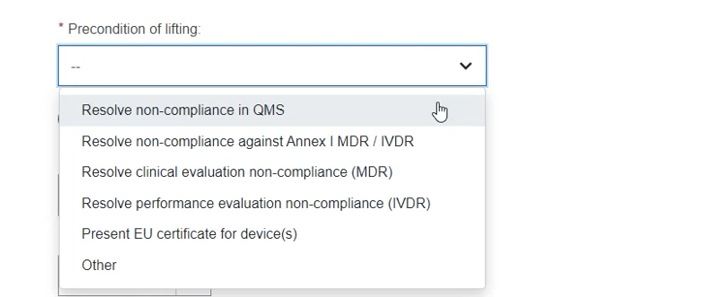
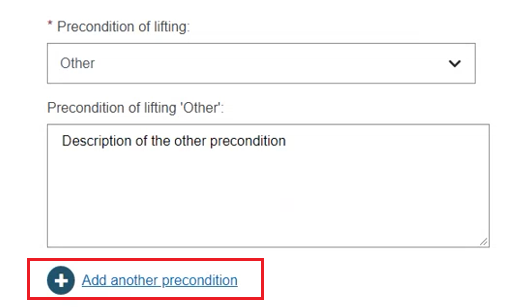
Select a Preconditions for lifting the measure. If you select Other, provide an explanation. You can select additional preconditions by clicking Add another precondition:
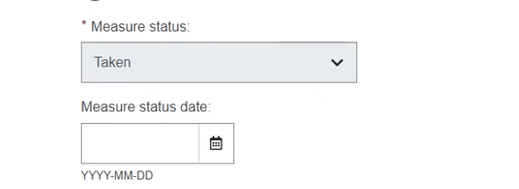
The Measure status is set to Taken by default. This cannot be changed. The Measure status date in this case can be filled in if relevant:
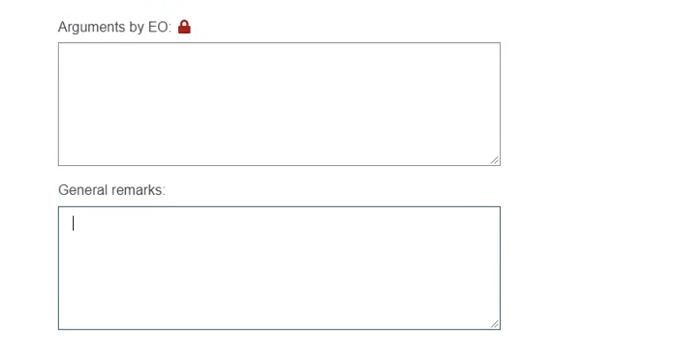
You can enter arguments provided by the EO in the Arguments by EO and General remarks fields:
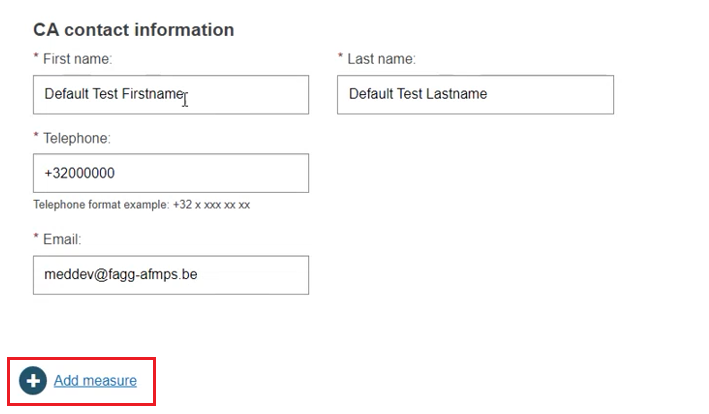
Provide a CA contact specific to this measure. The default contact information shown is editable. You can add another measure to the procedure by clicking Add measure:
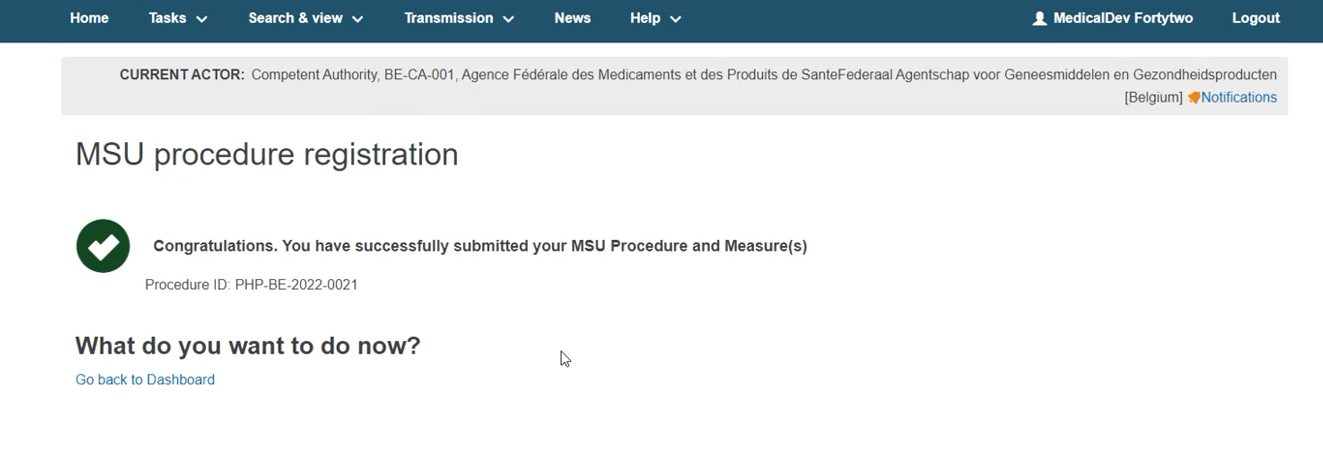
Click Submit for the procedure to be registered once your measure(s) is in place, either from here or from the Procedure section. A confirmation message appears:

Important
Remember to click Save during the completion of each step. There is no autosave function, and unsaved inputs will be lost if you log out or otherwise lose connection to EUDAMED.