Corrective action details
Click on the Corrective Action Details section from the menu on the left:
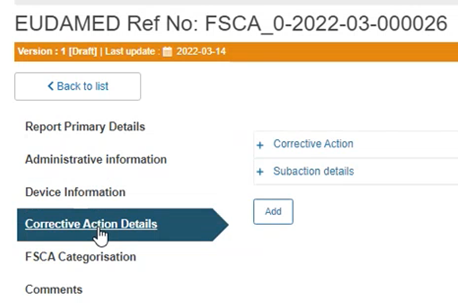
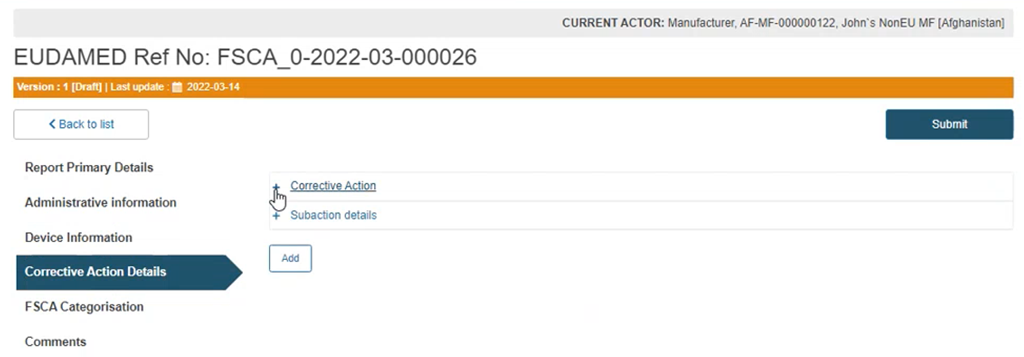
Click on the plus sign next to the Corrective Action segment to access the fields to be completed:
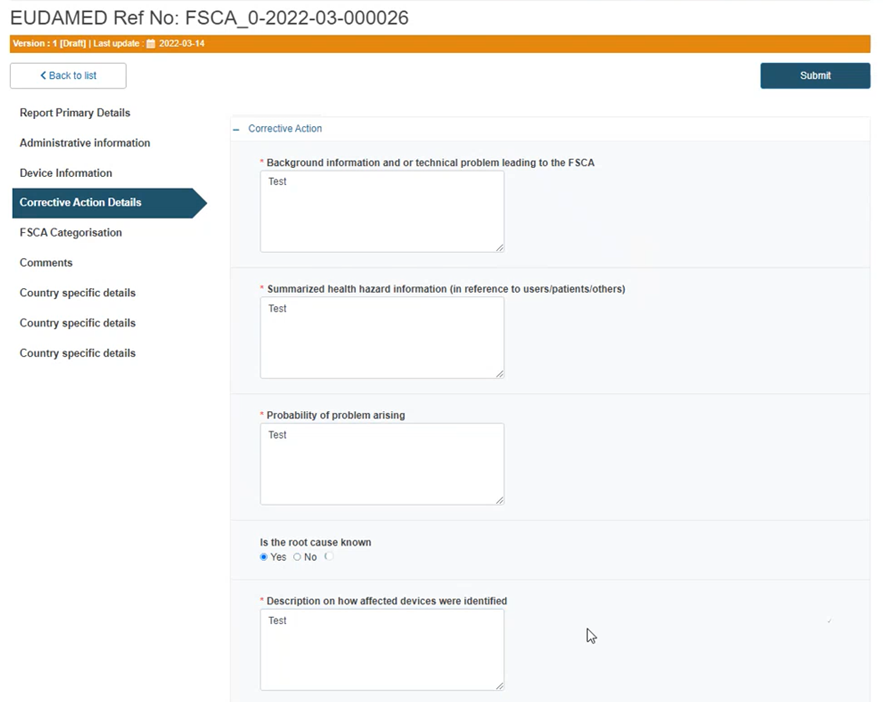
Provide information in each of the fields inside the Corrective Action segment:
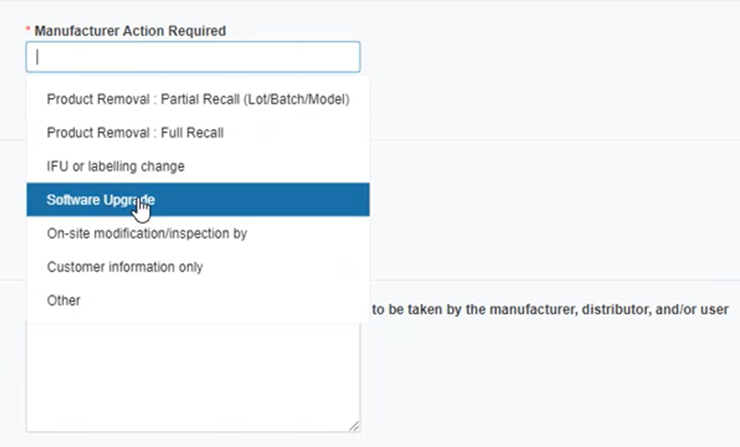
Specify the manufacturer action required from the drop-down list:
Similarly, select User action(s) required from the drop-down list:

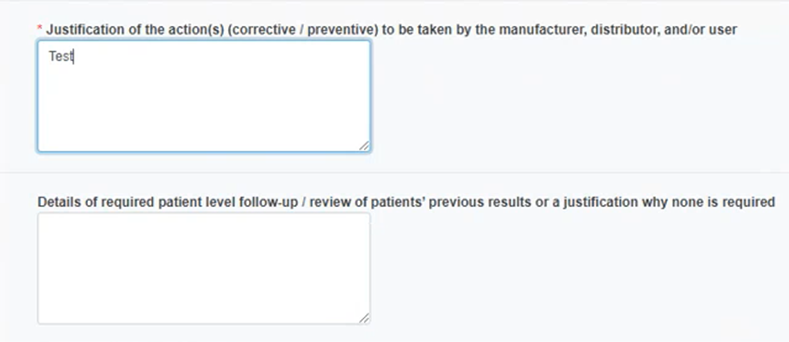
Insert a justification of the actions and the details in the two fields below:
Click Browse to upload a document under Customer list:

Click Browse to upload other important documents relevant to this FSCA:

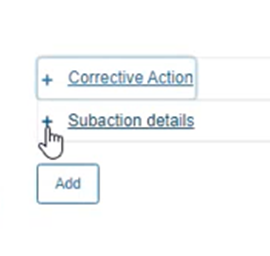
Click on the plus sign next to the Sub-action details section to view its fields for completion:
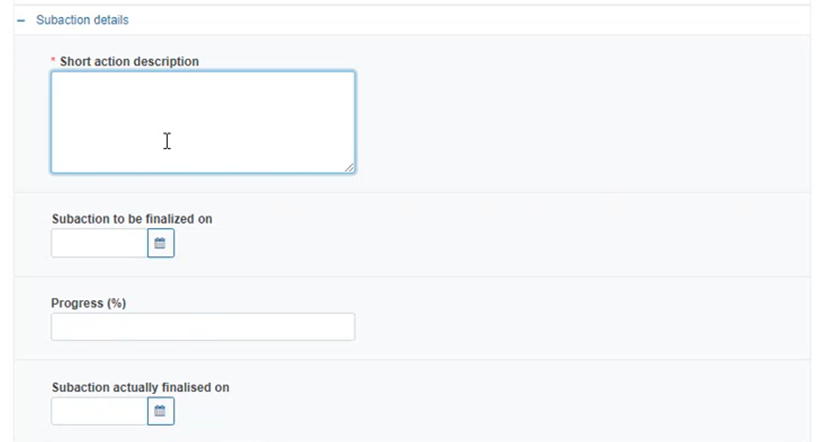
Fill in the Sub-action details fields:
Important
In the field Sub-action actually finalised on only dates in the past can be entered.
Click Browse to upload any relevant important documents in PDF format:

