PSUR details / Submission
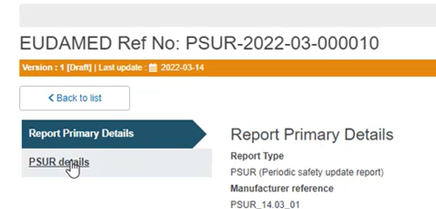
Click on the PSUR details section from the menu on the left:
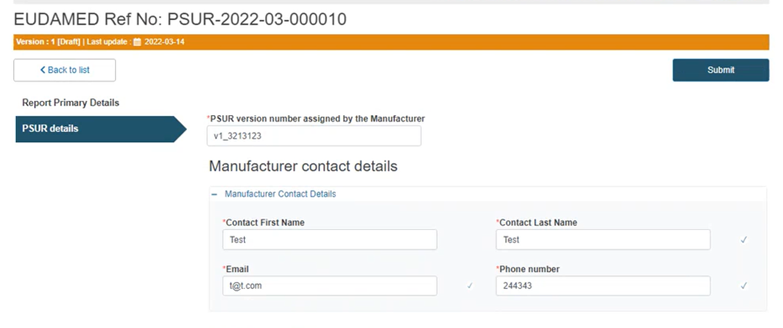
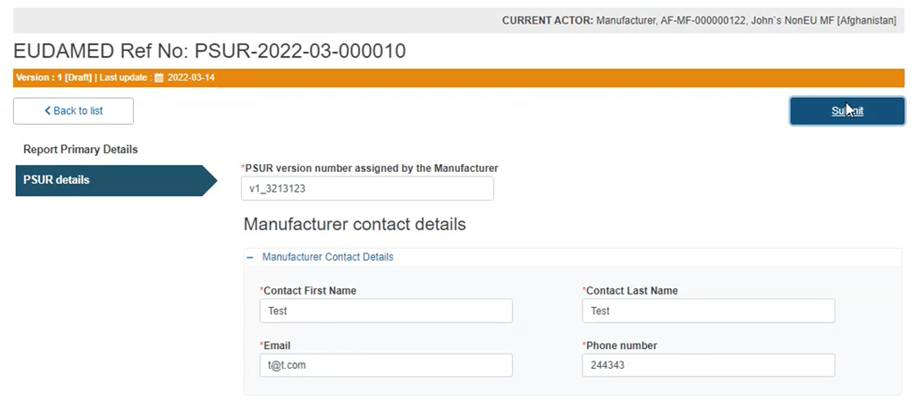
Enter the PSUR version number assigned by the Manufacturer and fill in the Manufacturer contact details:
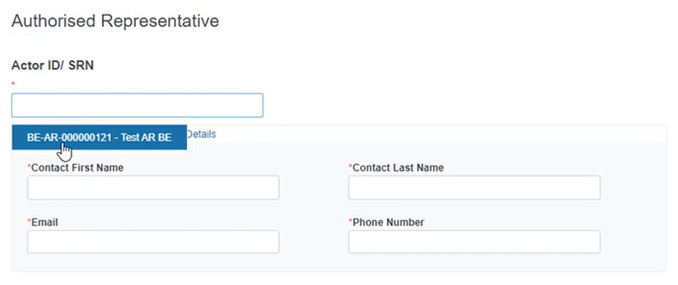
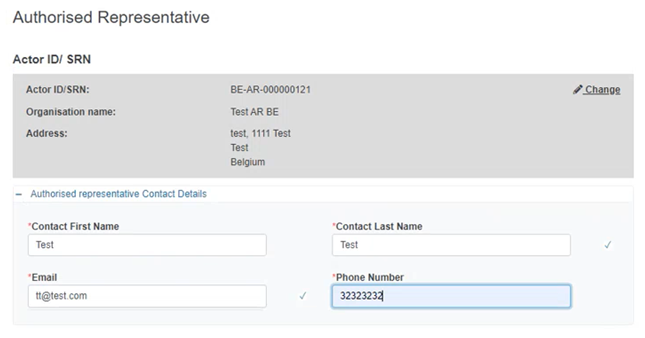
Fill in the Actor ID and contact details of the Authorised Representative if you are a non-EU manufacturer:
From the drop-down list select the Competent Authority in the manufacturer’s place of business (this CA is the one to receive notifications regarding this PSUR):

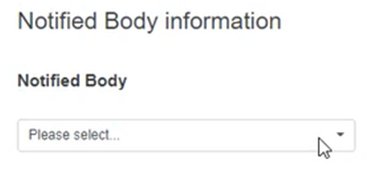
Select the Notified Body which will provide an evaluation for this report from the drop-down list:
Click on the plus sign next to Device information to access the fields for completion:

Select the Basic UDI-DI for the Leading Basic UDI-DI for the current PSUR:
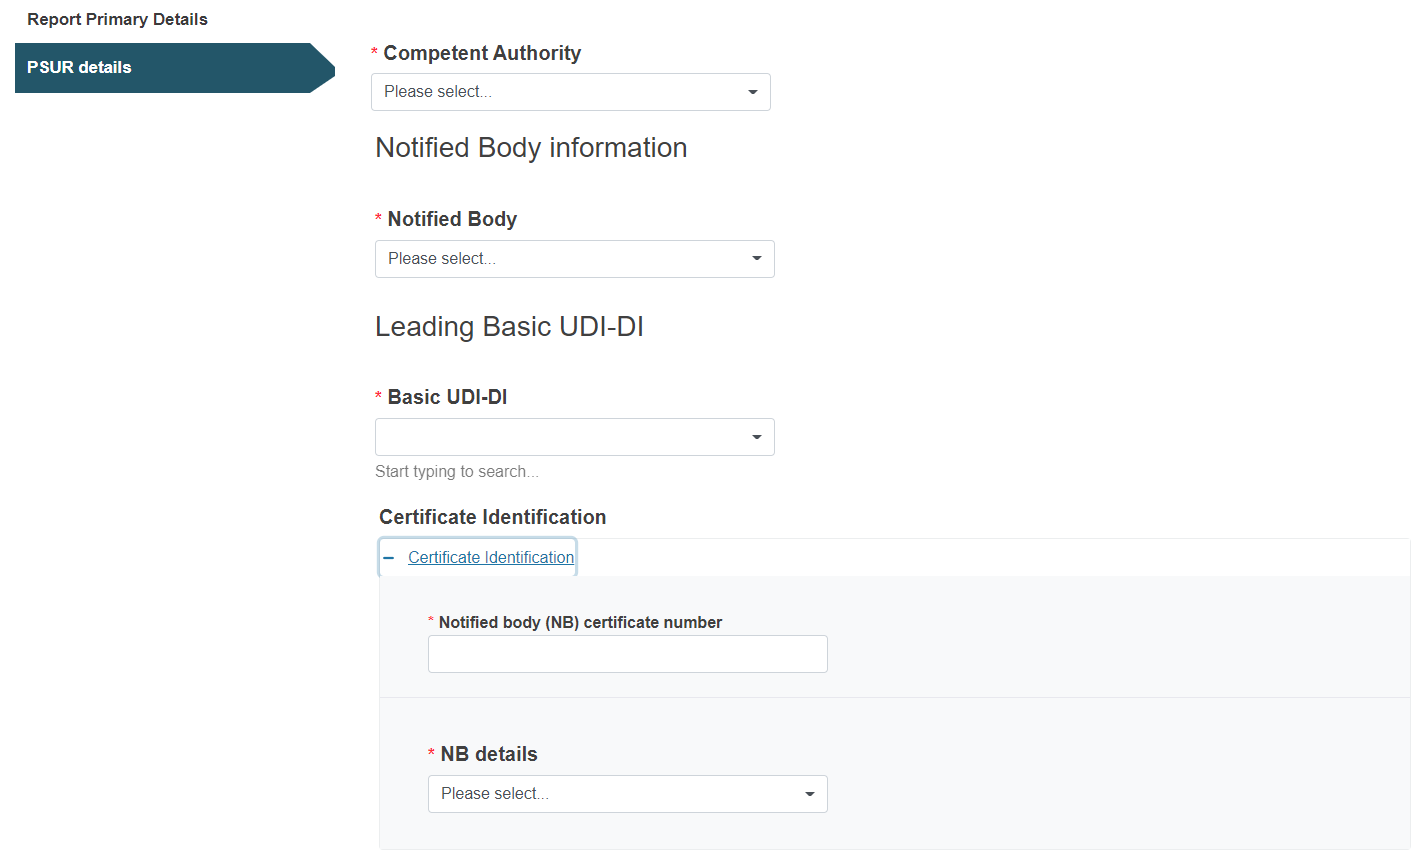
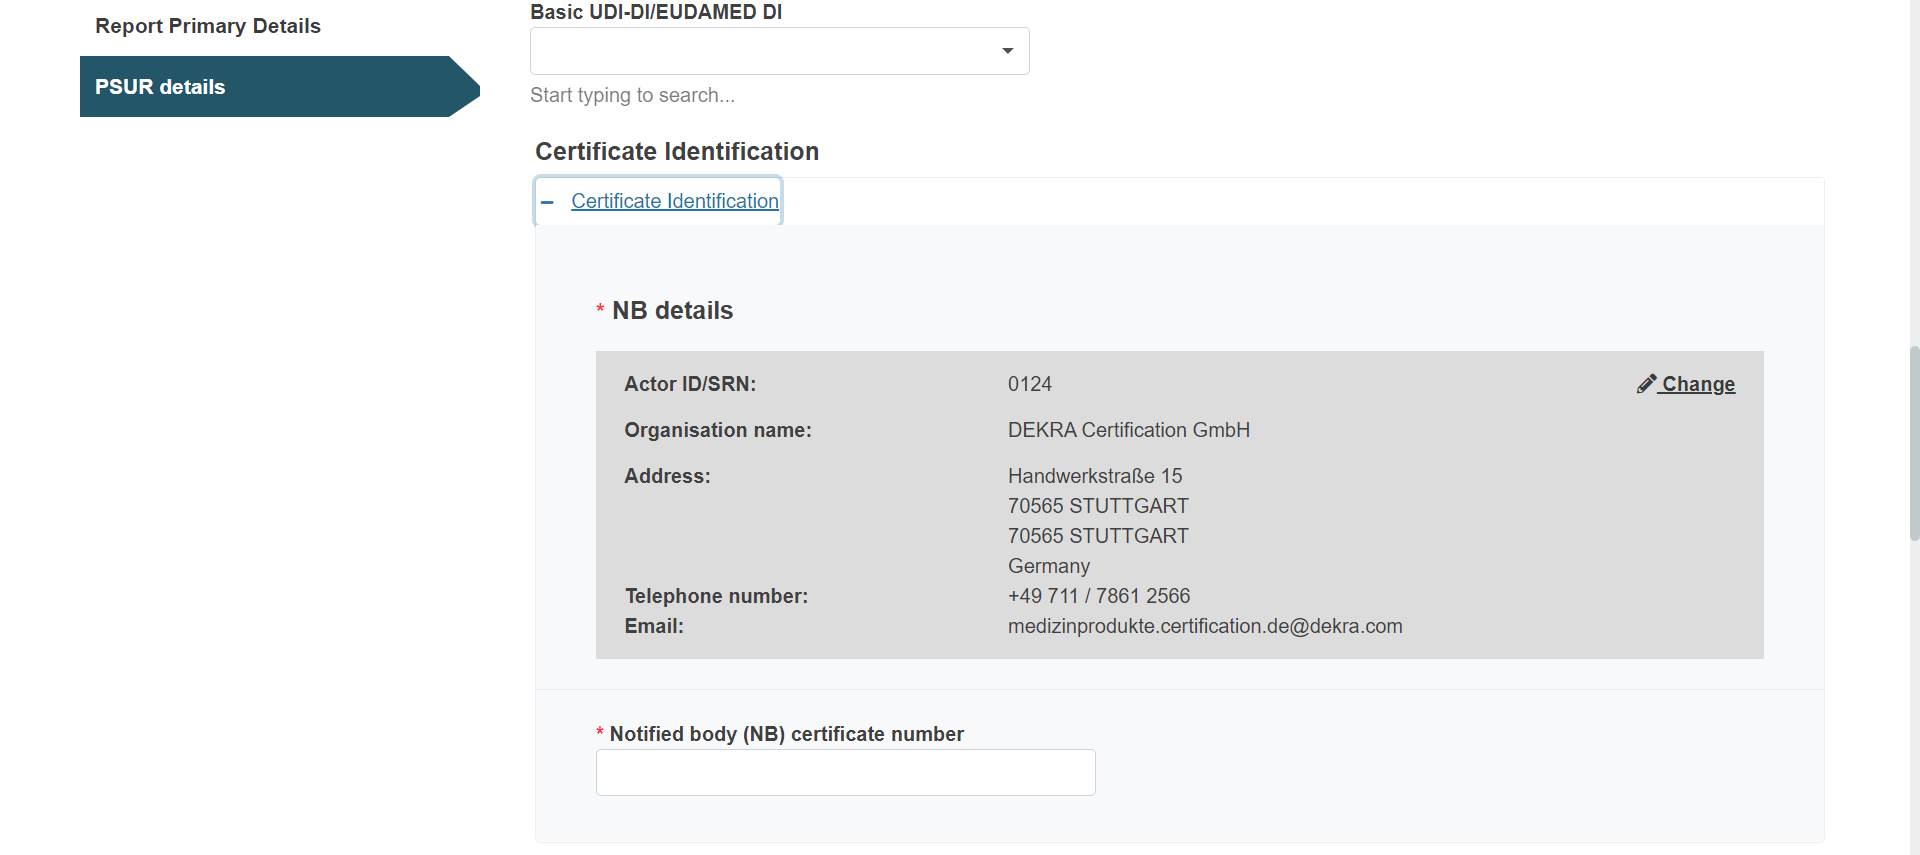
Click on the plus sign next to Certificate Identification to access the fields for completion:

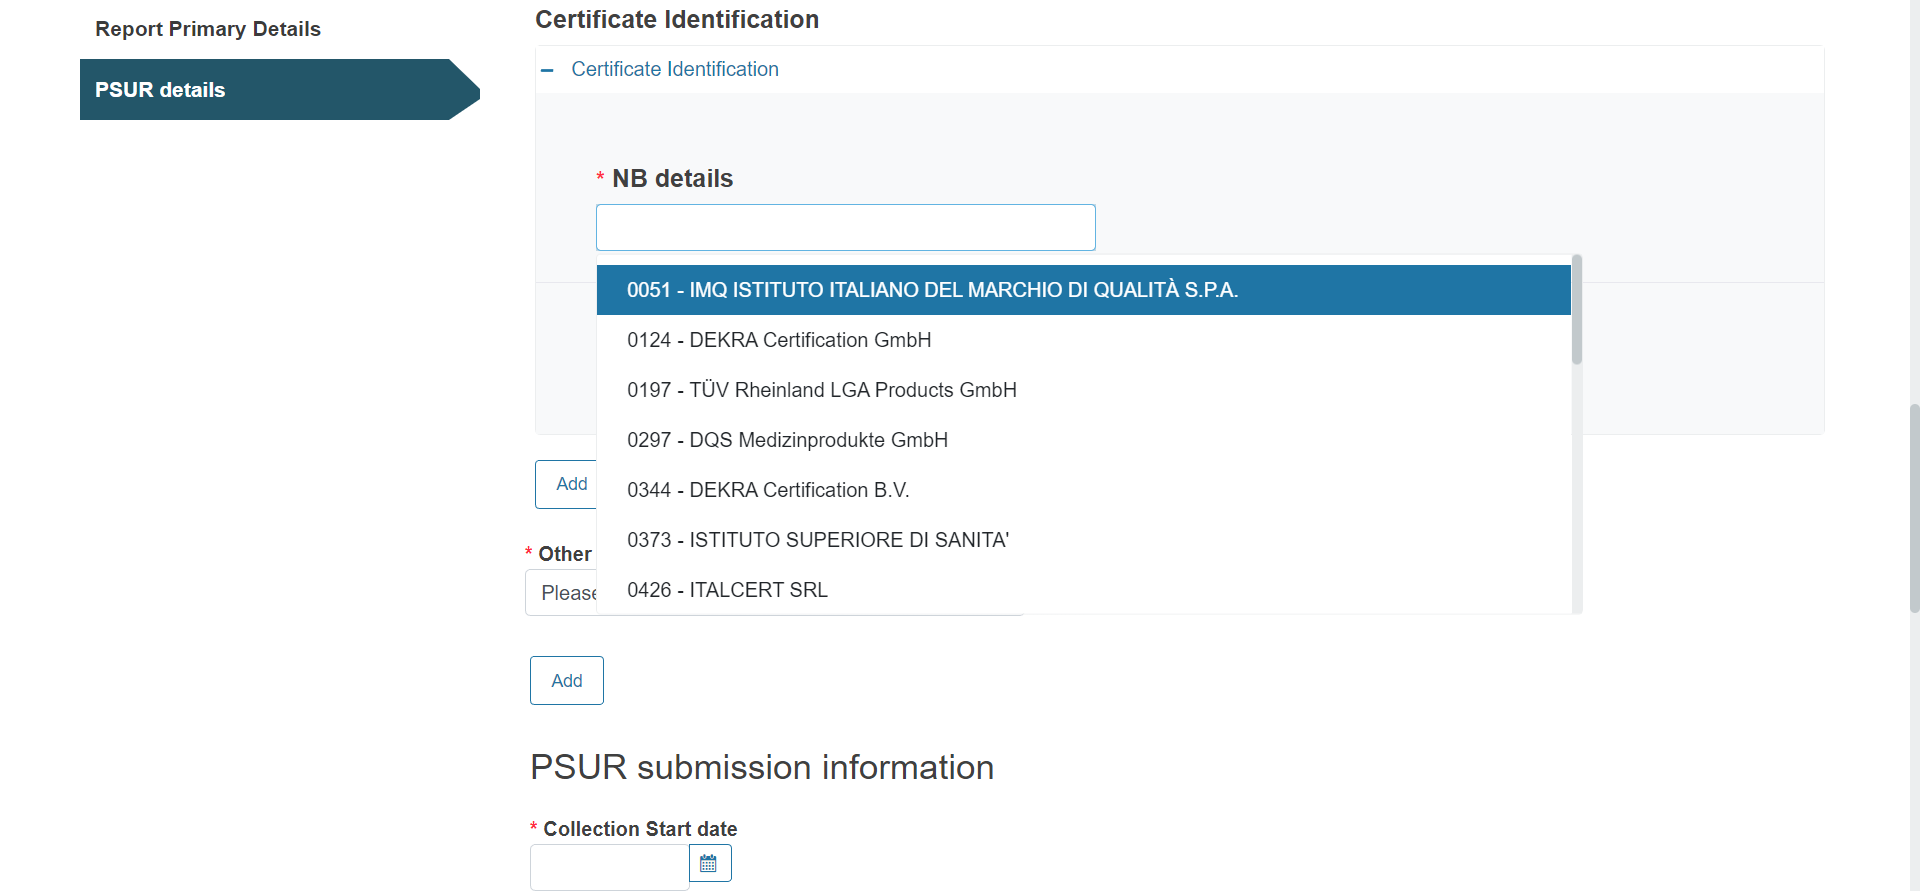
Select the Notified Body details from the drop-down list and type the NB certificate number in the text box below:
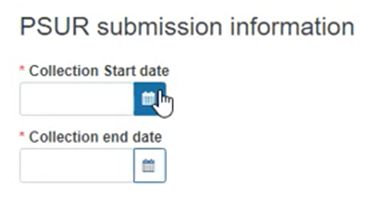
Fill in the PSUR collection dates:
Click on Browse to upload the PSUR document in PDF format:

Click the Submit button on the top right corner, to submit the PSUR:
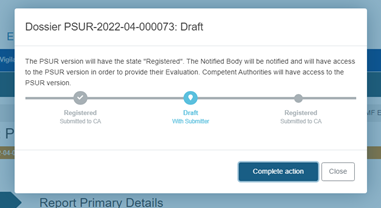
Click Complete action in the pop-up window to finish the process:
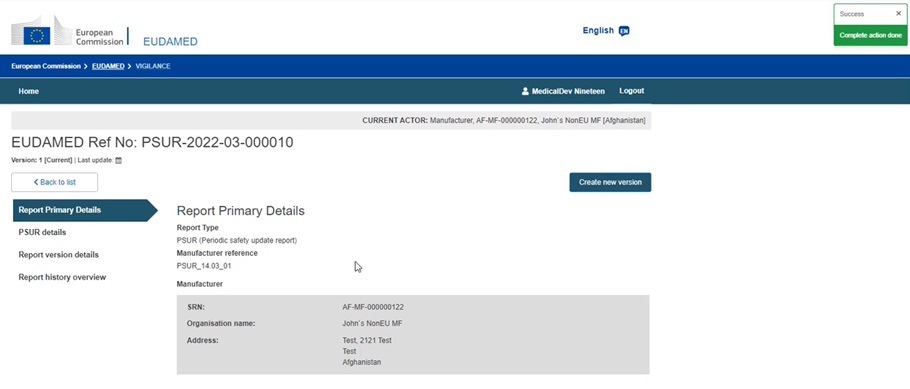
The system will redirect you to the Report Primary Details screen of the submitted PSUR in preview mode with a green Success message at the top right corner confirming your action:
Note
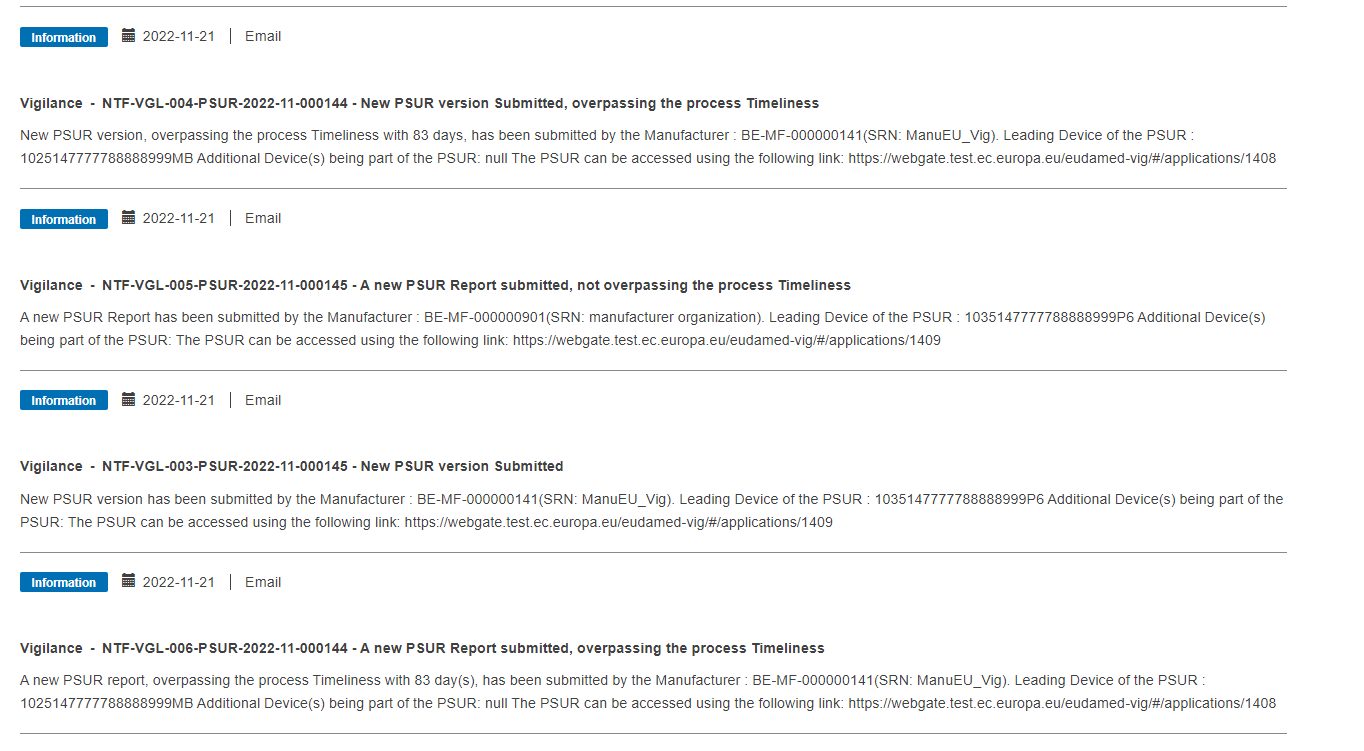
After submitting a PSUR or creating a new version, for users with LAA profile only, CAs and NBs referenced in the report will receive a notification in their Notifications inbox (Information tab):
