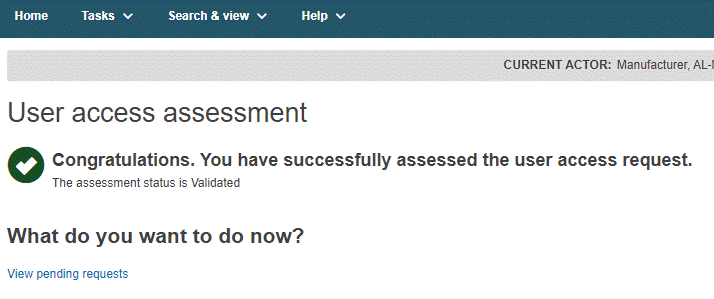
Requesting access as a designating authority user
To request access as a designating authority user
Log into EUDAMED and select New access request. This will bring you to a page prompting you to select the actor (Designating Authority) you belong to.
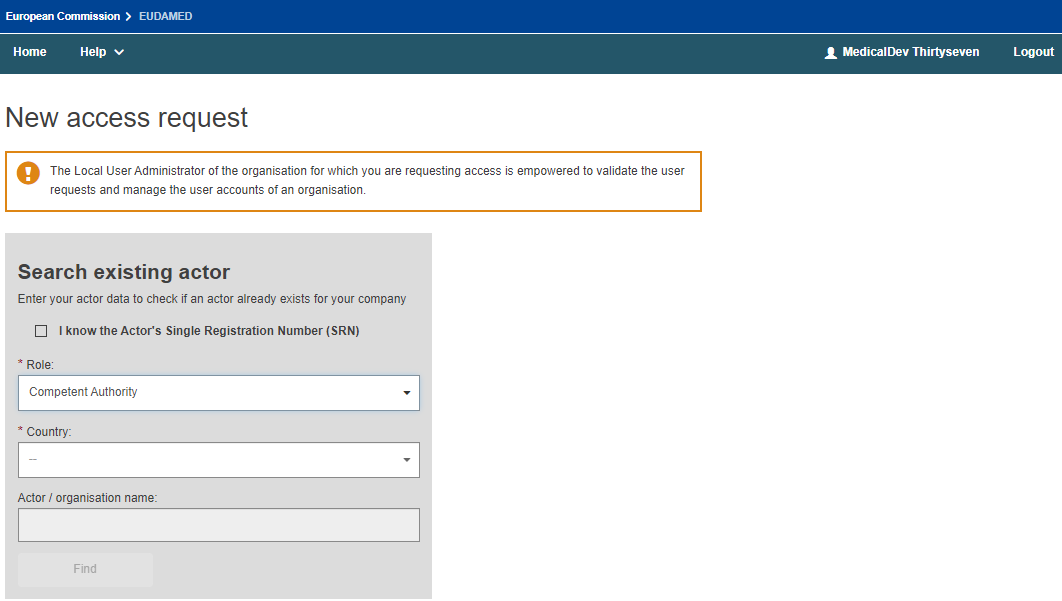
If you know your Designating Authority (DA) EUDAMED Actor ID, you can select I know the Actor ID/Single Registration Number (SRN) checkbox and enter it. Alternatively, you can search by selecting its role (Designating Authority), country, and clicking Find.
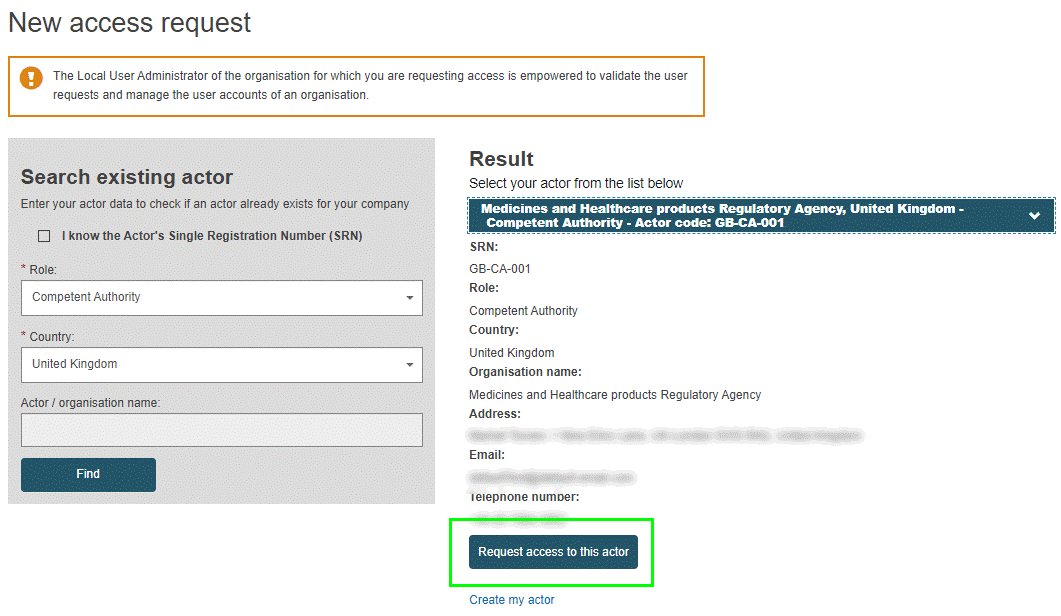
Click on the relevant authority in the Result panel and then click Request access to this actor.
You are asked to enter relevant details. Click Save & Next to move through the steps.
Select the user profile(s) that you need.
Click Save, Preview and when you are certain of the information, click Submit.
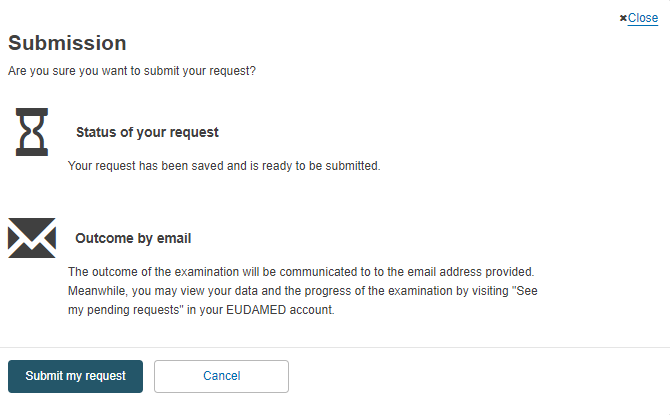
A confirmation message will appear – click Submit my request.
Important
User Profiles
The Local Actor Administrator (LAA) can manage the actor notification email addresses and has all the rights of a Local User Administrator (LUA).
A DA LAA/LUA can validate user access requests for first NB LAAs and its Designating Authority users.
Validators can validate user access requests for first NB LAAs only.
How to validate user access requests as a designating authority Local Actor or User Administrator
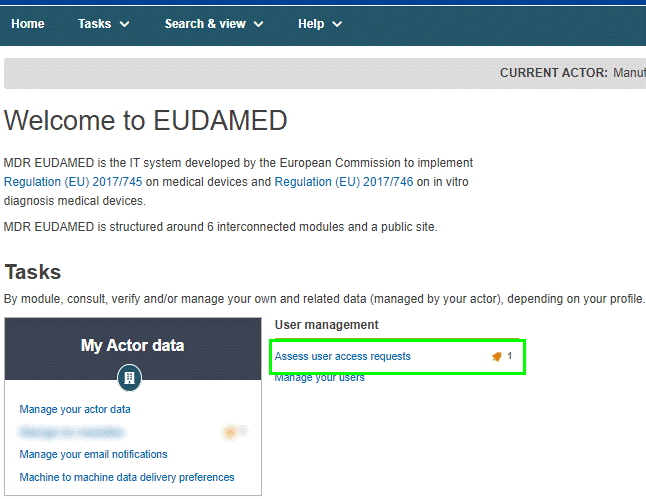
Select Assess user access requests from the User management chapter of the dashboard:
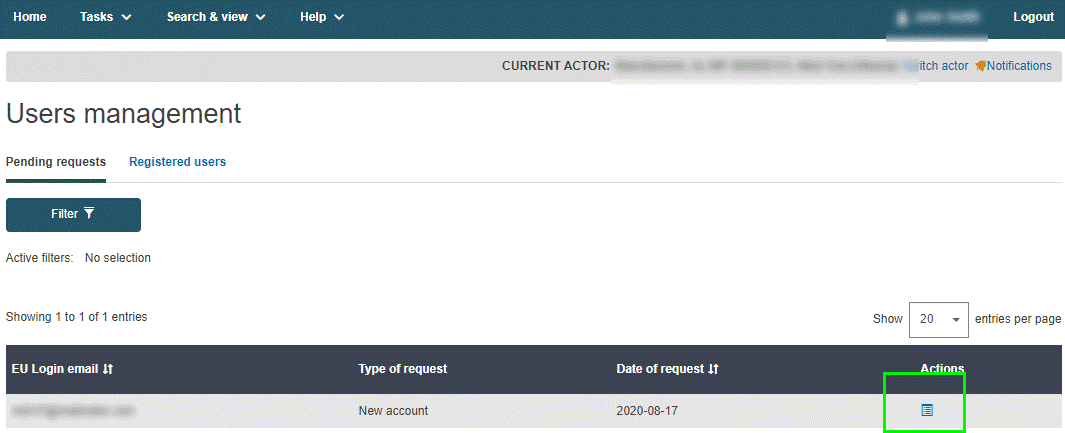
Click on the menu icon to assess the pending request in the list.
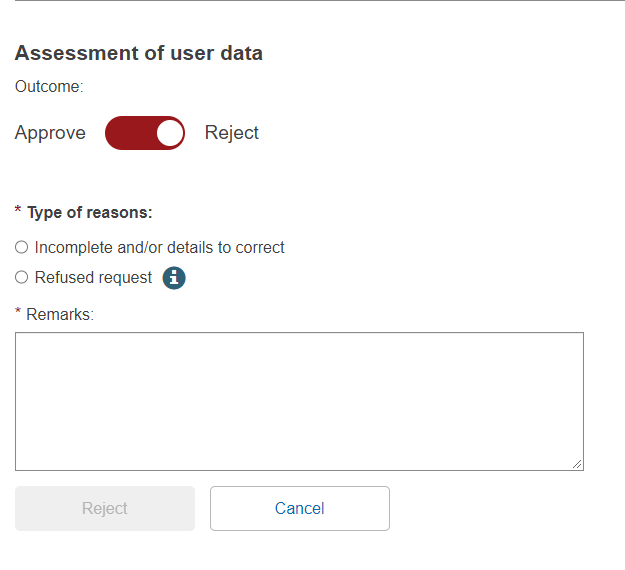
Review the content of the request and move the toggle to Approve or Reject the request. If you select Reject, you must enter a comment and select one of the following reasons:
Incomplete and/or details to correct
Some information that you deem important is either missing or looks incorrect. The requesting user will have a chance to correct or complete the request following your instructions and to re-submit it.
Refused request
The request will be given the reason Refused, and the user will need to re-submit it.
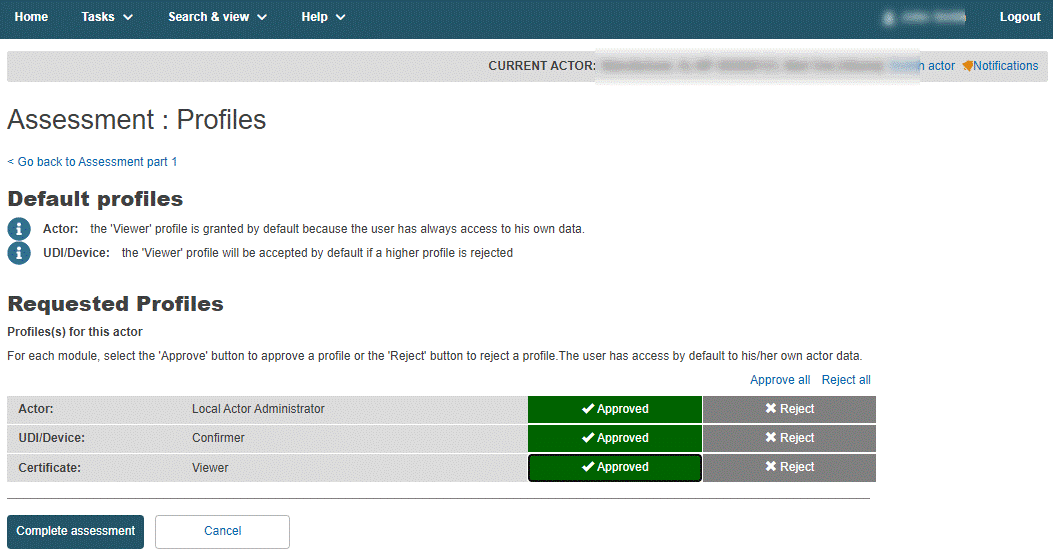
If you are approving the request, click Next step to assess each profile that the user is requesting. For each module in the grid, select either Accept or Reject, and then click Complete assessment.
Click Confirm in the summary dialog box to confirm the user’s profile.
