Restrict
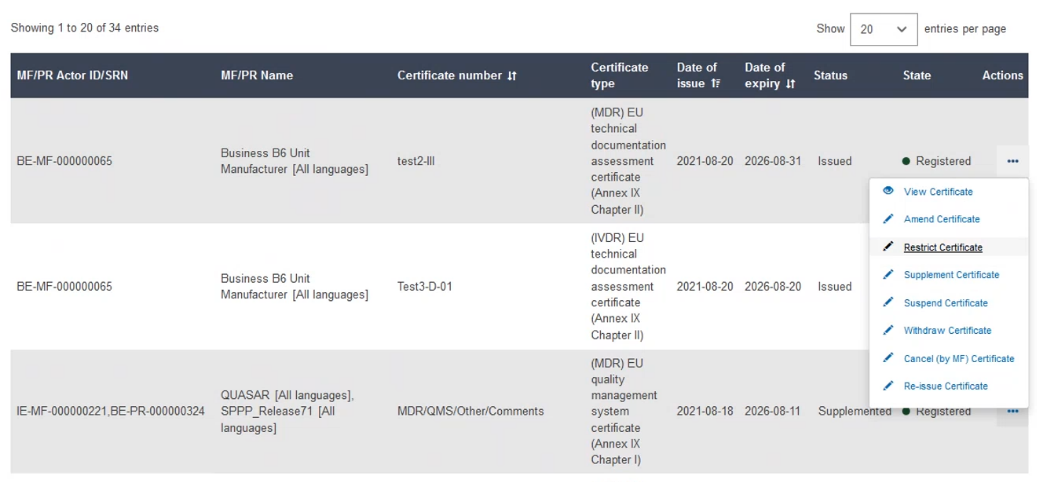
To restrict a certificate, click on the three dots next to the desired certificate and then from the dropdown menu, click Restrict Certificate:
 |
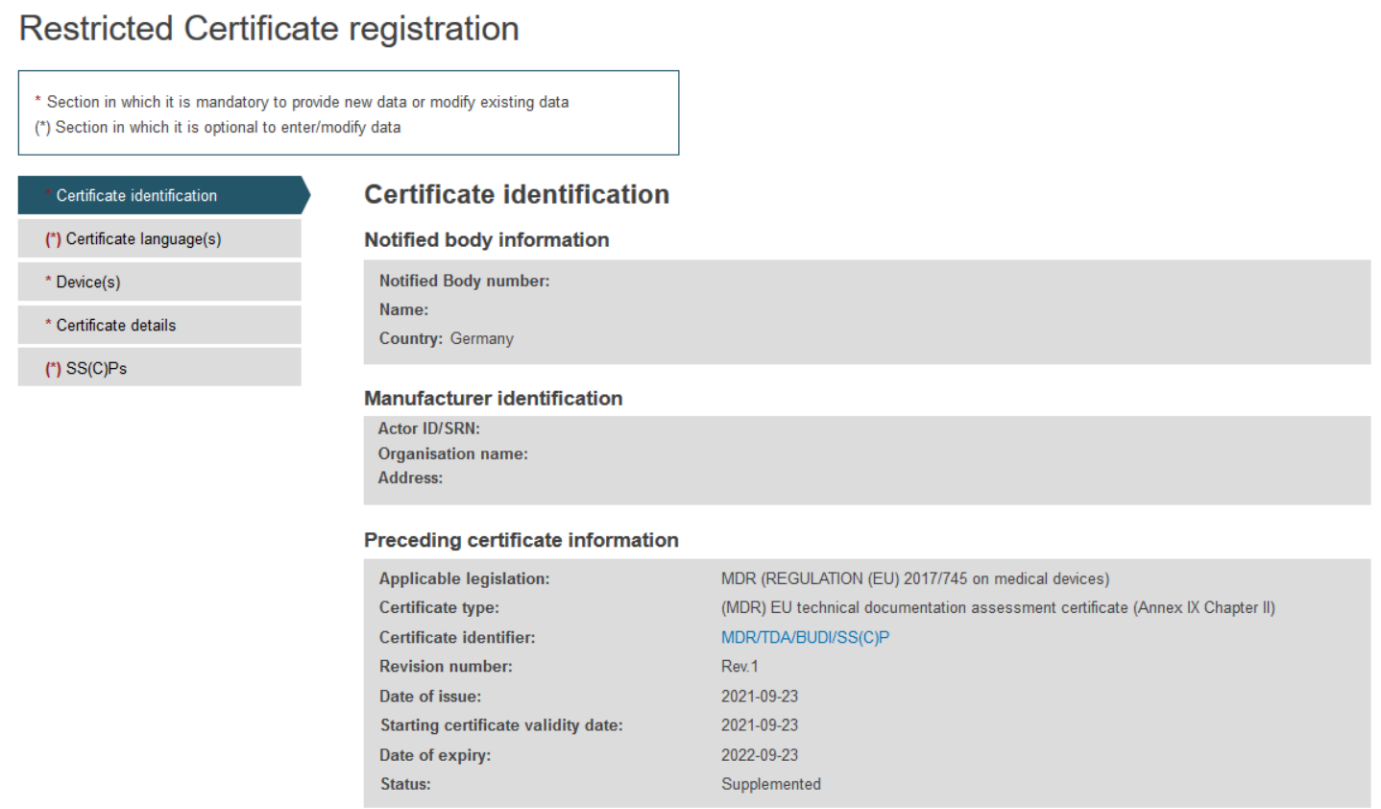
On the next screen, you will find all information relevant to the specific certificate and a menu with different sections on the left.
Complete the details for the default Certificate identification tab:
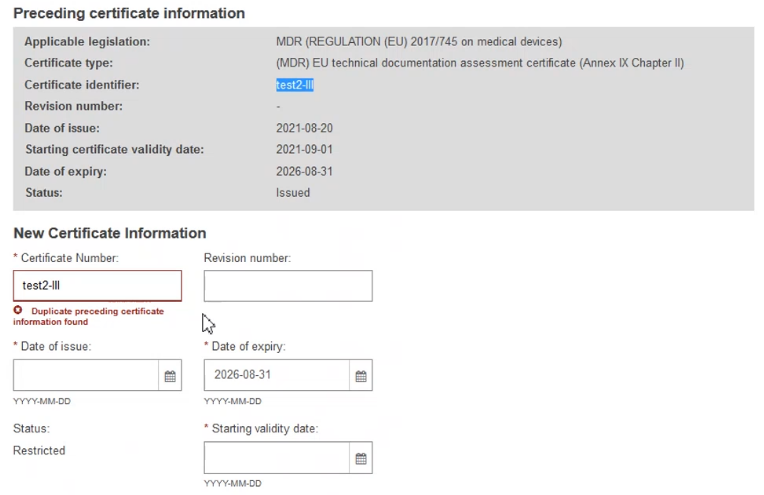
Scroll down and fill in the New Certificate Information:
The certificate number might change, if it is the case, enter the new Certificate number and a revision number. Alternatively, provide a Revision Number while keeping the same Certificate Number.
Select the date of expiry for this certificate and the starting date of validity of the restriction.
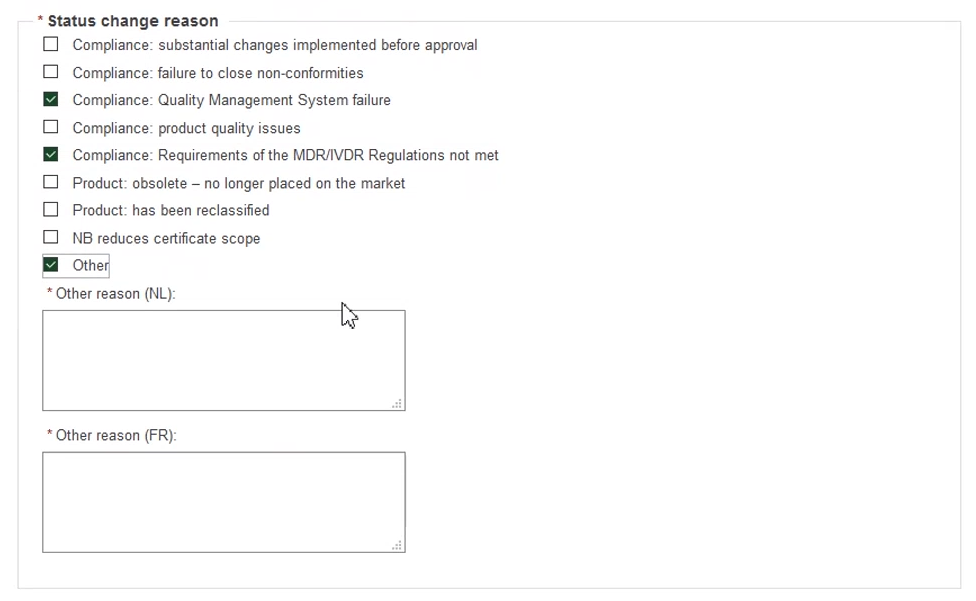
Scroll further down to the section Status change reason and select the reasons for the certificate’s restriction (you can select more than one). In case you select Other, you must provide comments in all relevant languages of the specific certificate:
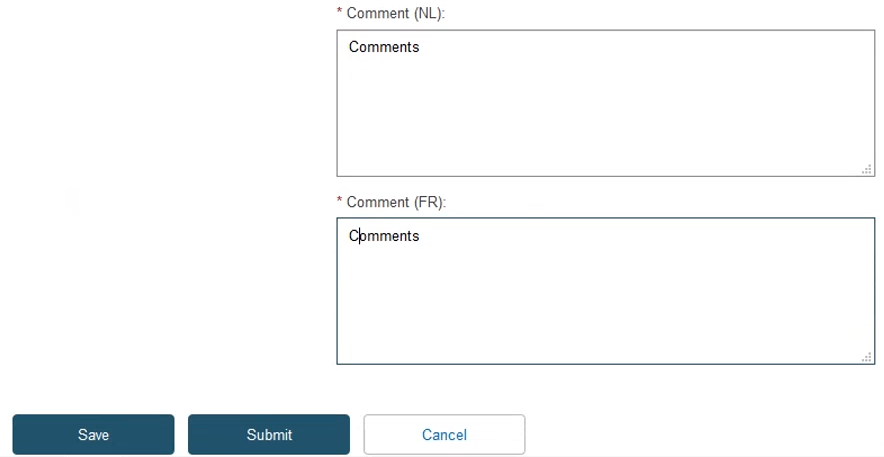
Provide comments in all the languages of the certificate and click Save:
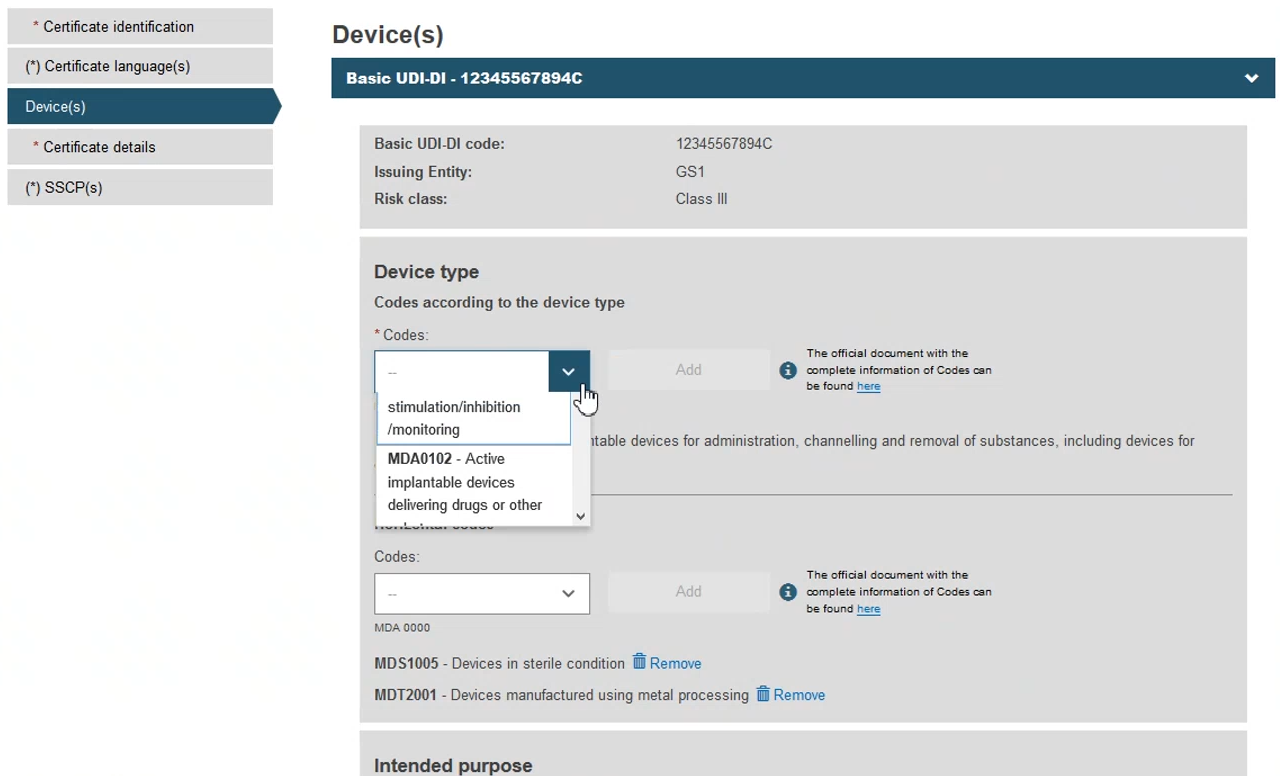
Review all information under the Device(s) section, e.g. intended purpose, and where needed/possible, update or remove information accordingly:
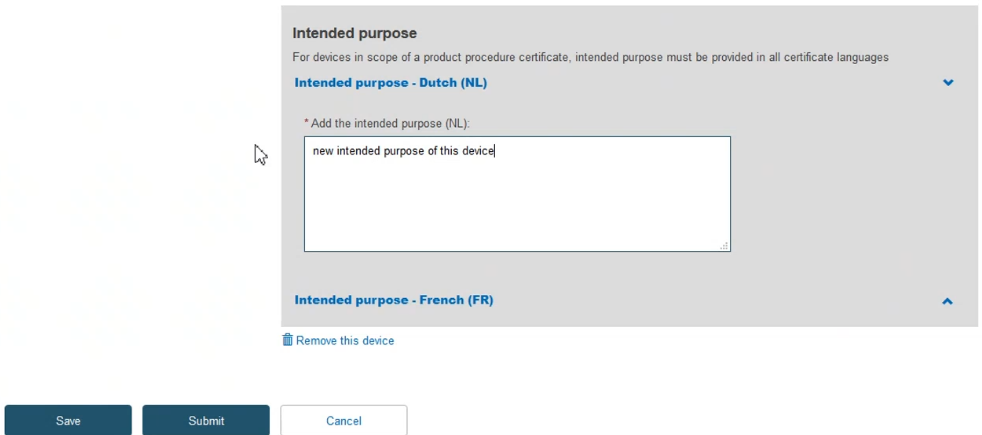
Fill in the intended purpose of the device in all the certificate’s languages and click Save:
Review and update information under the Certificate details section in all relevant languages:
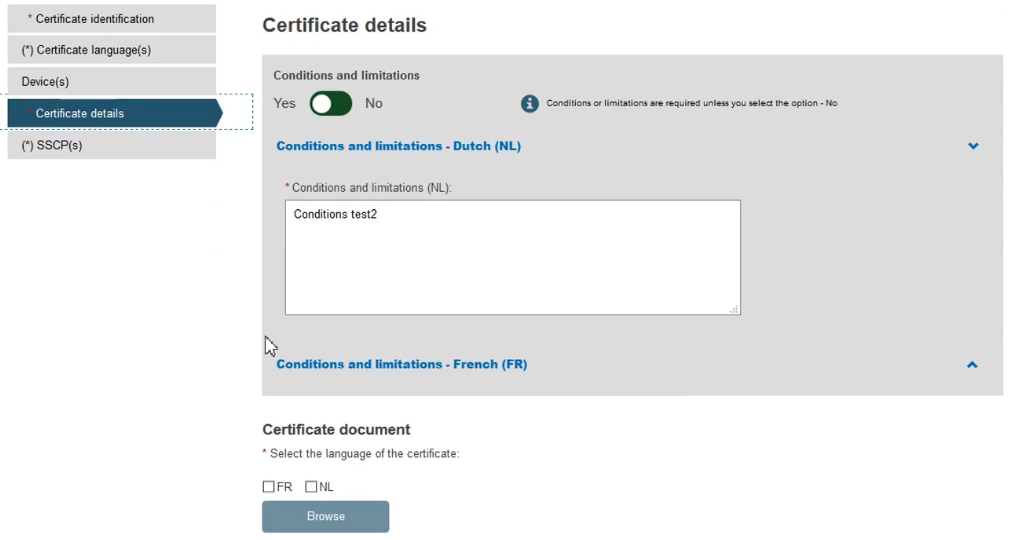
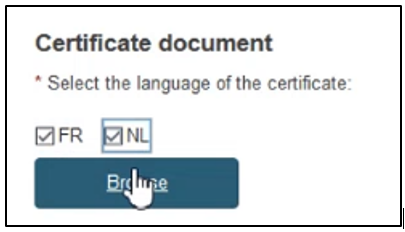
To provide the new Certificate document, tick the relevant languages and click Browse to upload the document(s) from your computer. You can upload either one document per language or one document covering all languages:
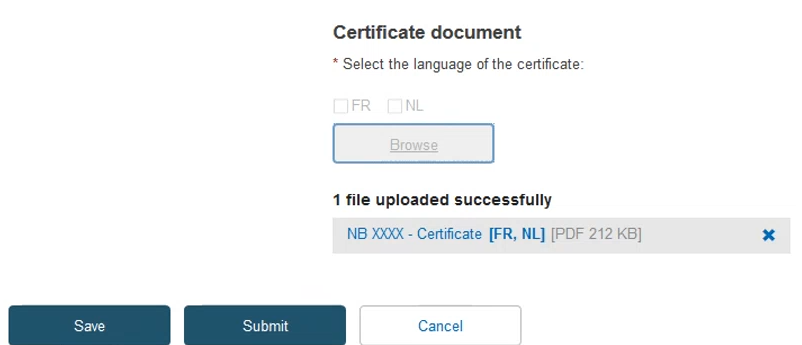
Once you have successfully uploaded the new certificate document(s), click Save:
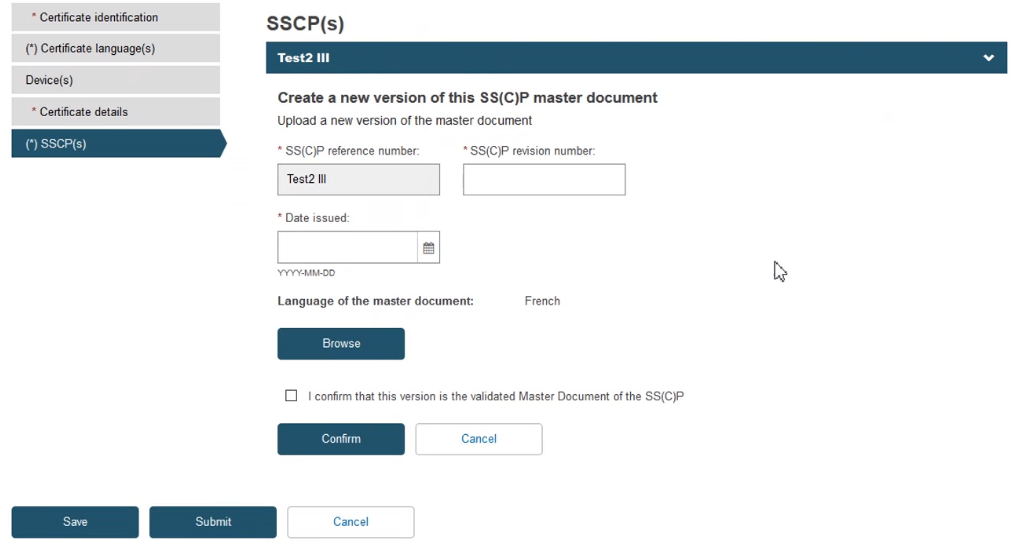
Click on the SS(C)Ps section from the menu on the left and click Create new version:
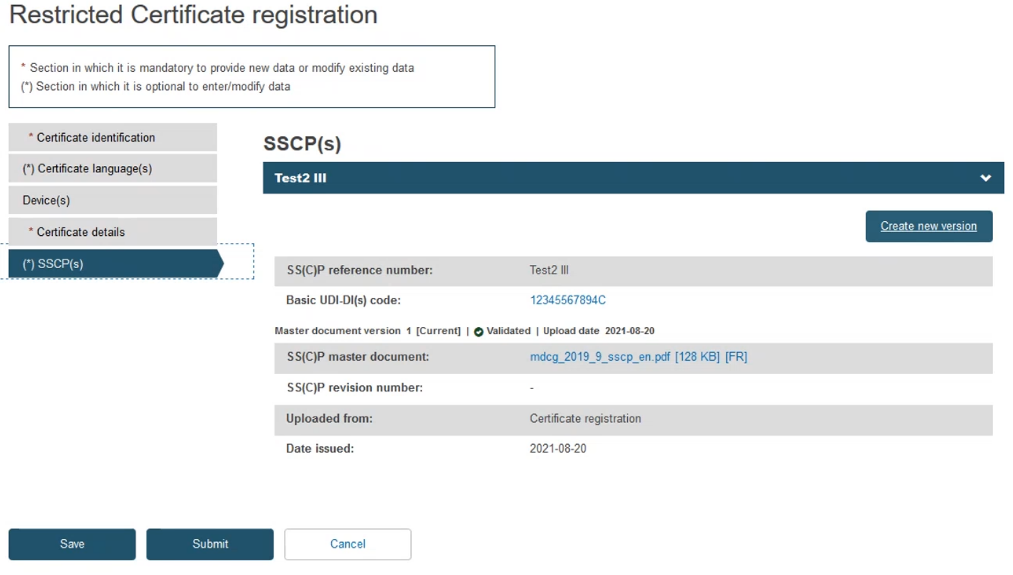
On the next screen, complete all the steps to create a new version, i.e. provide SS(C)P revision number, issue date, upload SS(C)P document and click Confirm:
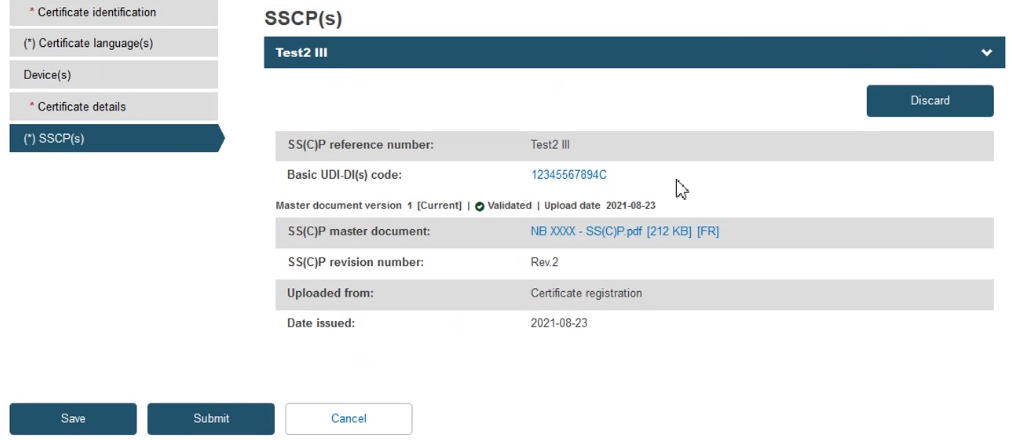
Next, the system will display your newly created SS(C)P version for you to review. If you discover a mistake, you can click Discard and re-do the process, alternatively click Save:
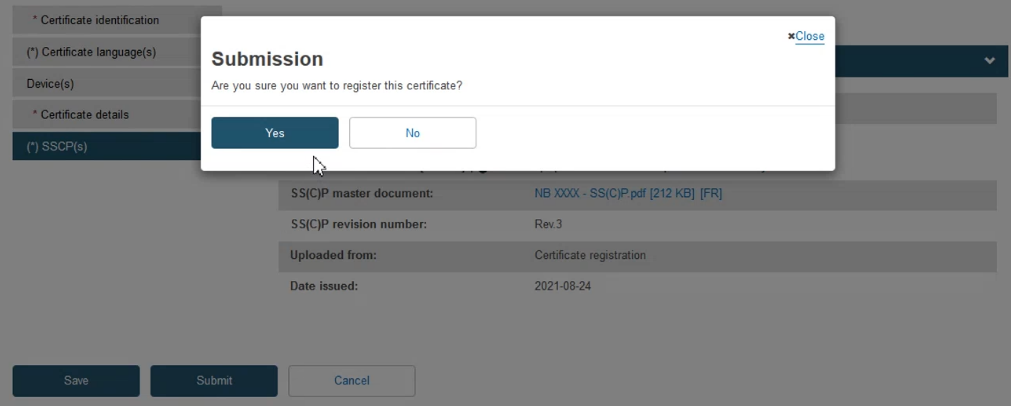
When you have fully reviewed all the information provided, click Submit. The system will prompt you to confirm your submission. Click Yes to complete the process:
